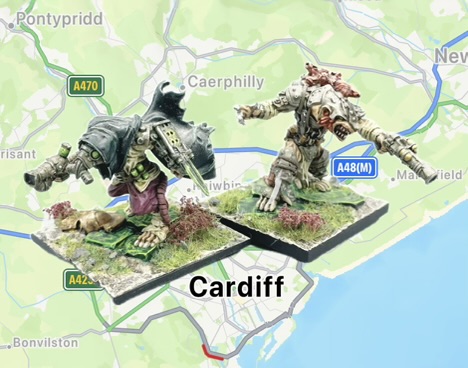
The rats haven’t been to Cardiff since the 2021 Clash of Kings, my first Clash of Kings. It was a memorable weekend, not least because I got to play the fabulous Steve of Youtube Channel Death by Dragons for the first time. That game has since been immortalised on the aforementioned channel and is well worth a watch (it’s highly amusing and I sometimes give it a watch if I’m feeling a little down).
I decided to take my Ratkin, because with everything that’s going on it’s increasingly looking like I’m going to be using them for Clash of Kings this year. I’d been hoping to take Basileans, but with the timing of the new book, not to mention any new releases that might need painting, I don’t think I’ll have time to work out what I want in the army and get it all painted. That means it’s a toss up between rats and halflings, and we all know where my priorities are.
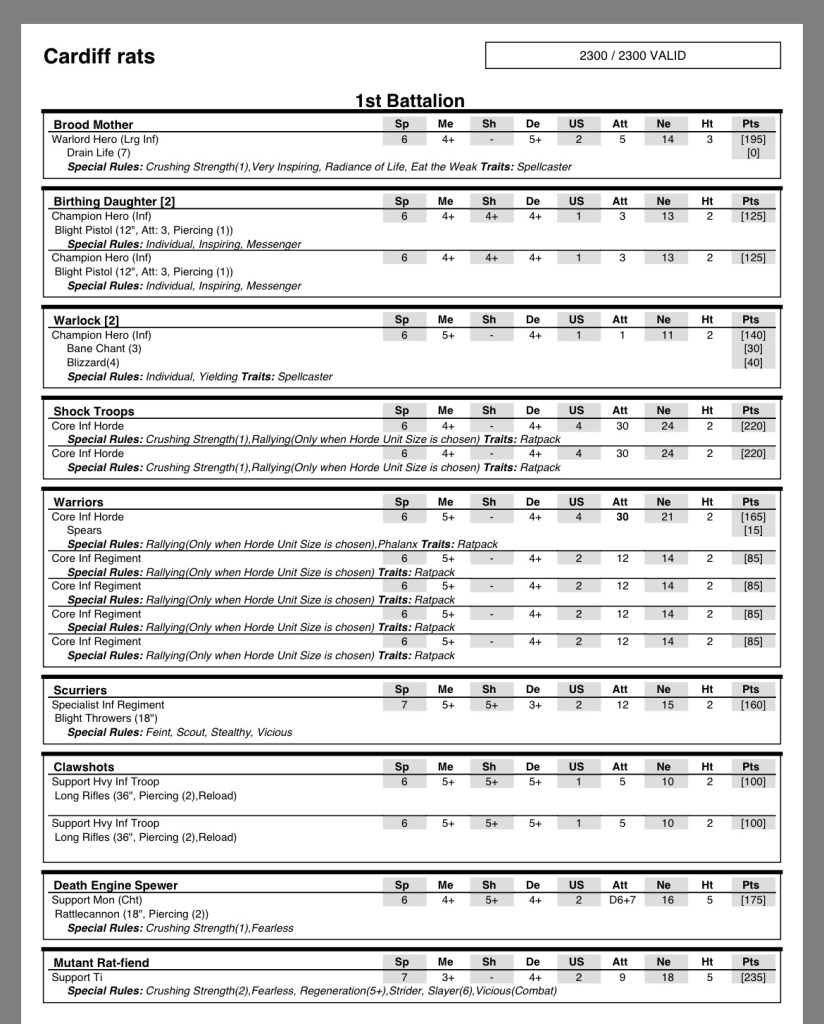
I’ve been finding it hard to adapt to the new edition in terms of army selection. I’m a heart over head gamer and fourth is a different edition that needs a different approach. I’ve been trying a close approximation of my old list, which relied on short range shooting, but the changes to shooting means it just doesn’t work. For this reason, I decided to give long-range shooting a try, bringing along some clawshots, adding in the ever-fabulous Blizzard Wizard and upping the scurriers from a troop to a regiment (because they have performed pretty well so far). The list looked like this:
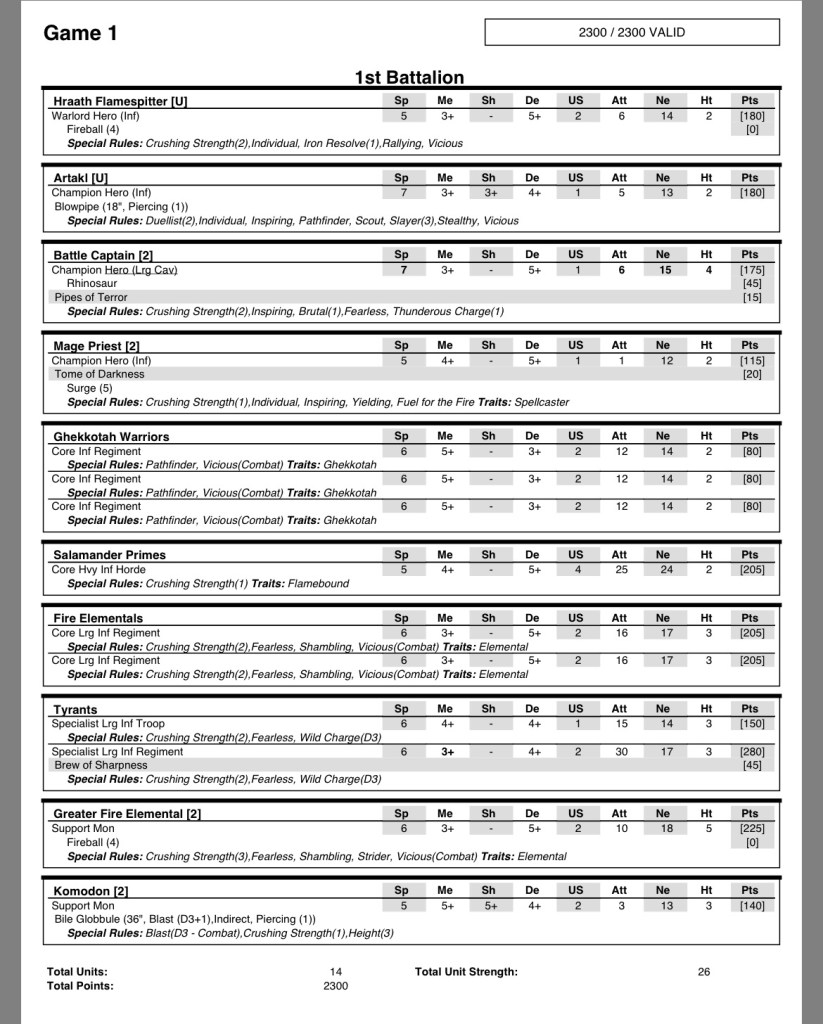
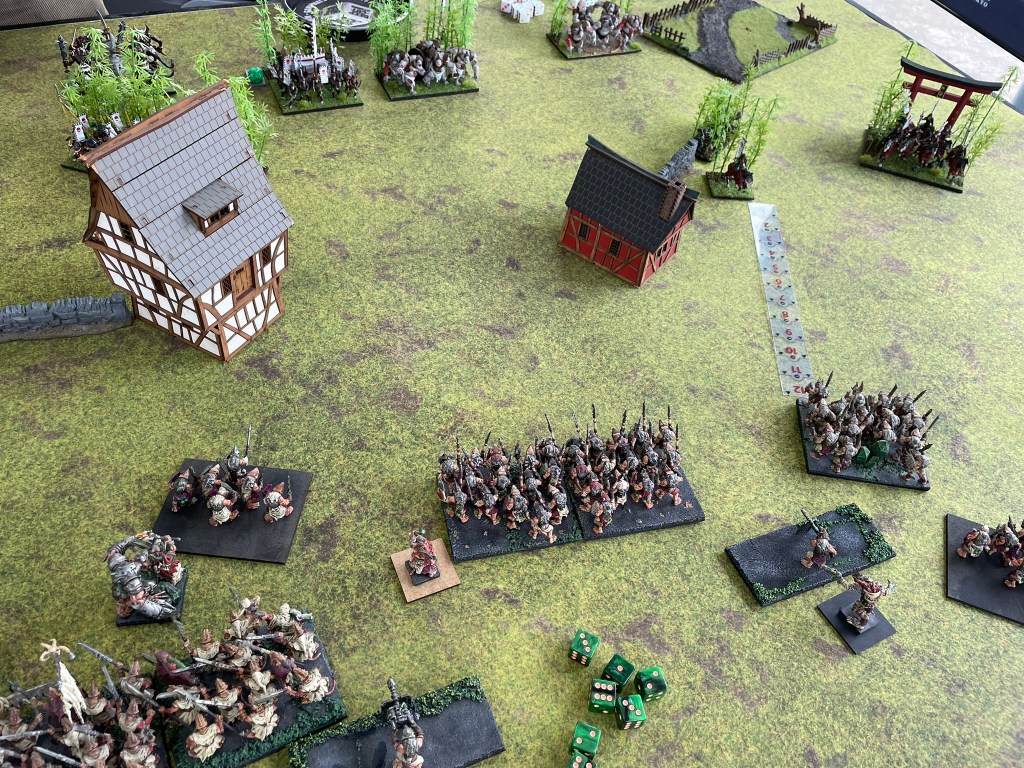
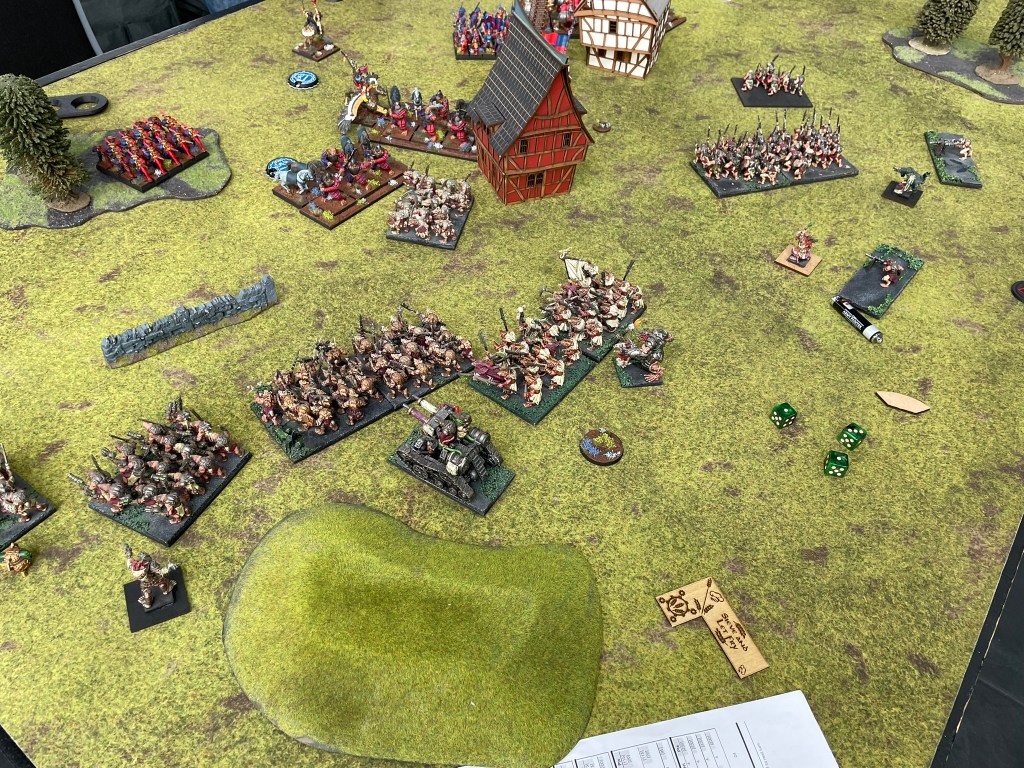
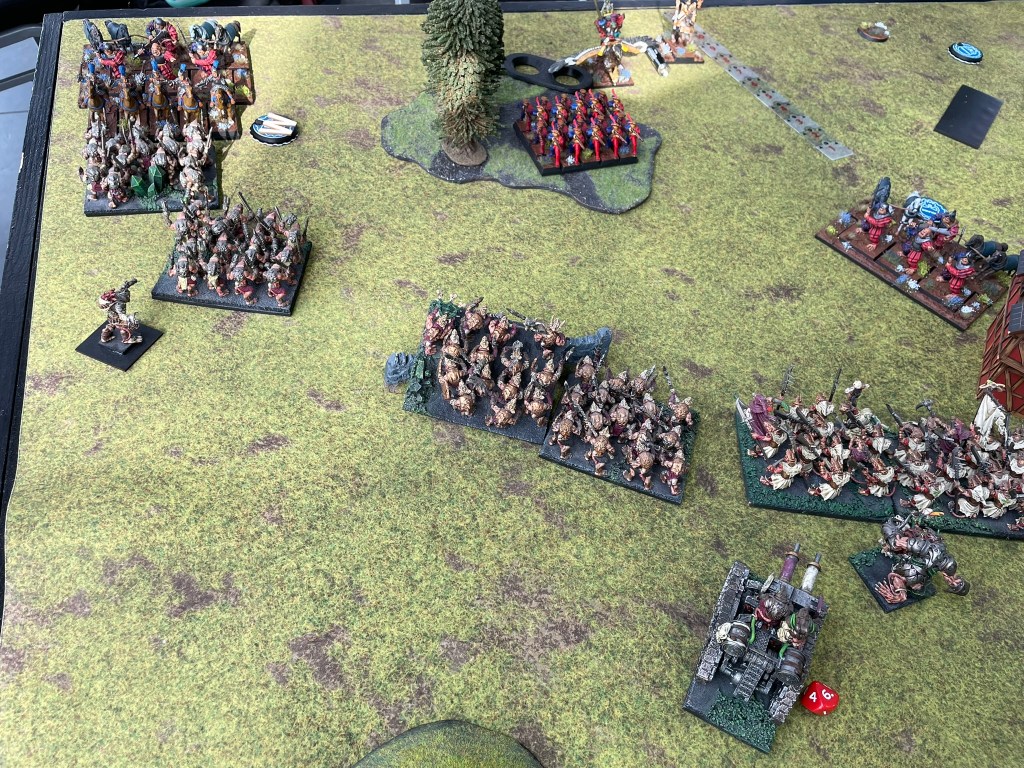
The first game was against Salamanders, and the scenario was Loot. I’ve played this scenario three times in the last few weeks, and I have yet to go first. So, for the third time in a few weeks, I watched my opponent scoot up the board and grab the objectives in the first turn, and that was pretty much the last I saw of them for the rest of the game! However, this did not stop me from having a really enjoyable first game.
As a list writer, I’m pretty bad, regularly creating passion projects that aren’t killy and get killed far too easily. So, I focused on seeing what the rats could do damage wise, and I was pretty damn impressed. In the first couple of turns my combined shooting managed to get a fire elemental regiment up to devastated (unfortunately rolling a double one and allowing it to block up a warrior regiment and Shock Troop horde that I thought was never going to make it into the game).
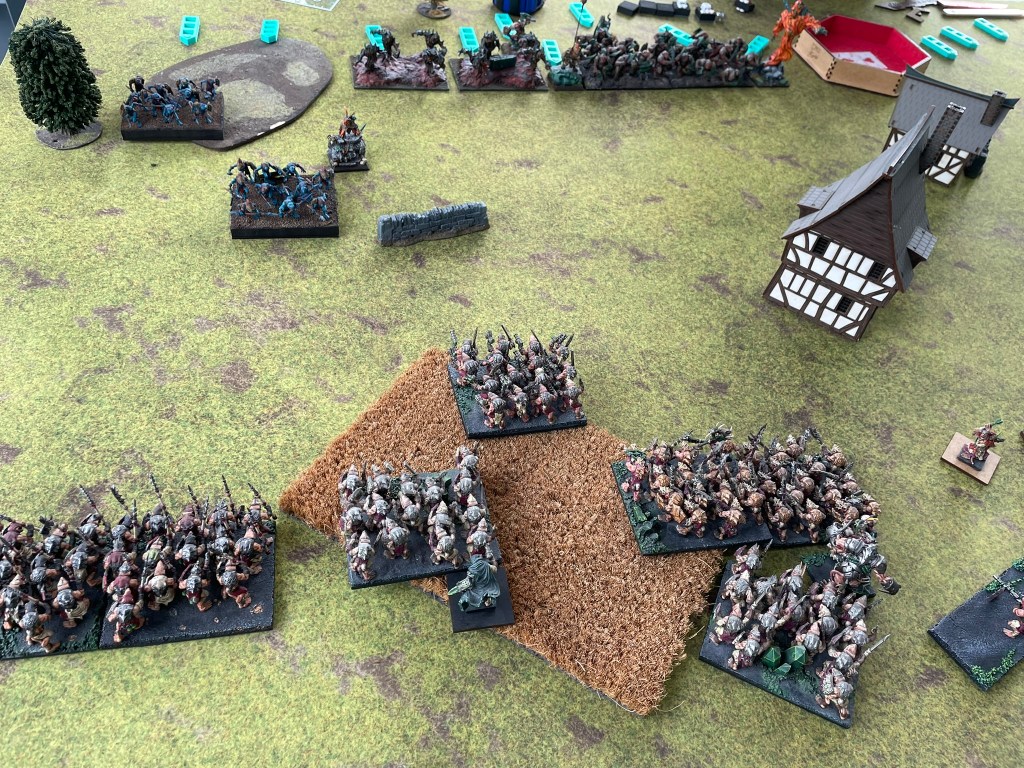
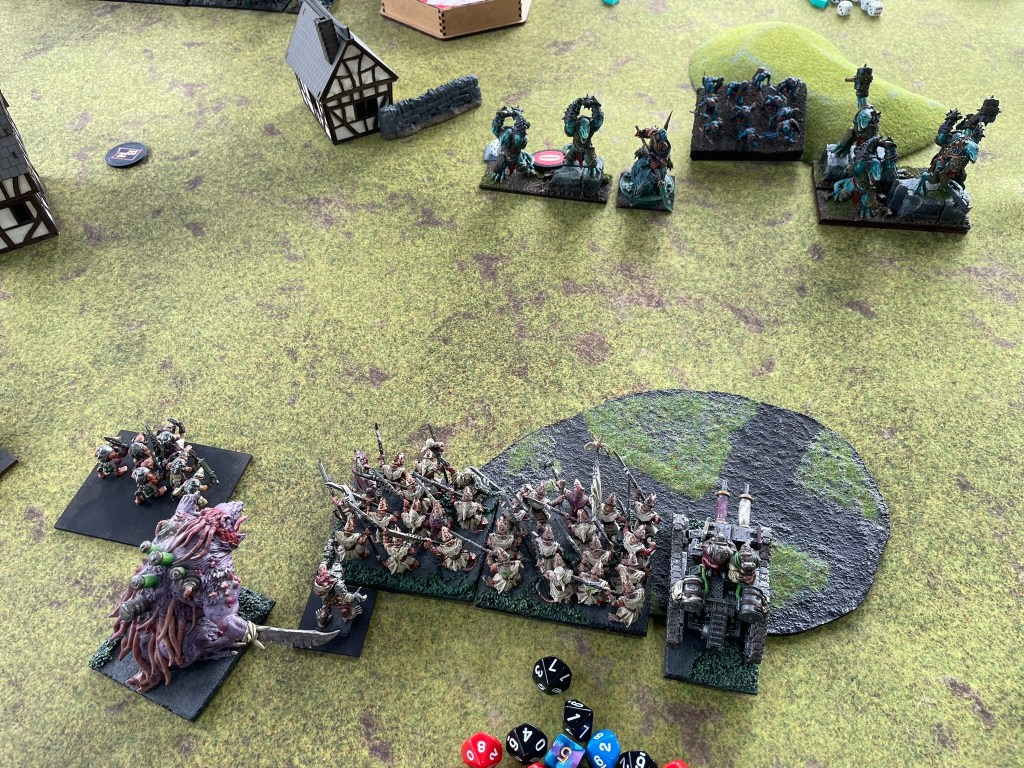
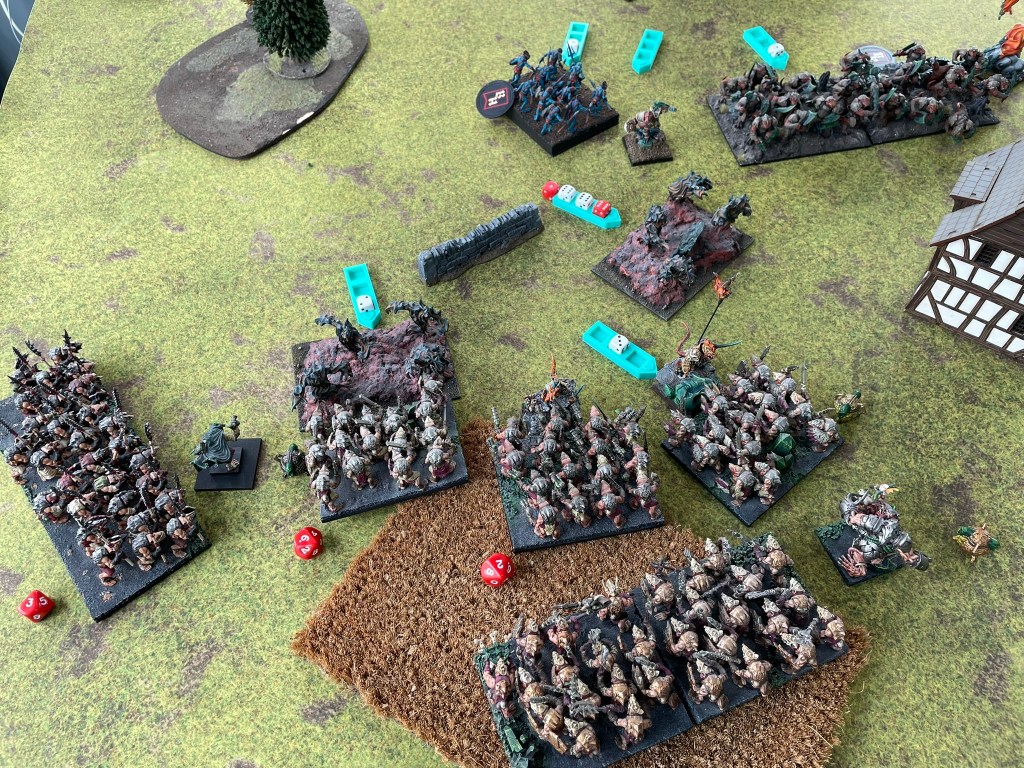


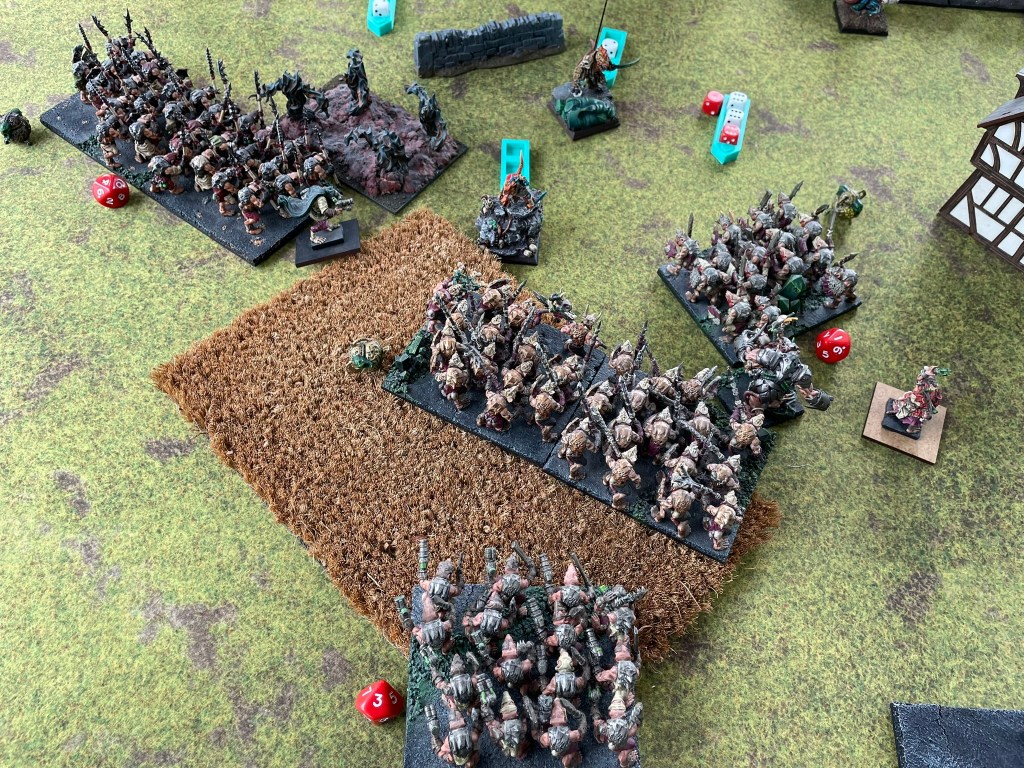

The Scurriers played an absolute blinder, contributing heavily to the downfall of both fire elemental regiments and using feint to clear the path for my Shock Troops to join the fighting. I was really glad to have them on the roster for this game.
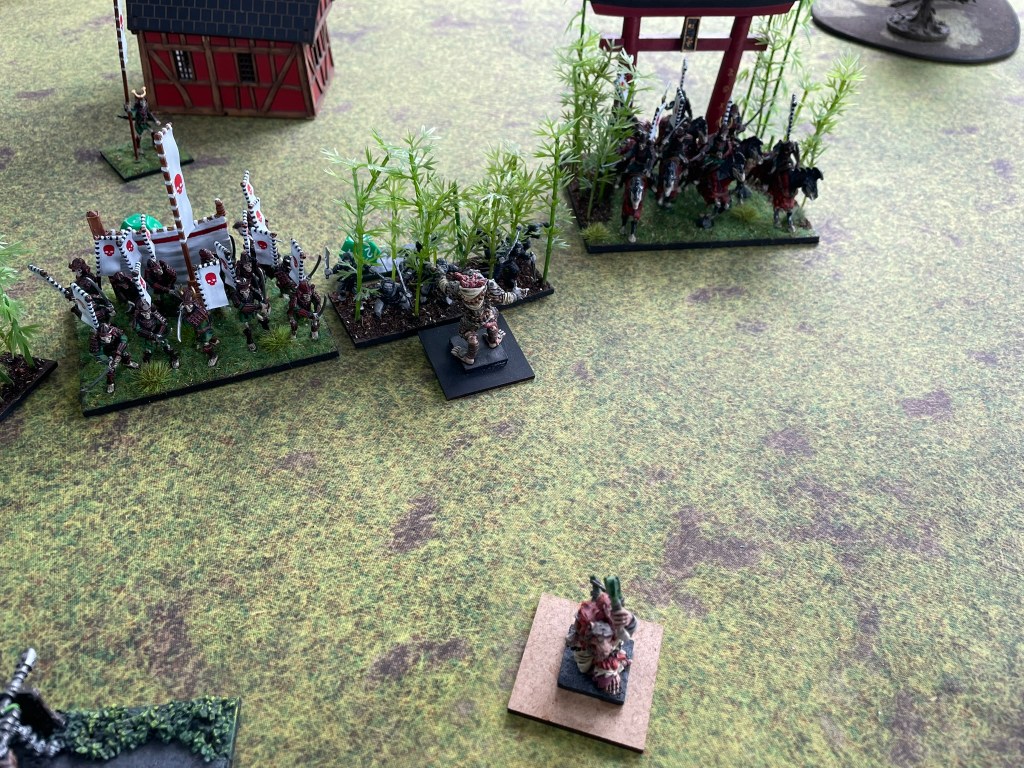
The fighting on both flanks was pretty ferocious, with the rats tearing through most of the units thrown at them on the left side. The middle of the board was difficult to navigate with two buildings creating a pinch point that the Salamanders made good use of to shelter from my shooting. On the right things didn’t go quite as well. Another devastated unit (this time the Rhinosaur Captain) prevented my Mutant Rat Fiend and Shock Troops from getting at the regiment of Tyrants. This felt a bit more impactful than the double one on the Fire Elements. However, despite the scenario outcome and the double ones I chalked this game up as a massive success. We both managed to make the same number of kills which gave me the confidence, that at the very least, I’d found an army that can take things down.
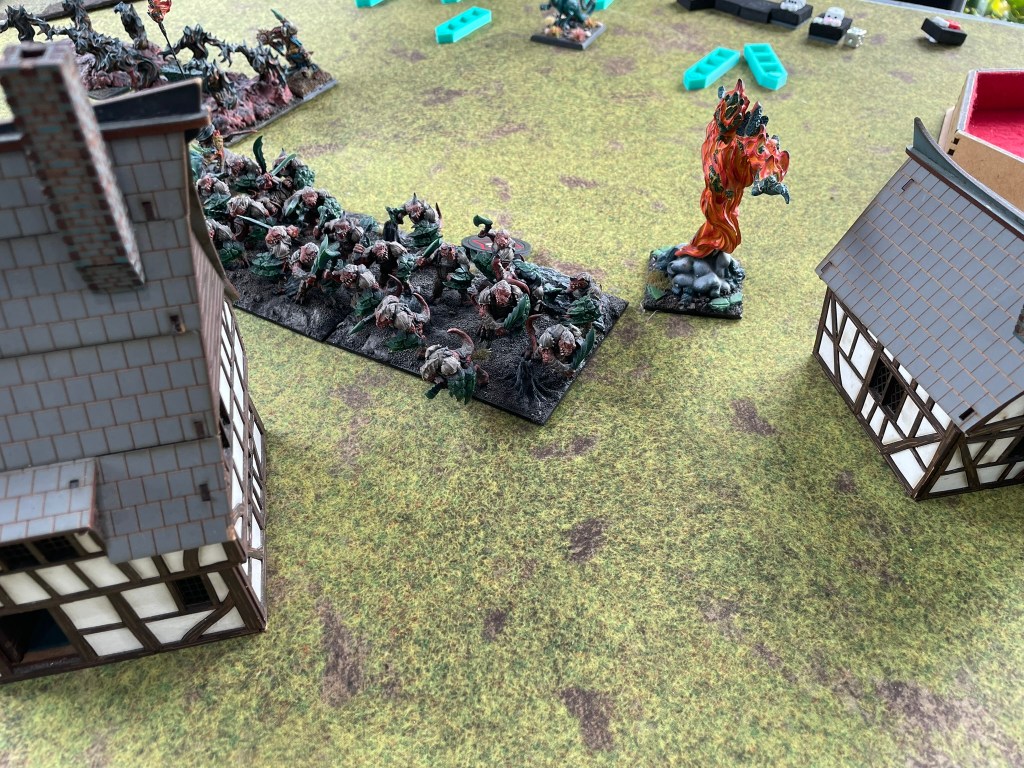
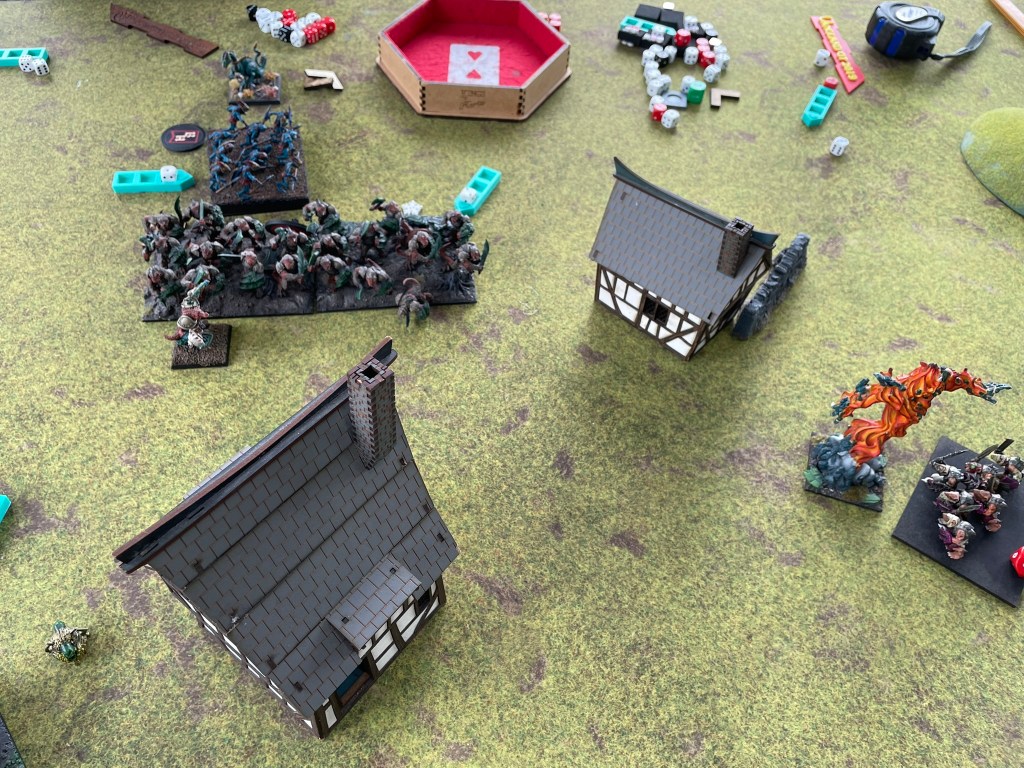
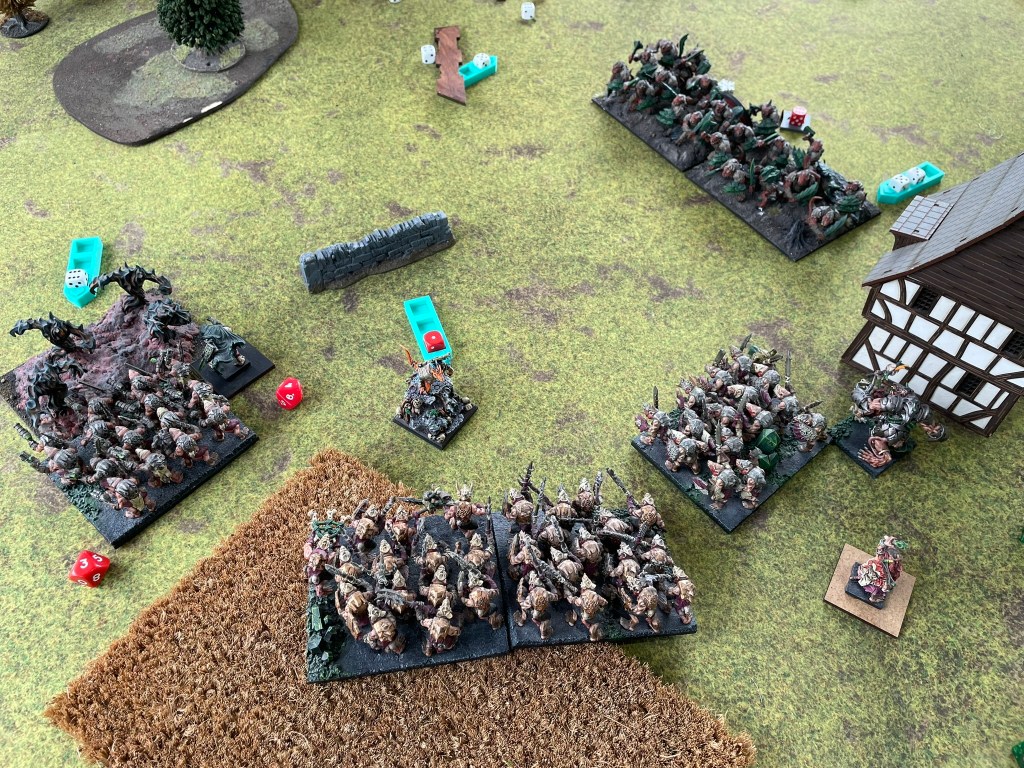
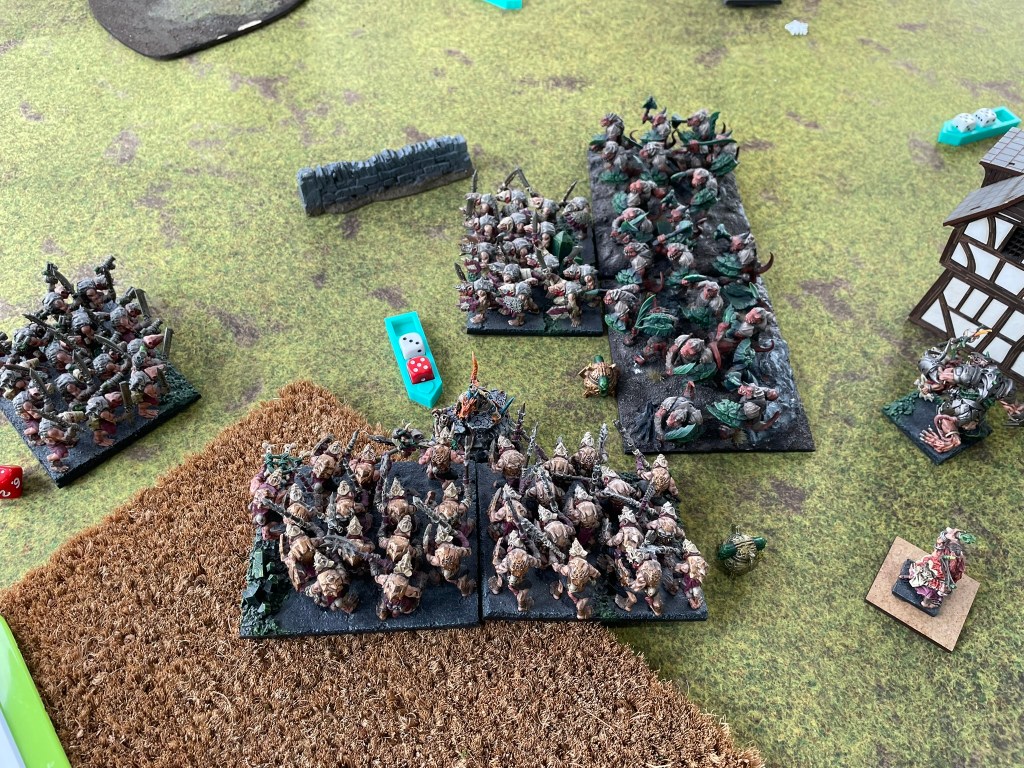
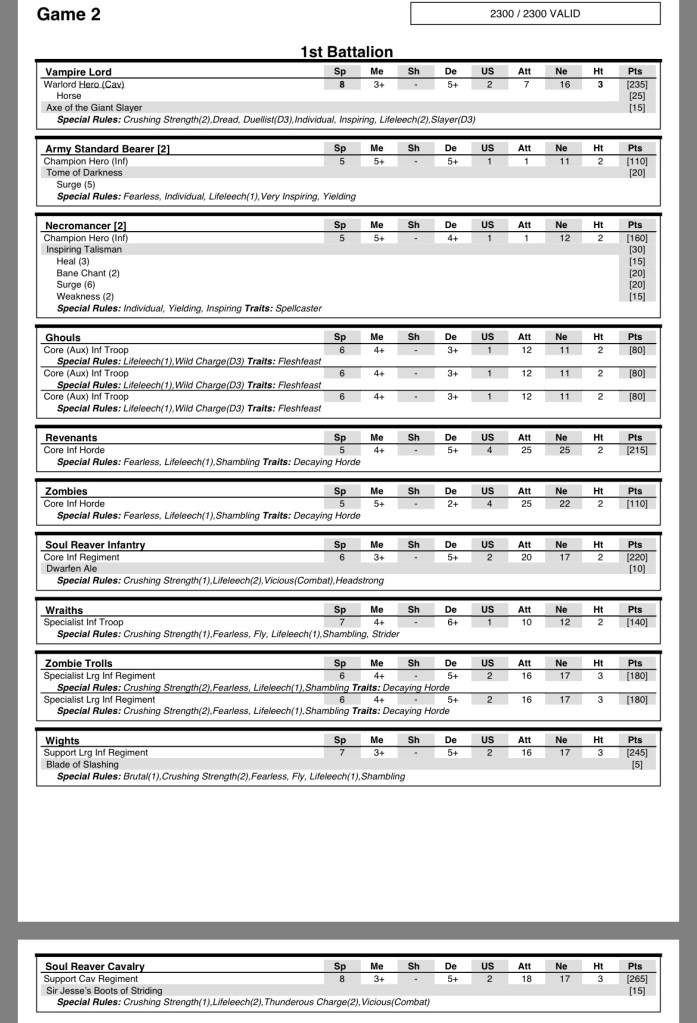
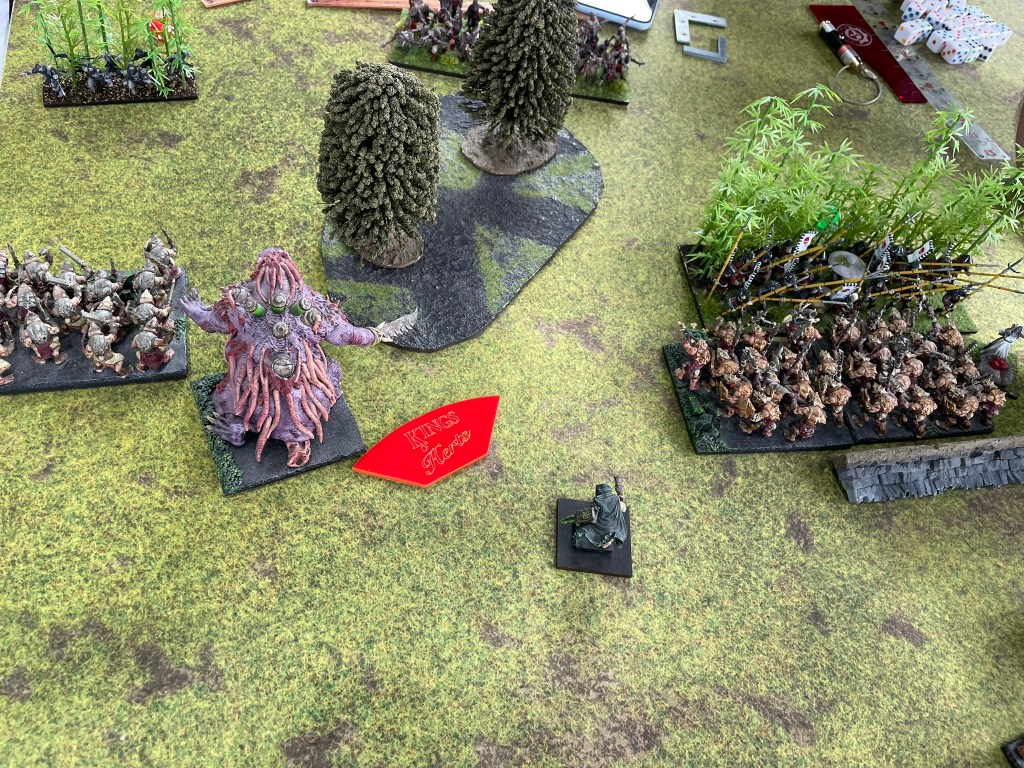
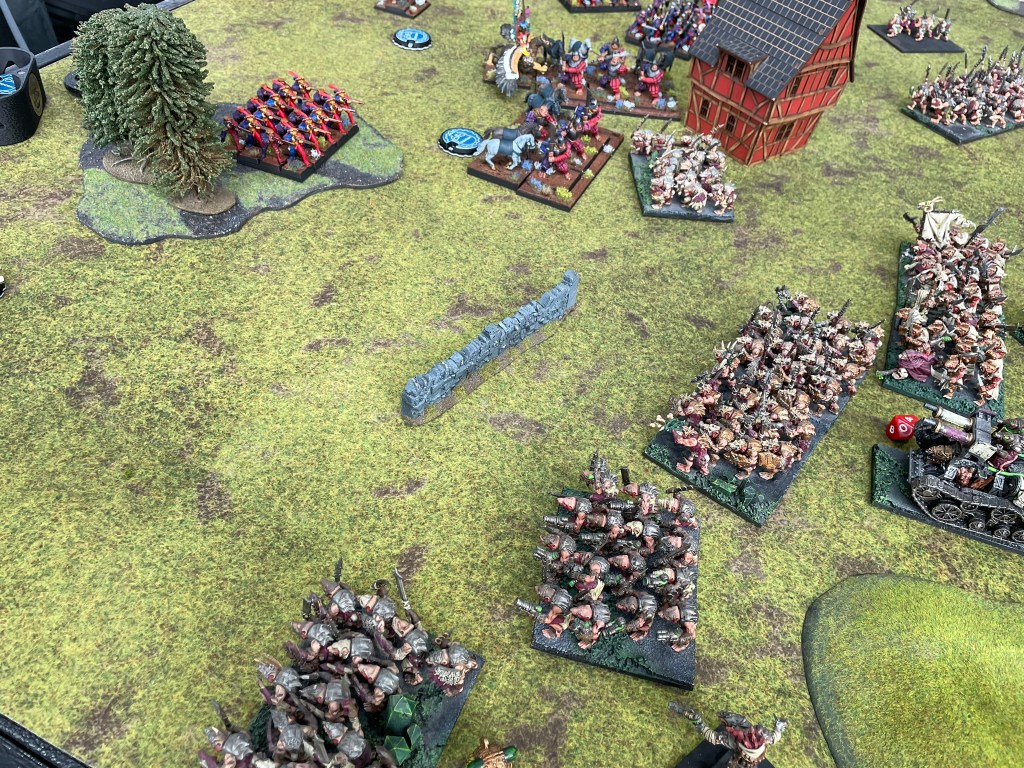
Game two saw the rats face Undead with the Control scenario. The undead army is an absolutely fantastic piece of conversion work built entirely from Mantic models. It’s always brilliant to see work like this on the table.
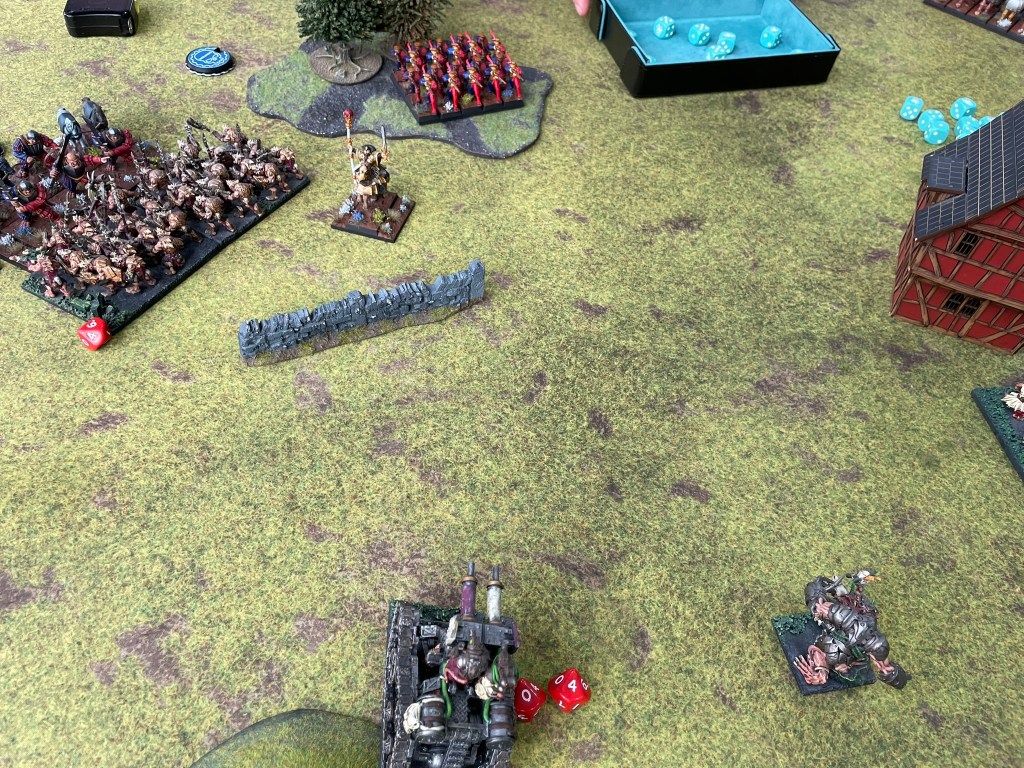
As we set up, I was starting to get a feel for how my army should work. As with the previous table there were two buildings in the middle of the table creating a pinch point (I would find in game three that this approach had been replicated on that table as well!). I set up with my long-range shooting aiming between the buildings whilst the shorter ranged units were further over on the left flank. The plan was to try and do as much damage to the undead emerging through the buildings, hold them up in the centre whilst my right flank swept round the back.
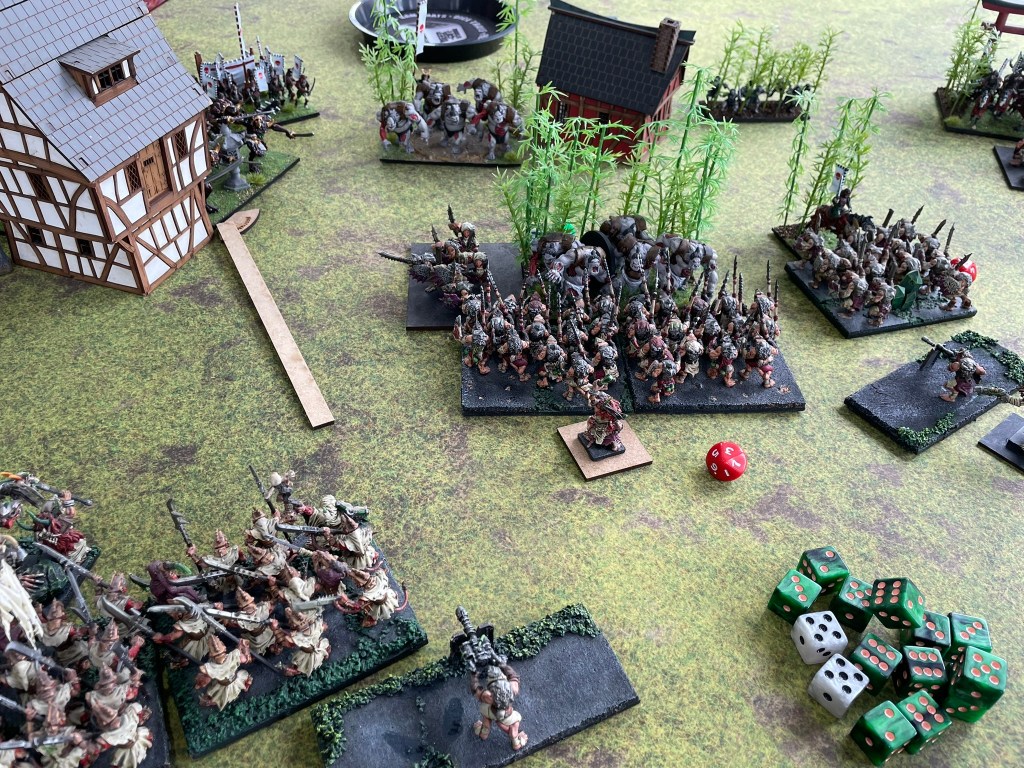
The first couple of turns things went according to plan. Vampires were shot up and a troop of ghouls was removed. Then the undead were upon us in the centre. Zombie trolls ploughed into spears whilst the wraiths took on the Shock Troops. Over the course of the next two turns rats overcame corpses thanks to some sneaky flank charges and it looked like the troops that had pushed forward through the gates were starting to run out.
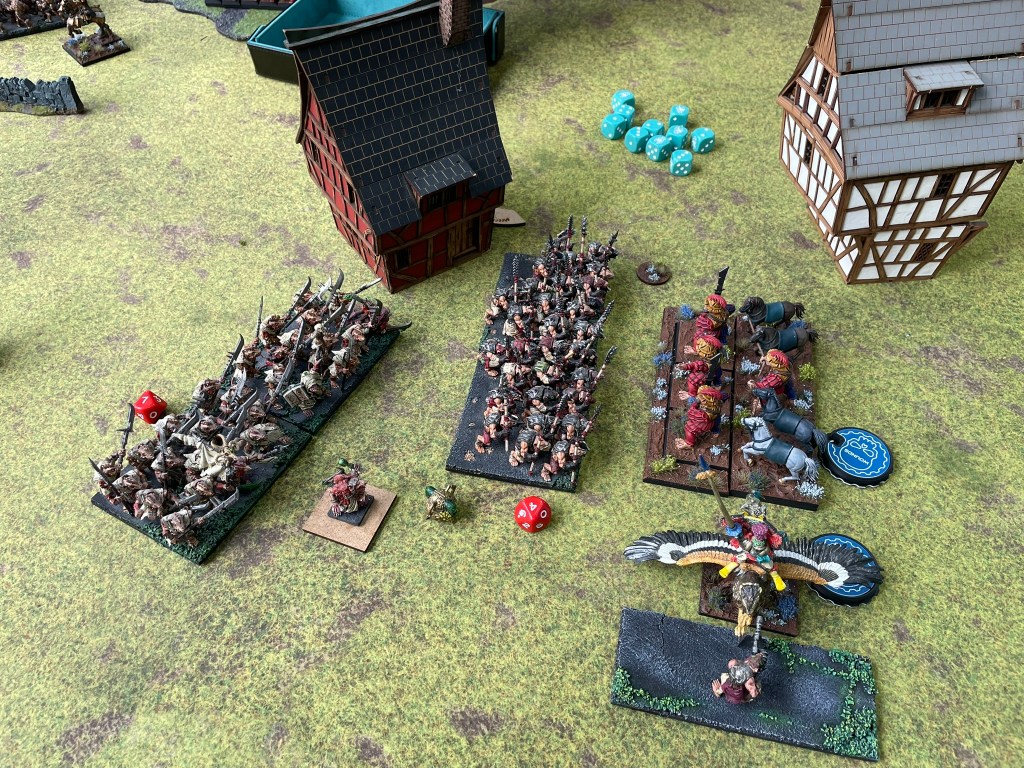
On the left flank, things had gotten off to a slower start as the rats held back to stop a wight troop from getting into combat and blocking things up. I think my opponent would have been quite happy for my troops to sit where they were taking pot shots at the defence six unit, but after a couple of rounds even the resilient spirits were starting to fade. They launched a final desperate charge at the Scurriers who survived, before returning them to their rest. This then let my left flank move forward. Warriors and the Mutant Rat Fiend destroyed more ghouls whilst Shock Troops took on the Revenants. Zombies joined the combat, but the veteran rats held their ground, allowing the Fiend to get a flank charge on the brain munchers which wiped them out.
By this stage the rats had secured the whole of the left flank and were starting to rally in their central zone, until a fresh charge from the vampires (all of them) began a wave of slaughter that drove the rats back, denying them any chance of a win, but still leaving them with two areas secured.
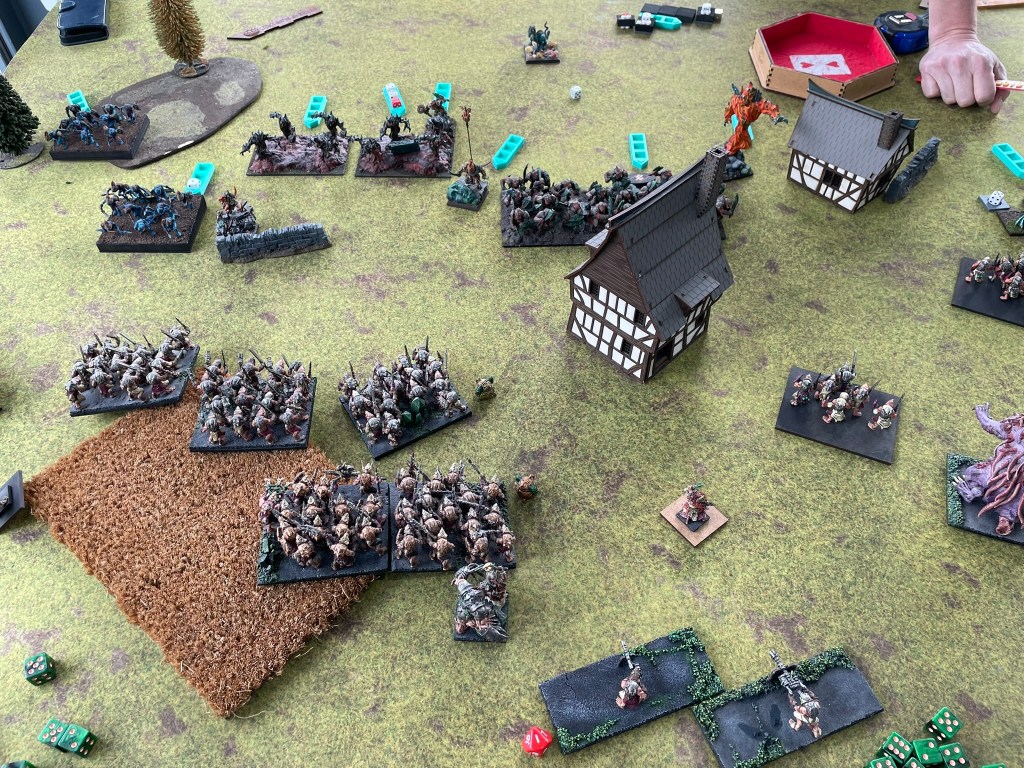
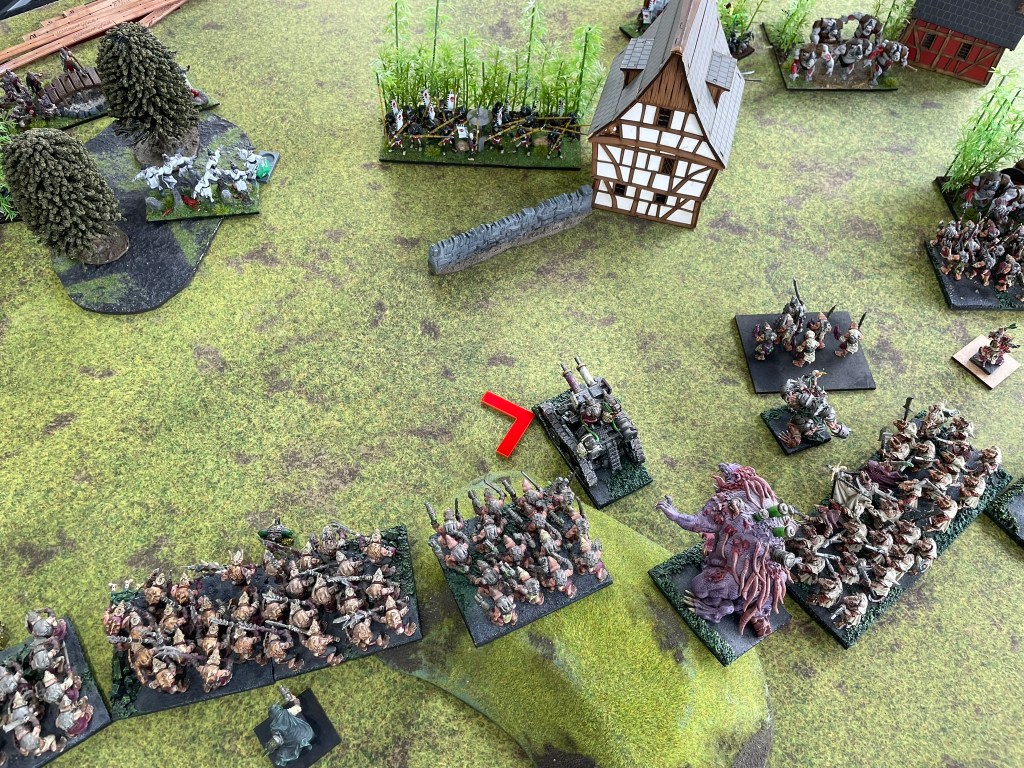
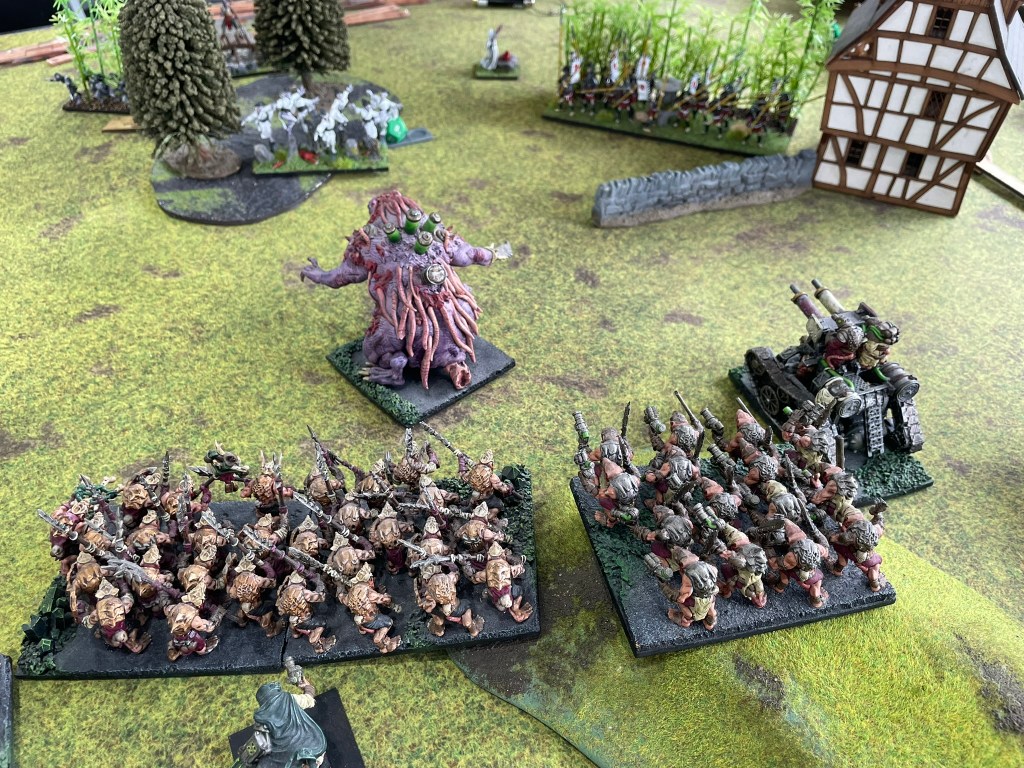
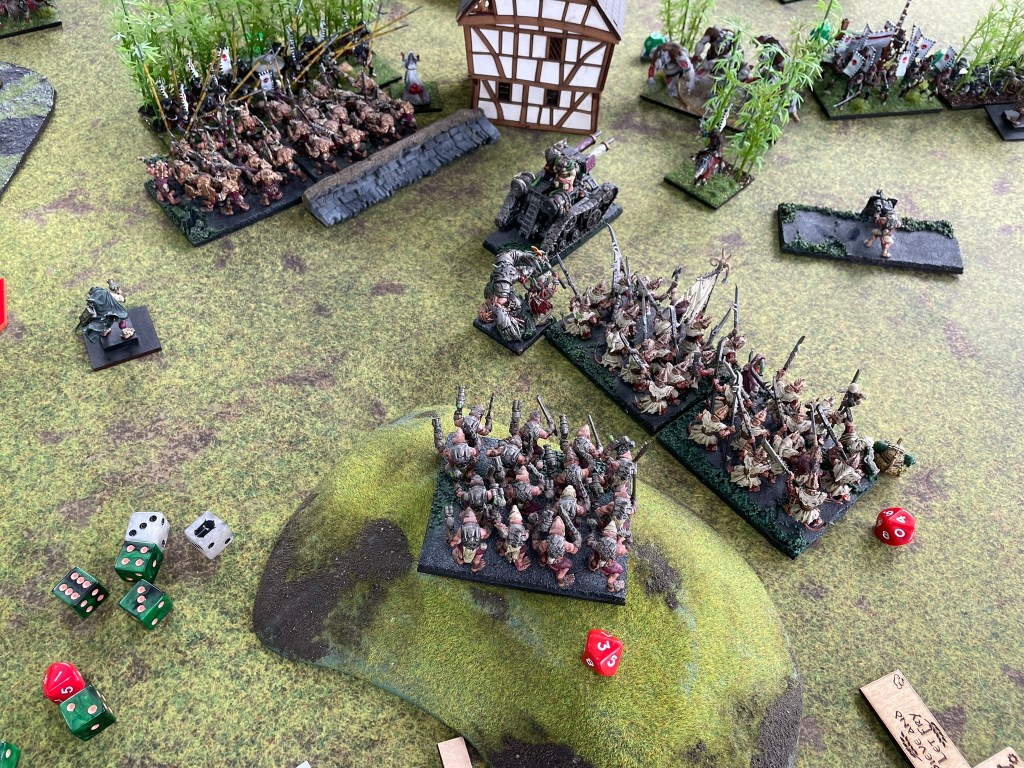
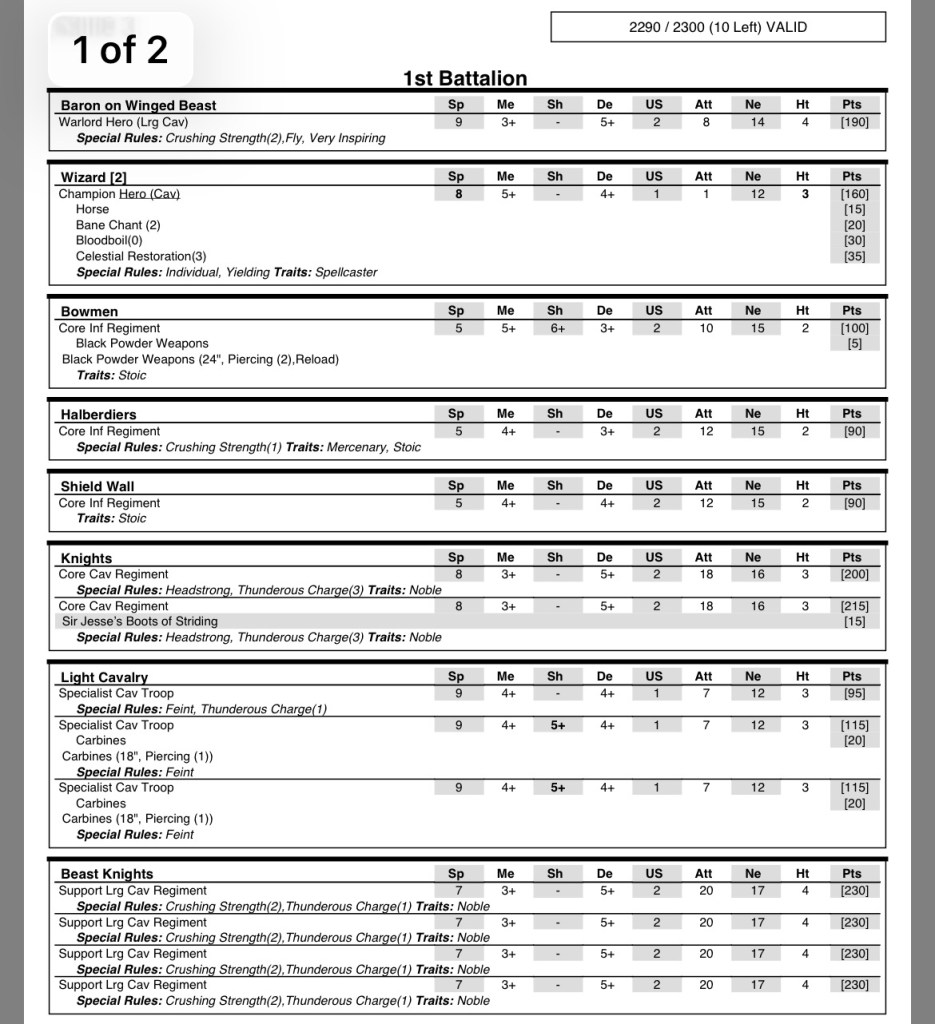
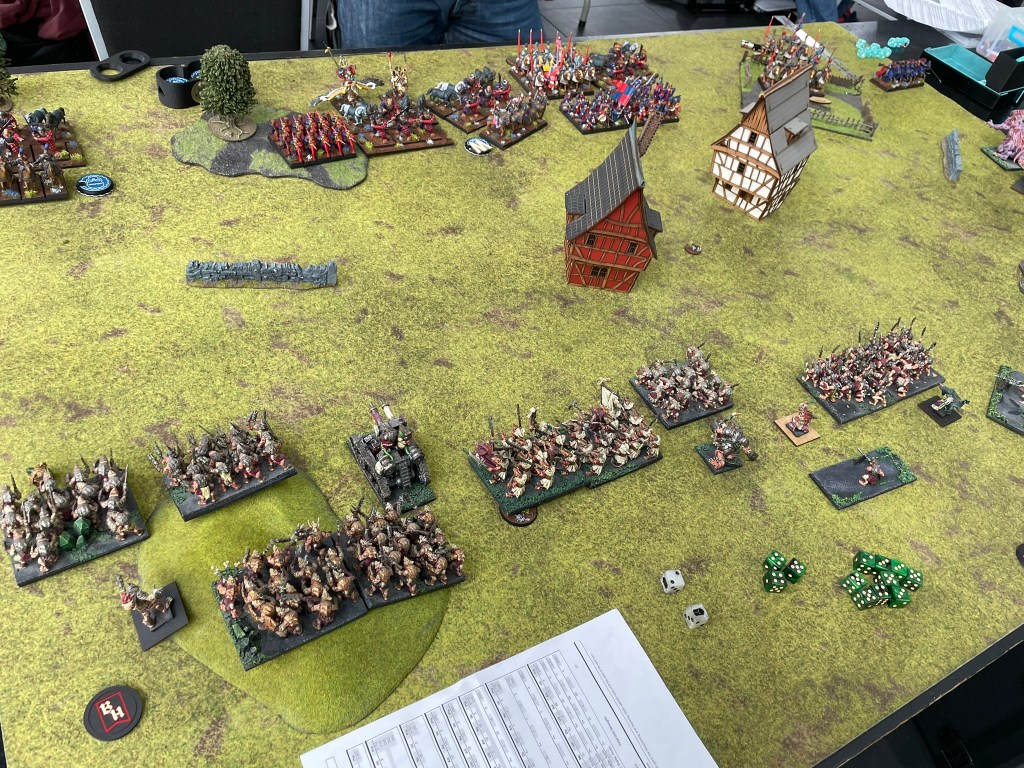
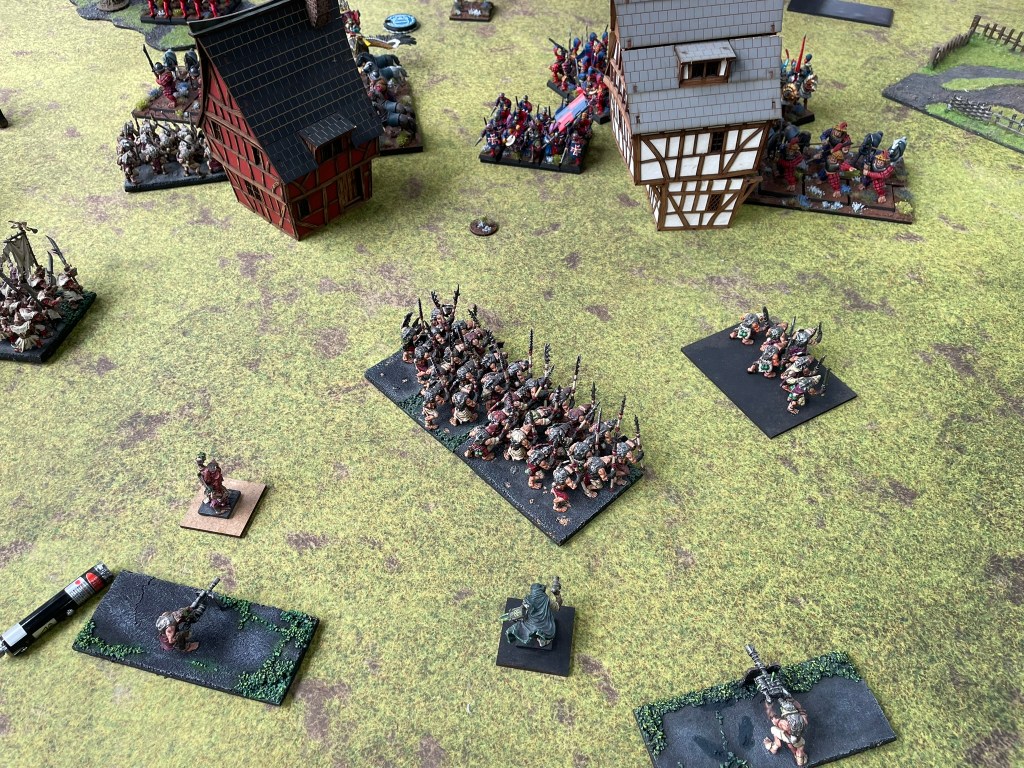
Finally, the rats faced off against the Kings of Men, with a list that absolutely terrified me and a scenario (Raze) which felt so far out of my comfort zone I began considering whether I had any space left at home for another wooden spoon! With so many fast, hard-hitting units I was worried that my opponent would simply bulldozer his way into my half and burn through his objectives.
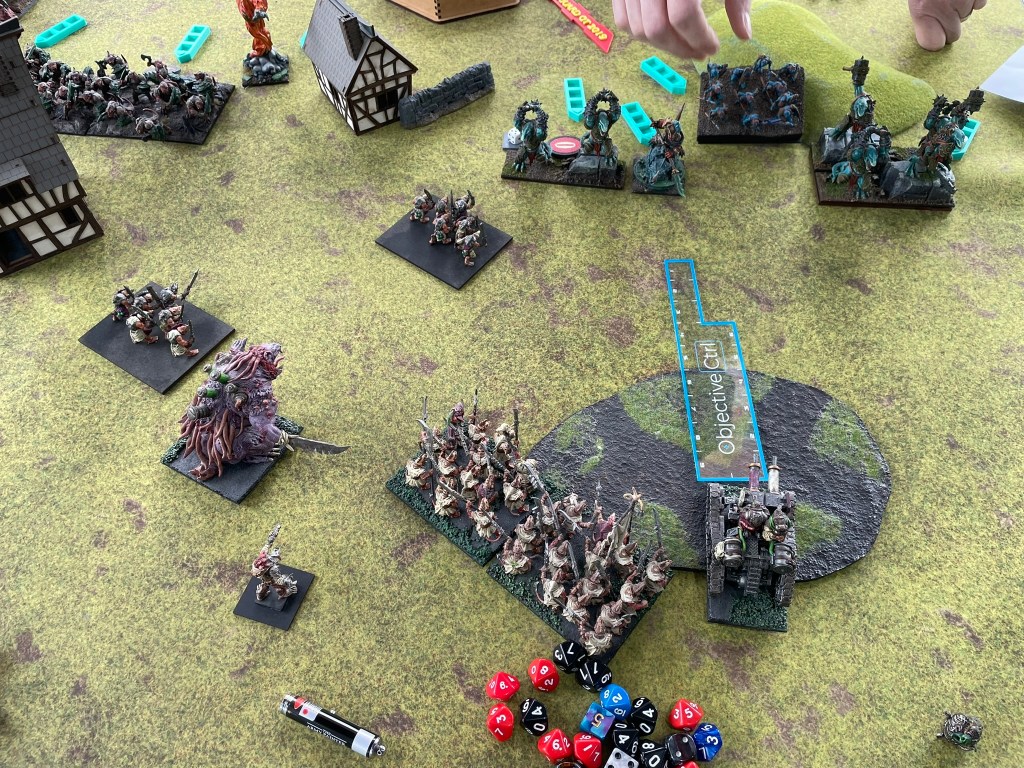
Ratkin shooting rang out for the third time that day routing some light cavalry and putting some wounds on the infantry regiments that would seek to hold the centre scoring token. I decided the best approach was to try and break up the army, so I wouldn’t have to deal with it all at once. In order to do this, I put a warrior regiment and the Mutant Rat Fiend on the far right of the table, to distract my opponent and give me a chance of grabbing an objective on the opposite side of the table. The monstrosity and its little cousins made their way up the side of the table, forcing their way through a troop of light cavalry and regiment of knights to grab some points.
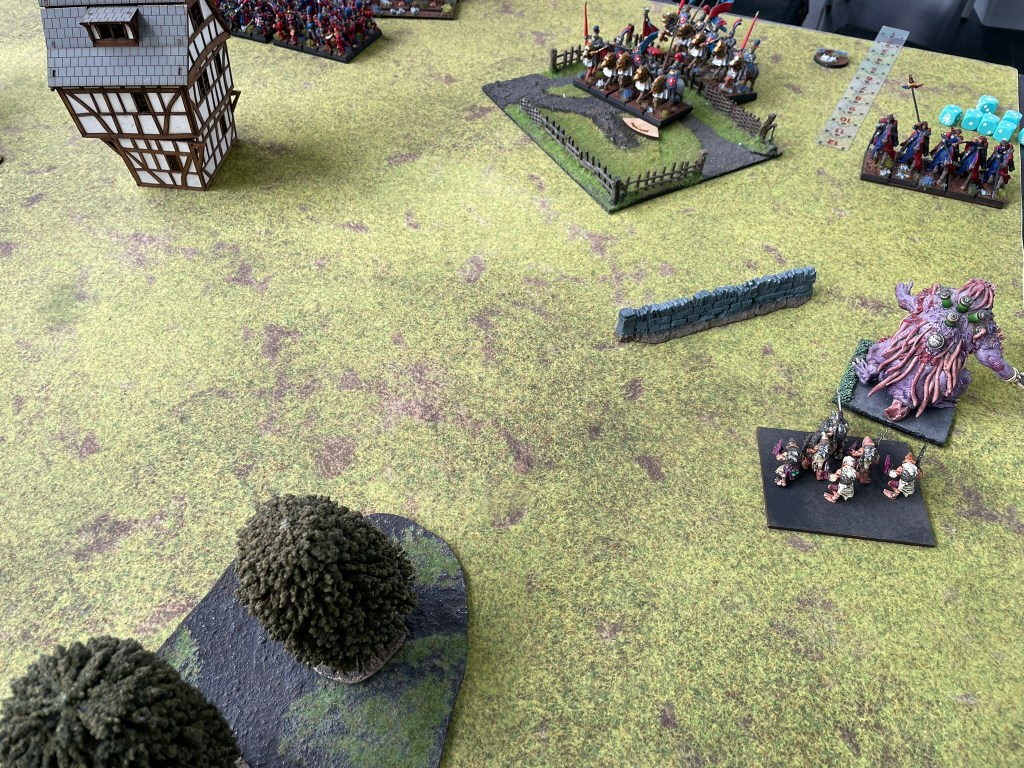
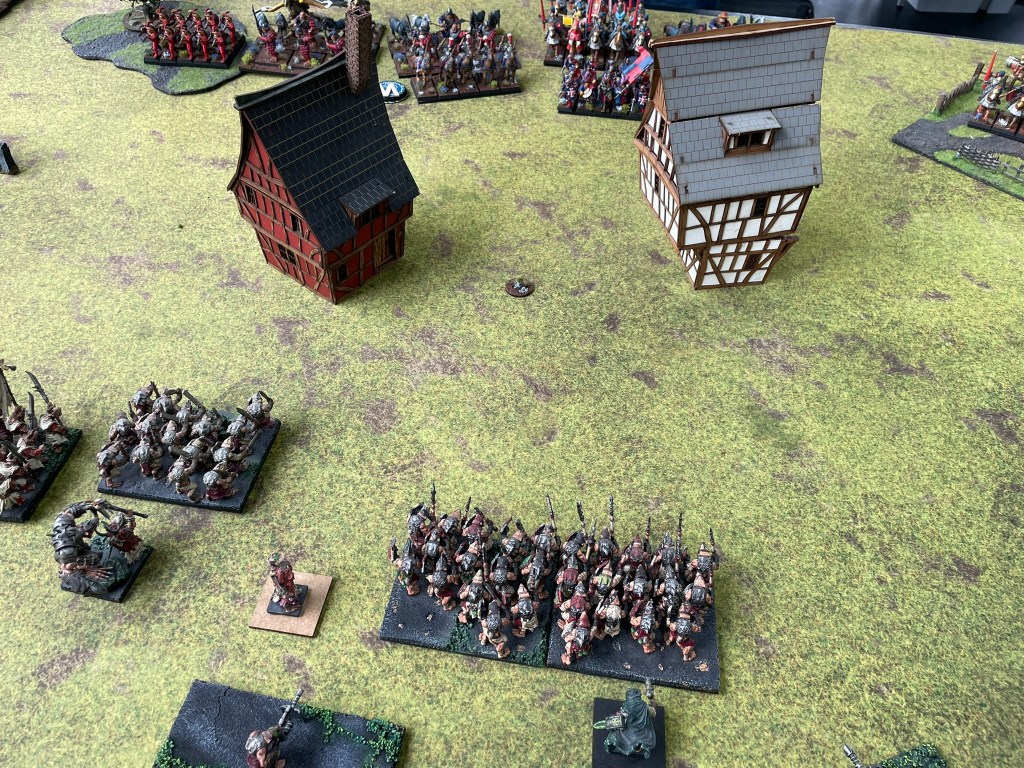
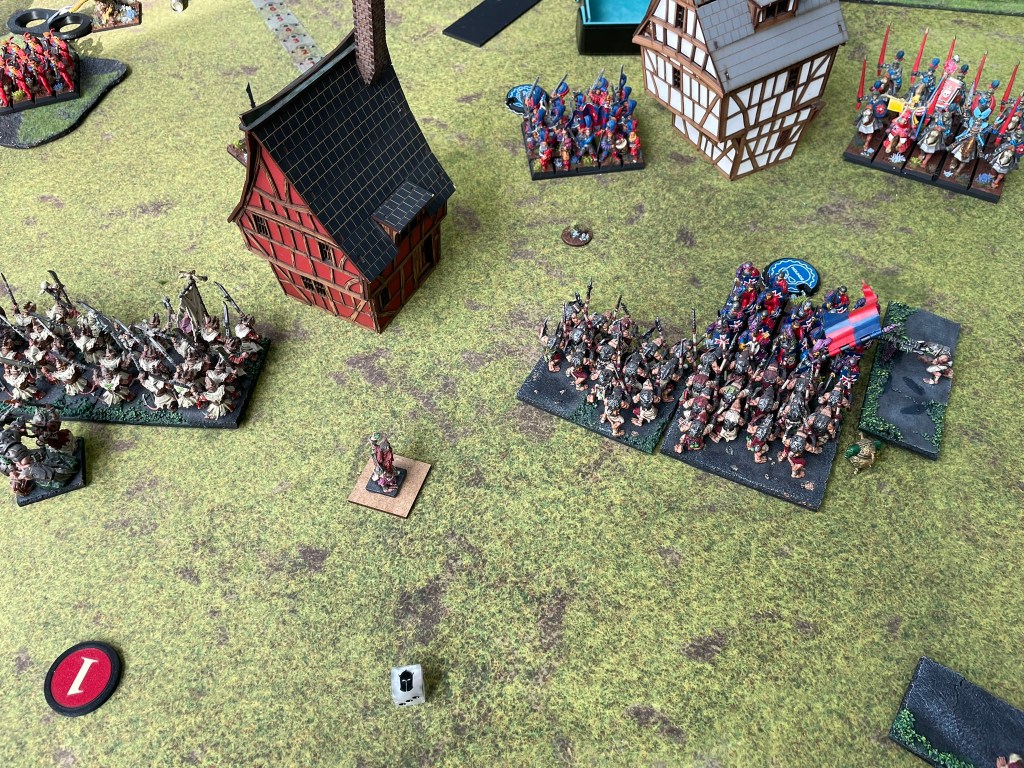
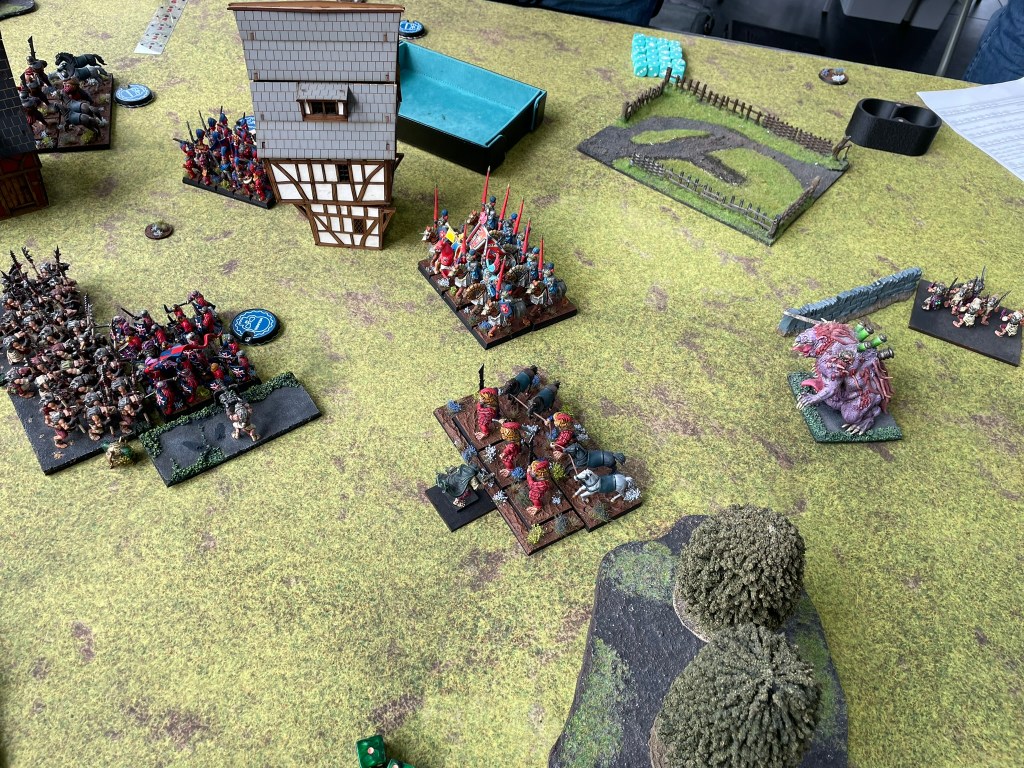
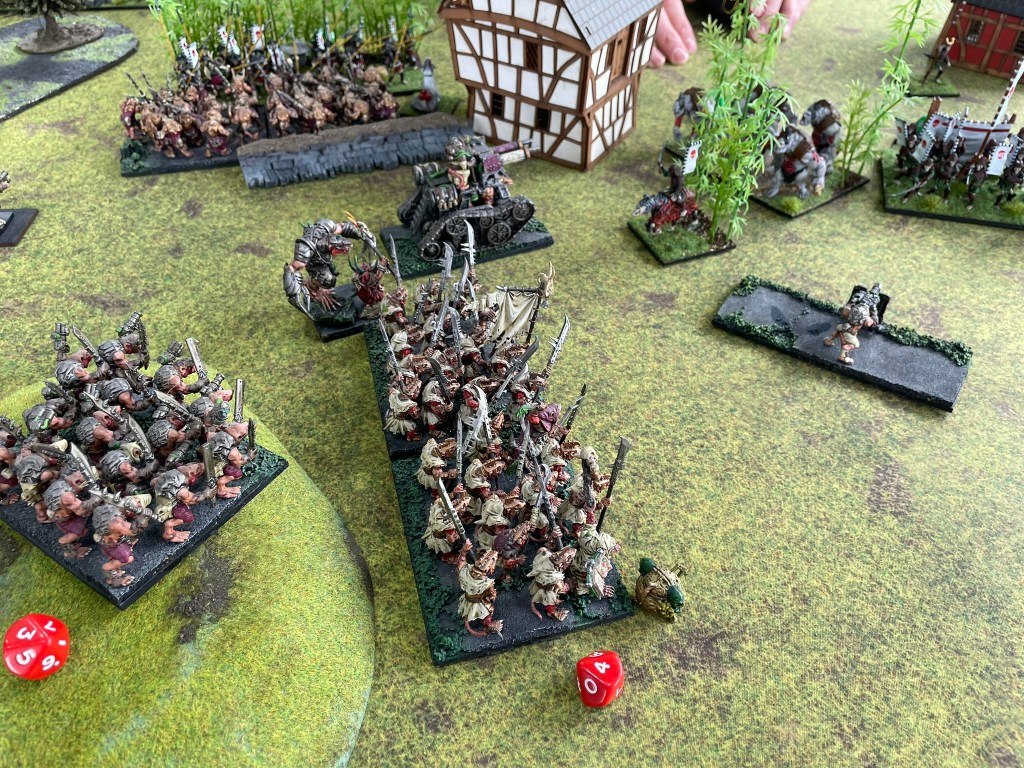
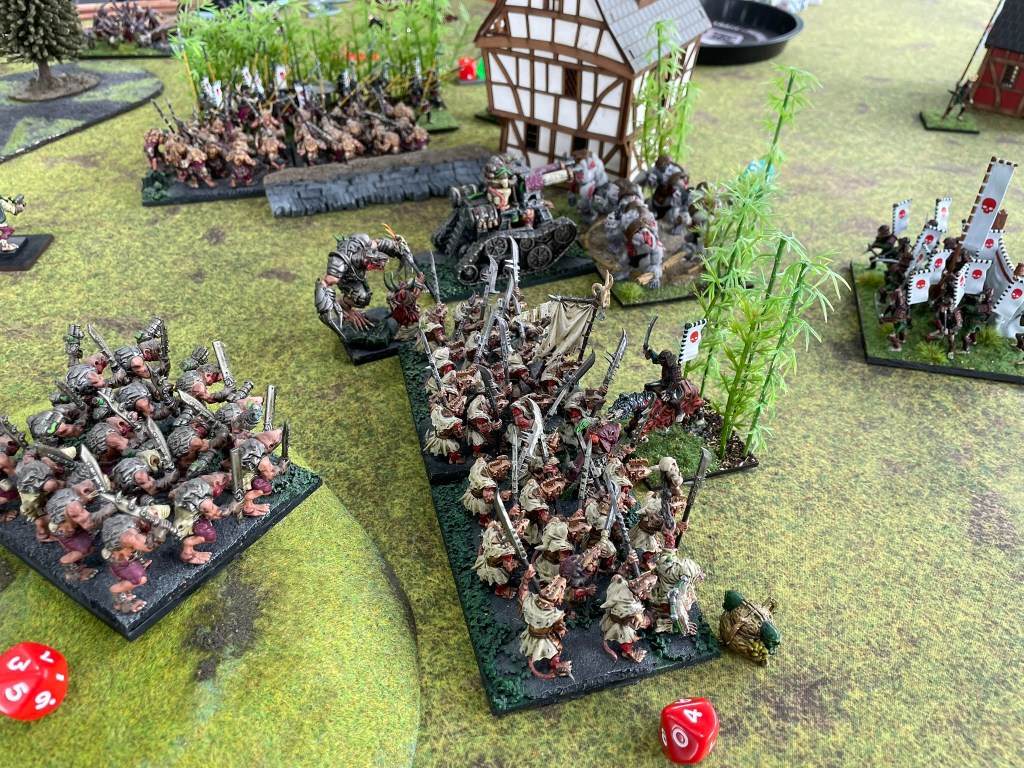
On the left flank the Scurriers and another warrior regiment kept a regiment of beast cavalry penned in, whilst the rest of the army focused on dealing with the bulk of the humans in the middle of the table. Fortunately for me the buildings in the centre of the table forced the enemy to break their forces up into smaller groups, as they attempted to move around them. This gave me plenty of opportunities to hold them up with chaff before bringing in the big hitters to break down the beast cavalry. By the fourth turn the spear horde had secured the central objective and hope rose through the ranks of the rats.
From this point on the rats focused on holding the humans back. The Fiend charged to certain death amongst regiments of knights, whilst the clawshots abandoned their sniper positions and threw themselves at any enemy that presented itself, no matter how briefly. Their bravery stopped the Kingdoms of Men from reaching their objectives, or recapturing the central objective, giving them their first win.
Final thoughts
Overall, it was a massively enjoyable day. Despite finding challenges with list building, I’m really starting to enjoy fourth edition. I’m convinced I’m on the right track with rats, although there’s still a little way to go. Some people will be surprised to find out that I think the Scurriers are doing a pretty good job. They are absolutely owning the Jack of All Trades role. They might not have the best stat line, but they contributed in just about every turn in each game, so I’m looking forward to seeing them in action again.
I’m not convinced that either short- or long-range support shooting is as effective as it could be, so that will be where I make my next changes. I think I need a bit of speed to help with scenario play, and fortunately there are quite a few great options in the army list that I’m looking forward to testing out over the next couple of weeks in time for the next event. In fact, I already have the next iteration of my list in mind and at least a couple of games lined up to give it a try. So, all that remains is for me to thank the TO for a great day out in Wales and my opponents for some really fun games.
To keep up with what’s going on you can follow @wizards_bookshelf on Instagram and Threads or drop you’re email below to subscribe.
