
I’m having loads of fun with the halflings so far this year. As happens with all of us commitments change over time. At the beginning of this year some changes with family routines meant that I am, for the foreseeable future, not able to get to my local gaming club. That means far less gaming time, and now tournaments are becoming the main opportunity to play. So, I was pretty excited to get the car packed up and head off.
What’s even better is that over the past couple of years we’ve seen more events coming to the Midlands, which for a Bristol based boy is a bit easier on the petrol costs than heading down to the Southeast. What’s also brilliant is that there is a welcome consistency between Kings of War players on the tournament scene in the UK, which is that everybody is friendly and relaxed whether its in the Midlands or the Southeast, which means there is little other than location I need to take into account when considering where to play.
The cherry on the top of this particular Kings of War sundae (actually on a Saturday) was accepting a challenge from Jake and his Ratkin. Jake was the other main contender for the Ratkin faction crown last year. Although I squeaked the win, Jake has started the year strongly picking up third place at the New Moon event in January. So I knew I was looking forward to a great game against his rats.

My list consisted of:
Horde of Stalwarts
Horde of Forest Trolls
2 Regiments of Juggers
Horde of Juggers with Brew of Strength
2 Regiments of EJ Grenadiers
Troop of Wild Lancers
Harvester
Pride of The Shires
Sauceror with Hotpot
Greedyguts
Sure Footed Muster Captain on Aralez
Muster Captain on Winged Aralez
Without regular games I felt a little uncertain about the list as I didn’t get a chance to play beforehand. This was a little unnerving as there were a couple of changes I had made from New Moon that were not exactly embedded in my mind. The biggest one being the removal of my Sauceror on Aralez and the inclusion of Greedyguts. Saucery has been a bit of a comfort blanket to me (regardless of how well it actually works) so I had lots of concerns about not only the reduction in number of Saucerors, but also the lack of mobility of my sole source of Gastromancy. Greedyguts worried me because the one time I’ve played with him he did exceedingly well, and that meant, under the strict laws of Sod, he was likely to be a massive let down when push came to shove.
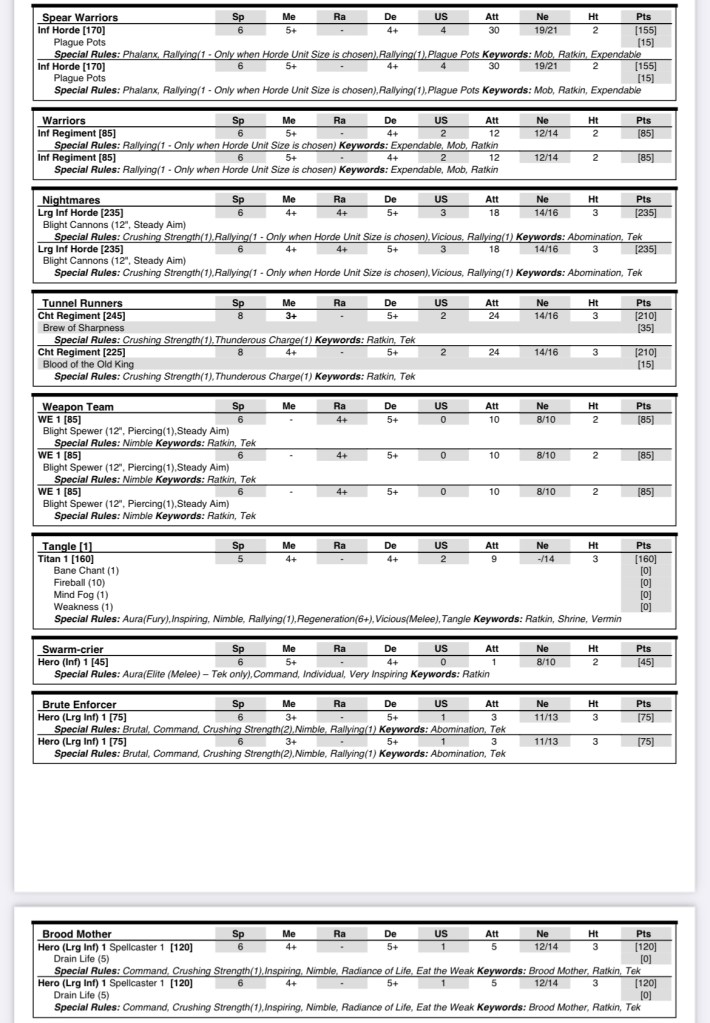
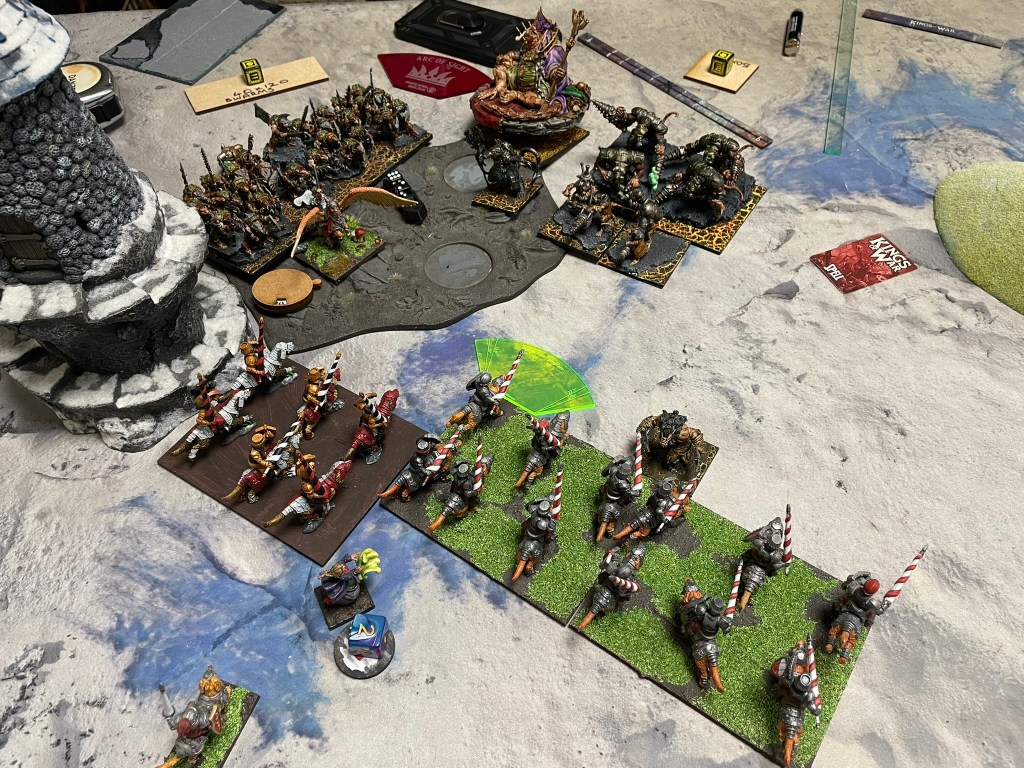
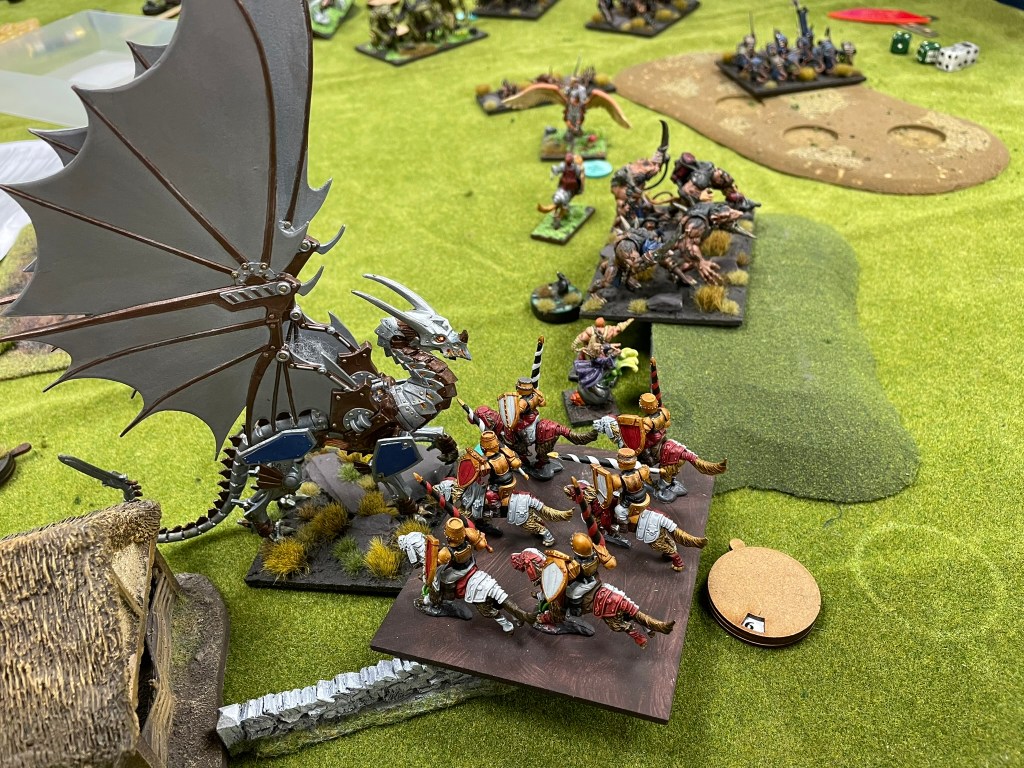
Game 1 vs Ratkin, Control
With 17 drops there were a lot of rats to shift. What was unnerving was the large amount of short-range shooting they could bring to bear. I felt I had an advantage with speed, but having a massive cavalry horde for all that shooting to target was a little worrying, although on the plus side I had a good idea of where most of the shooting would end up if I gave it half a chance.
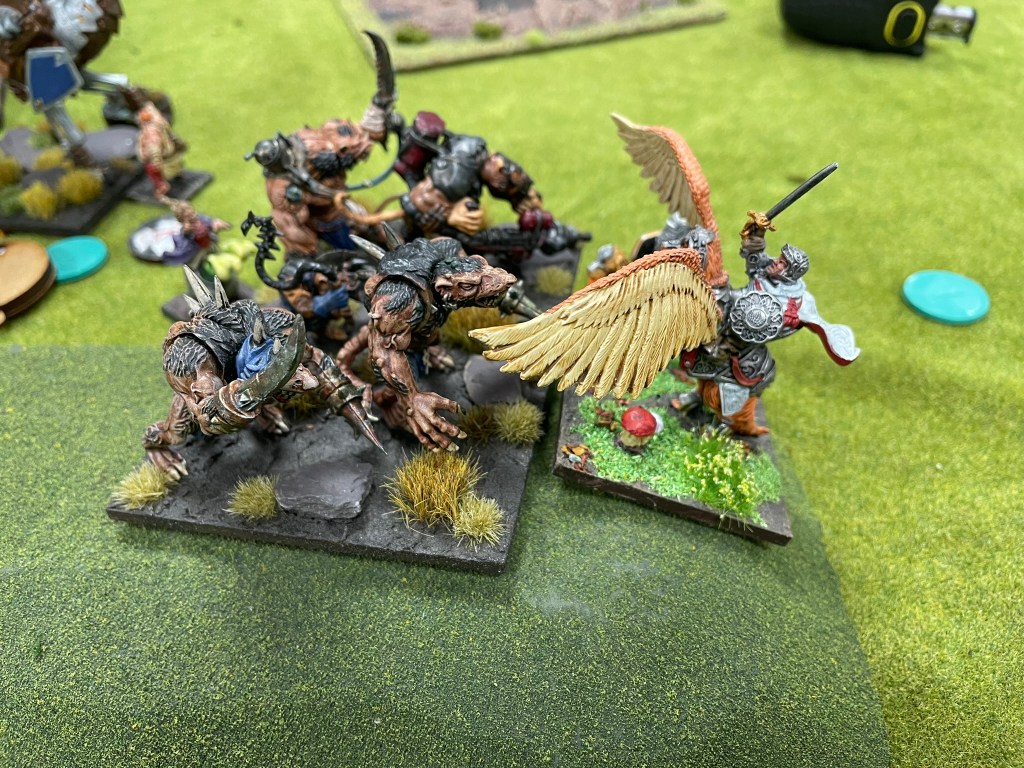
The Rats set up with Spear Hordes at either end, Tunnel Runners in the middle and Nightmares and Warrior Regiments filling in the gaps, with the Weapons Teams weighted more heavily towards my left, where my Jugger Horde was deployed. I spread my troops out across the field with the majority of cavalry and the flying Muster Captain on my left, the infantry and Pride of the Shires in the middle and a single Jugger regiment and Greedyguts on my right.
For the first three turns things were very cagey as both armies did their best to avoid getting into each other’s threat range, in the end though I decided it was time to push forward. I sent in my Grenadiers to block up some of the shooting and the Wild Lancers and Flying Captain made a double charge on a Warrior regiment, which did not result in any dead rats, but did break the stalemate. Unfortunately, I made a slight mistake which resulted in one of the Tunnel Runner regiments getting a flank charge on my Stalwarts, what made this worse is that the units around the Stalwarts were positioned in such away that the difficult terrain around the flank was completely covered, giving the unit a massive 48 attacks with elite and vicious and seeing the Stalwarts off. Suffice to say this was something of a loss and left my trolls and the Iron Beast battling to save the centre.
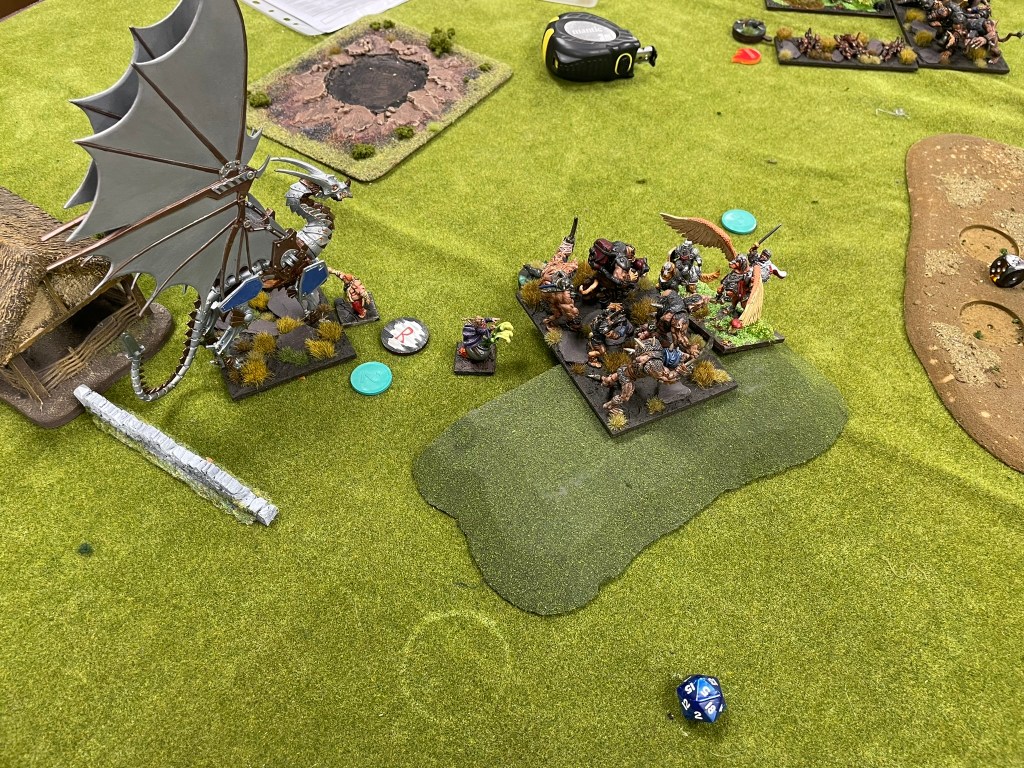
Despite the great gap that had developed the Juggers and Greedyguts on the right managed to cause quite a bit of damage. The Juggers knocked a few points of nerve off a Nightmare horde and Greedyguts started munching his way through a Spear Horde whilst also holding off a Brute Enforcer in his flank. His healthy appetite got the spears up to 15 points of damage and there was now hope that a nerve role of 6 or more could save the flank, giving him an opportunity to finish off both the spears and the Nightmares.


On the left the cavalry was making a reasonable job of chewing through things, but there were just too many units floating around and blocking up charges for them to make reasonable in roads. Fortunately, some nifty Gastromancy kept the Jugger horde healthy, and their mission changed from killing to scoring. Backing off from the futile rat swatting exercise the horde took control of the left scoring zone on my table half. In the centre the Iron Beast and the trolls did what they did best, grinding down the Tunnel Runners to hold their scoring zone.
It was unlikely at this stage that a win could be salvaged, but Greedguts held the glimmer of a hope that the win could be minimised to just a point. If some realistic rolls landed that would allow him to finish off the spears and then get stuck into the Nightmares. Unfortunately, it was not to be. Rolling a 4 meant the spears and the Brute Enforcer got another round of combat in and some great spear work resulted in Greedyguts retreating from the field and a 2:4 loss.
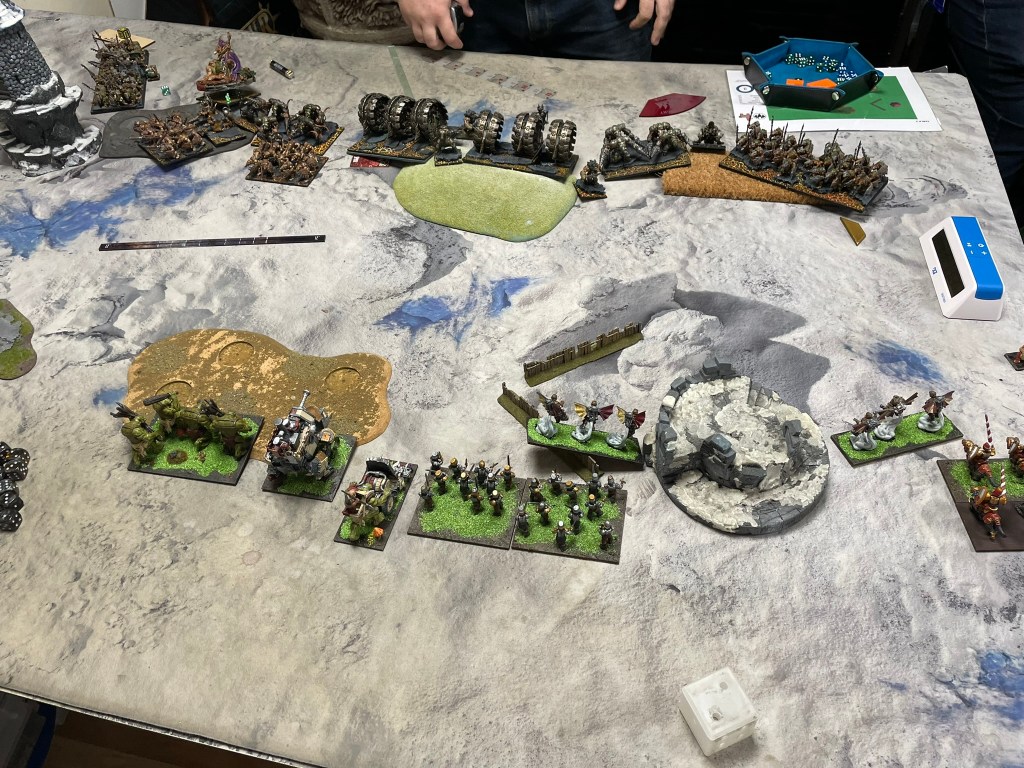
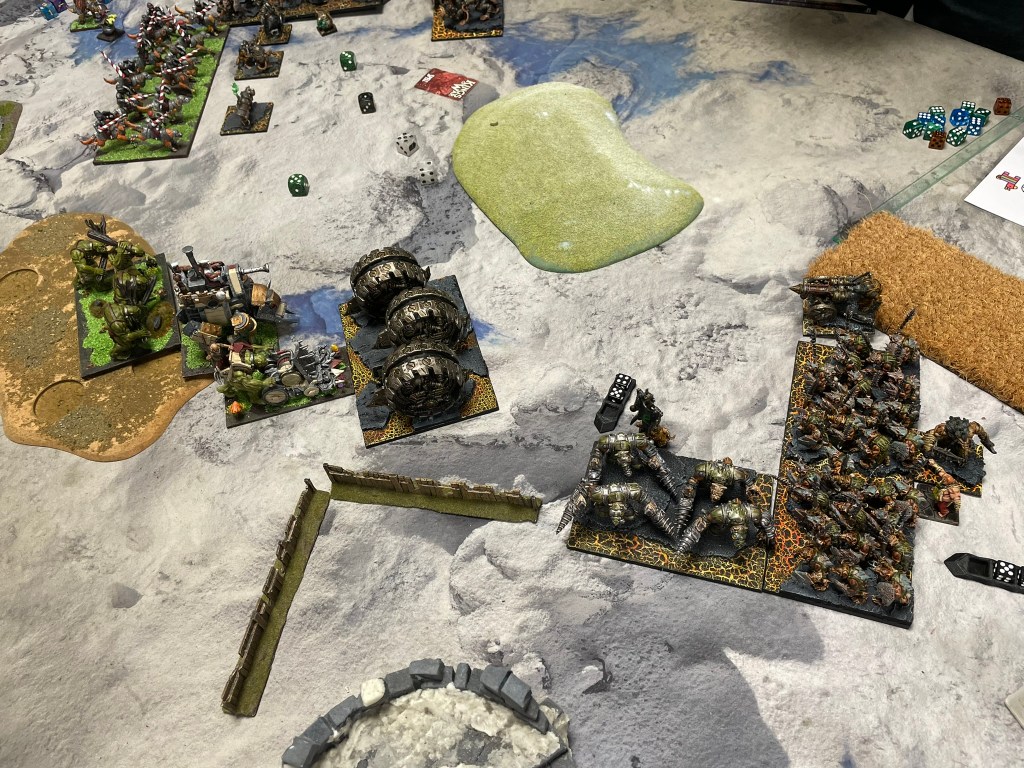
Game 2 vs Dwarfs, Compass Points
Dwarfs make me nervous! In particular the Dwarf Lords on Large Beasts. With defence 6 and a lot of mobility they can cause real problems. Couple that with a wall of defence 6 infantry and Golach’s Fury and you have fun times ahead. Fortunately, whilst this list brought 2 of the Lords there was no defence 6 infantry and no Golach’s Fury, which made this a really different list to what I would expect to face.
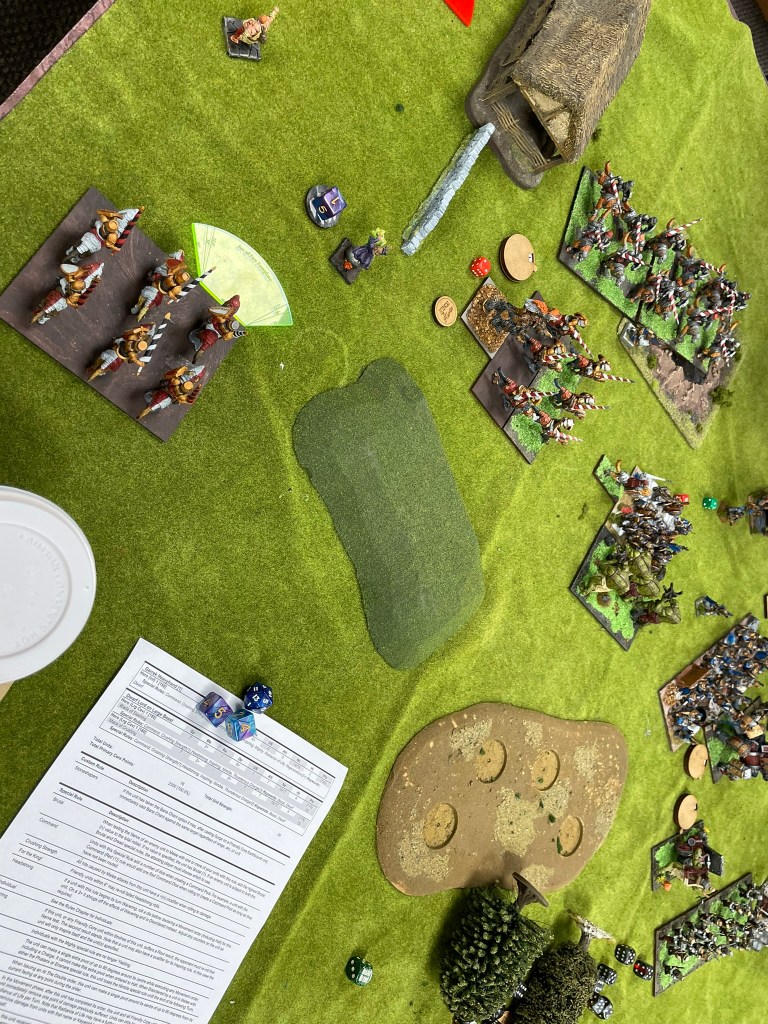
For this game the Dwarfs spread themselves fairly evenly along the opposite table edge with a Beast Lord at either end supported by a regiment of Ironclad whilst a block of infantry and brock riders held the centre. I ran my cavalry on my left again, The Iron Beast and footsloggers held the centre and on my far right a Grenadier regiment and the flying Muster Captain stood ready for action. My plan was to deal with the lords first and then hope for the best in the centre.
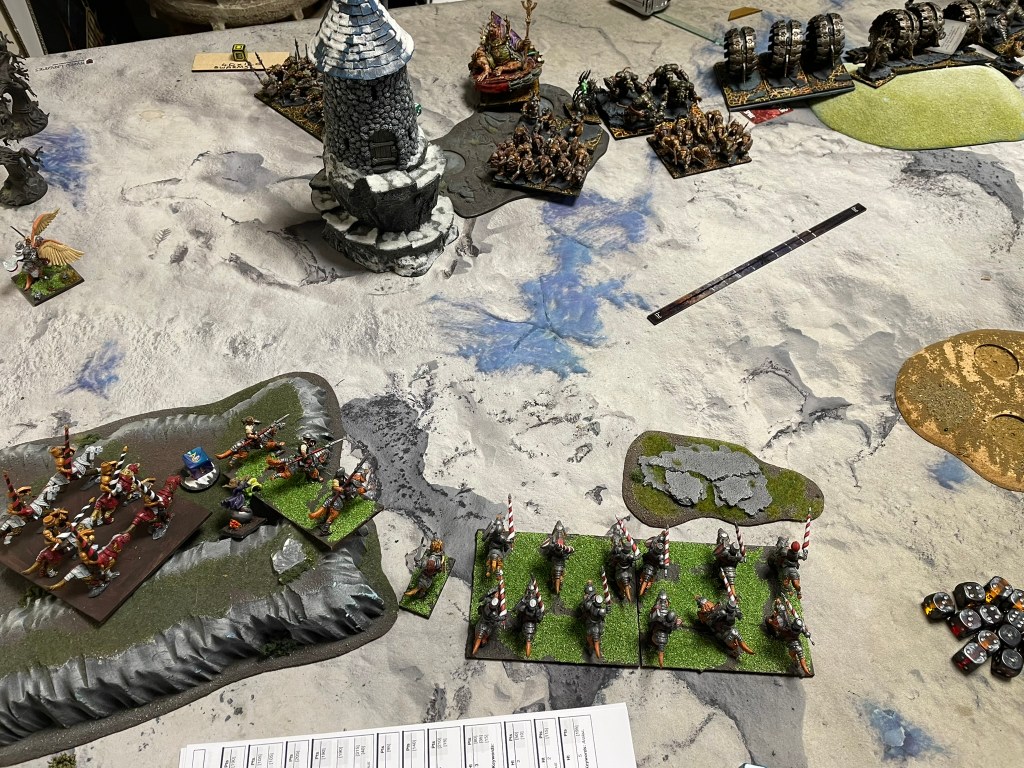
Happily, the Lord on the right was easily outmanoeuvred and both my fliers were able to dodge their way over to the centre to help out with the brock riders heading towards my poor Stalwarts. On the left though it would not be so easy. Keeping himself out of trouble using an infantry regiment meant the Ironclad had to be disposed of first. Greeedyguts and 2 regiments of Juggers later this was achieved, but there was still the issue of the Lord and regiment of Brocks hanging around in charge range. Thanks to some wild charge on the Gastromancy the Wild Lancers managed a few wounds on the brocks and penned them in for a turn. Greedguts then attempted to do the same with the Beast Lord whilst one Jugger regiment stood on guard and the other headed towards the centre.
Unfortunately, the nimble Beast Lord managed to slip away from Greedyguts and rear charge the departing Juggers. This could have been a problem, but fortunately the charge was hindered, and the handful of resulting wounds meant the Juggers remained, and the hapless Lord was left to receive a rear charge from the other Jugger regiment and Greedyguts. The hapless Lord was neither hapless nor a Lord anymore.
Not surprisingly the Wild Lancers did not survive the revenge of the Brocks, however the dwarf cavalry was left in an awkward position where my Jugger horde could charge them, which happily brought my horde into the backfield of the Dwarfs and saw Garrek Heavyhand step up to take them on. Clearly there was a goodly amount of righteous fury in the old warrior as the managed 5 wounds and a double 6 waiver. The dogs came to a standstill.


In the centre things were on a knife’s edge. The Pride of the Shire’s led by example, resisting round after round of damage and keeping waivered units in the fight until the brutal Battle Drill finally punctured it’s steam powered heart, but by then it was too late. The trolls survived the onslaught and claimed the objective on my side of the table. The remaining Beast Lord decided to play for a draw and headed down to claim the Dwarf’s central objective whilst the Halfling Cavalry massed. Juggers flooded in on all sides of Garrek and it wasn’t long before the horde had rid itself of the Dwarf and turned to face the final Beast Lord. They set their spurs and levelled their lances. Despite the strider aura the magics of the Dwarfs meant they hit the massive beast as though they had been hindered, and whilst damage was done, it wasn’t enough to take it down, resulting in a draw.
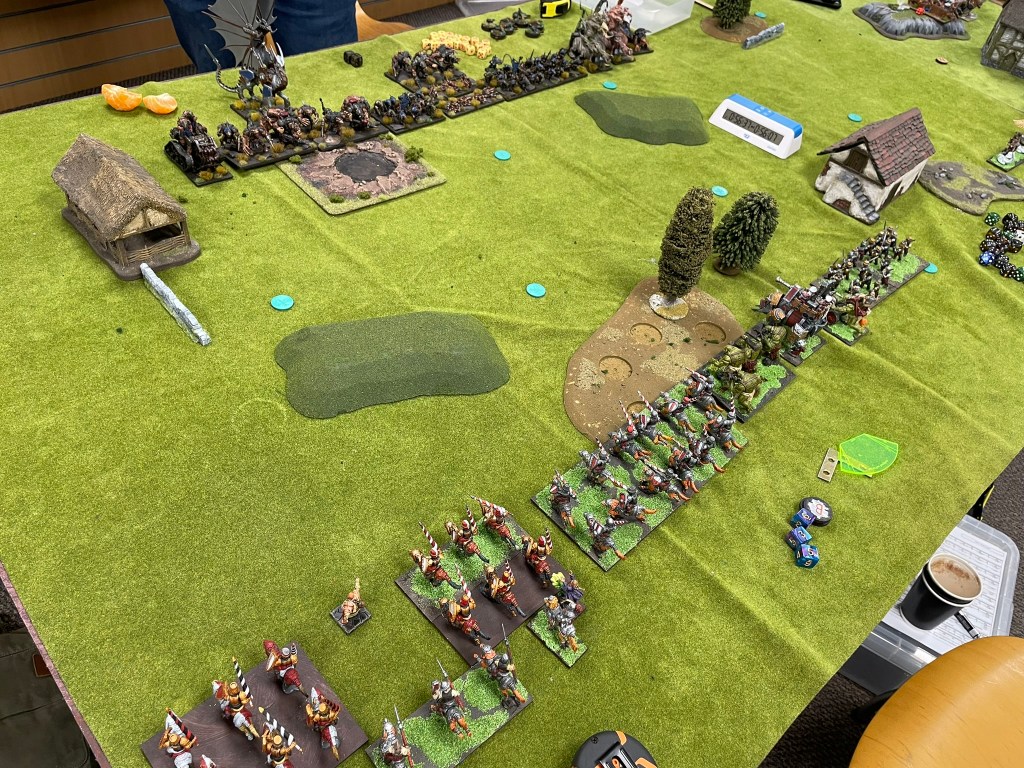
Game 3 vs Ratkin Slaves, Fools Gold
The less said about this game the better!!! Going into this game I felt reasonably confident. My army had been working well, and I had avoided making any of the standout mistakes that I’d made in the first game, but that all came to an abrupt end in this game which meant by turn 2 it was largely over. There were three big mistakes I made which I’m going to talk through instead of going through the game more generally:
1/ Deployment – a feature of most slave lists are the Impalers. These are pretty hard-hitting chariots that because of their base sizes are really difficult to block from making multi-charges. I should have remembered this and used my flyers to block them up and start taking off wounds. Unfortunately, I deployed them in the wrong positions and couldn’t bring them to bear where they needed to be.
2/ Cryza’s Gore Impaler – this special character is able to kill units and overrun through them as though they are individuals. Having set up one blocking unit in such a way as to take account of this on one of the charges the chariot had, I overlooked another charge it had. This resulted in the chariot removing not only a regiment of Grenadiers, but also a regiment of Juggers in turn 2.
3/ Massed shooting – possibly the costliest mistake, Nightmare shooting isn’t particularly great when the units are on their own, but three of them together cause absolute carnage. I messed up my measuring when moving the Jugger horde in turn 2 and left them in range of the massive rats. Whilst this didn’t kill them it did enough damage that they could then be shot off in turn 3 without contributing much of anything.


To be fair to the halflings, they fought well despite the avoidable mistakes I made in the first couple of turns and managed to score a point, but they were never going to win it back. What didn’t help was the Supreme Overmaster had an absolute field day on his regeneration, recovering what seemed like at least 5 points of nerve a turn! Not a massive game changer, but definitely frustrating on top of all the self-sabotage.
Final thoughts
The day was absolutely brilliant all in all. I’m still kicking myself over the final game, but what can you do?
I was genuinely impressed with the overall army performance and I’m increasingly feeling better and better about the Jugger horde. I would definitely say it’s not the easiest thing to use, I would go as far as to say it’s pretty counterintuitive. Whilst you want to throw it forward it really works well being held in reserve whilst smaller units run around it doing the hard work.
The reduction in Saucerors also went well. It did force me to commit to where I wanted the support, which was usually with the cavalry, but surprisingly the mobility wasn’t an issue. What’s more the hotpot was a life saver. Also, I found myself using a greater range of abilities this time around with Wild Charge really helping in game 2. I might have a go at putting together some thoughts on Gastromancy in a separate article because whilst it’s subtle it definitely adds value.
And finally, the MVP, the mighty Greedyguts. What an absolute beast. I’m really not sure why I don’t see him in more halfling lists, of course I’m willing to put this outing down to pot luck, but for 115 points he really punches above his weight (which makes that a pretty big punch in relative halfling terms).
I hope everyone has a great week.
By the way, if you want to make sure you don’t miss a post, put your email below.

Go Go Greedyguts!!
LikeLike
Almost as good as a Jugger horde.
LikeLike