
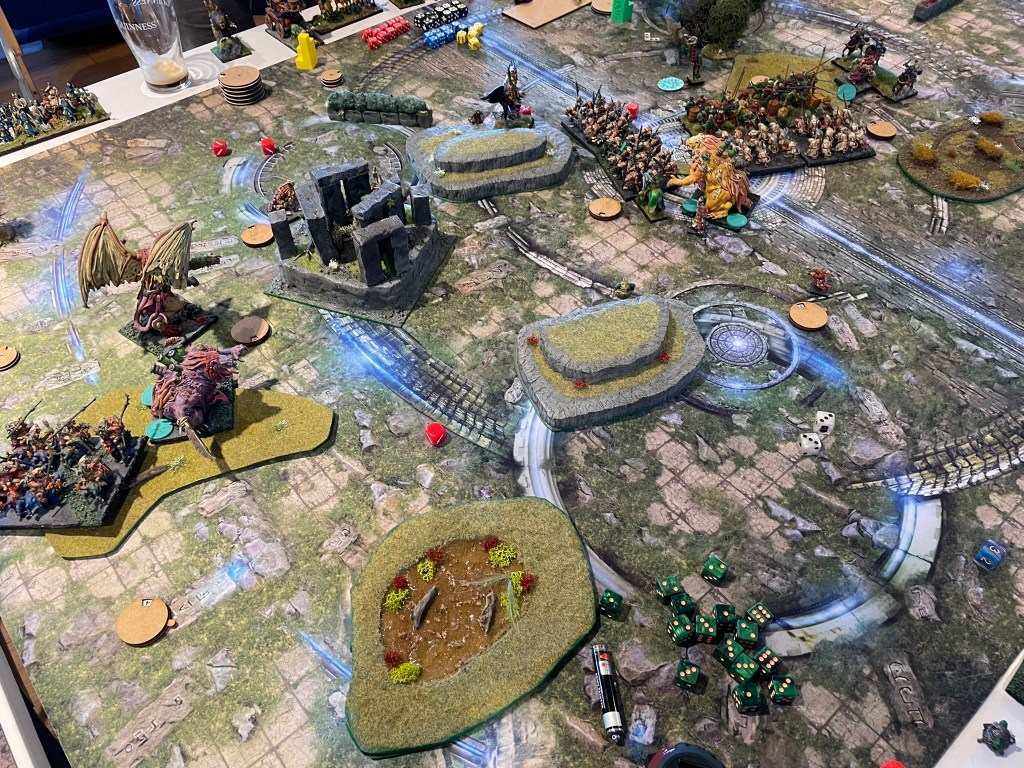
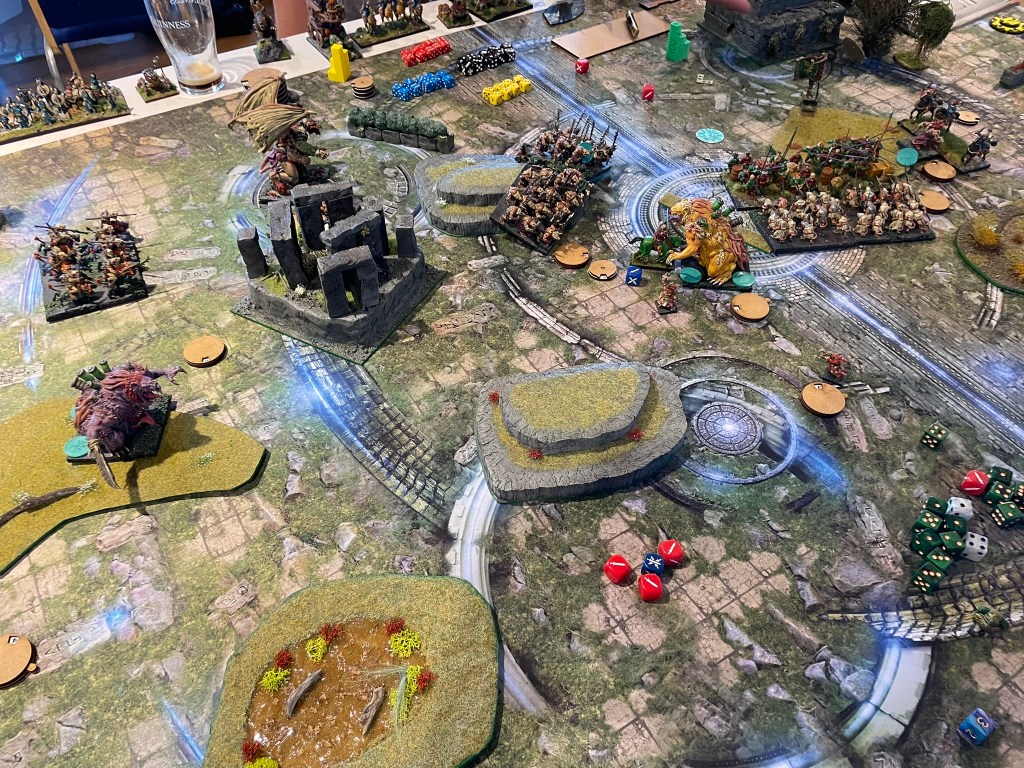
On Saturday, 12th July, I packed up the rats and headed off to a very sunny Oxford for the Hodenburg Hoedown. This is the fourth annual instalment of Si Brand’s highly enjoyable Pride of the Shires events. Happily, they’d managed to find a few fans, which after a relaxed second breakfast managed to keep the worst of the day’s heat at bay.
For this event, I was taking a list based on my second edition tournament roster, tweaked for third edition with an extra command dice thrown in for good measure. The exact details of the event tend to vary from year to year with different points values and/or special characters. What remains the same are round based table maps, so everyone is playing with the same scenery set up and a rather novel way of picking scenarios which means players get a choice of three in each round.

Unfortunately, I didn’t read the pack properly and didn’t notice there was a special character until after I’d submitted my list. All that meant I didn’t have time to paint up a model that would have been perfect for the Beatmaster. More than that though the Beatmaster provided the army with an additional blue command dice which meant I wouldn’t have bothered with the extra dice I’d paid points for in my list, although as I quite like the Ratkin command abilities I certainly wasn’t unhappy about it.
Game 1 vs Forces of the Abyss, Hold the Line
The first game was against the Forces of the Abyss. Hold the Line is not my favourite scenario and it’s one I’ve found myself having a few challenges with at recent events. Happily, though, I knew I was going to have a relaxing game because I was facing off against a player who I had played the year before. It had been a very laid-back game and we both timed out around turn four. So, the mission, as far as I was concerned for game one was to simply play a full game.

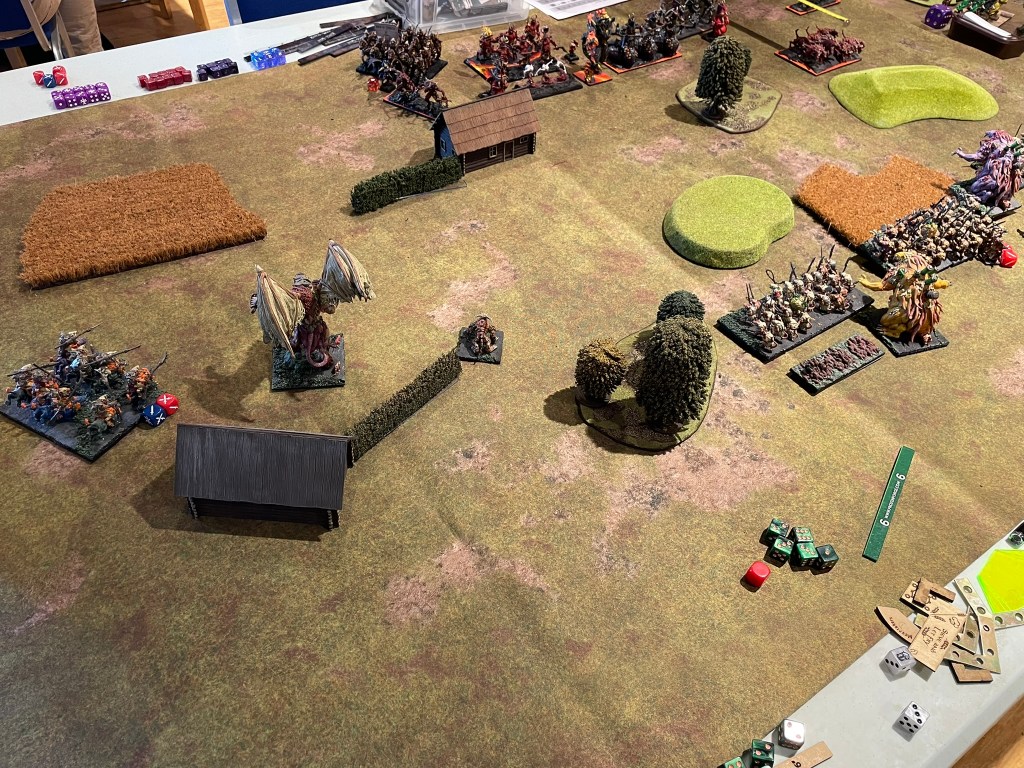


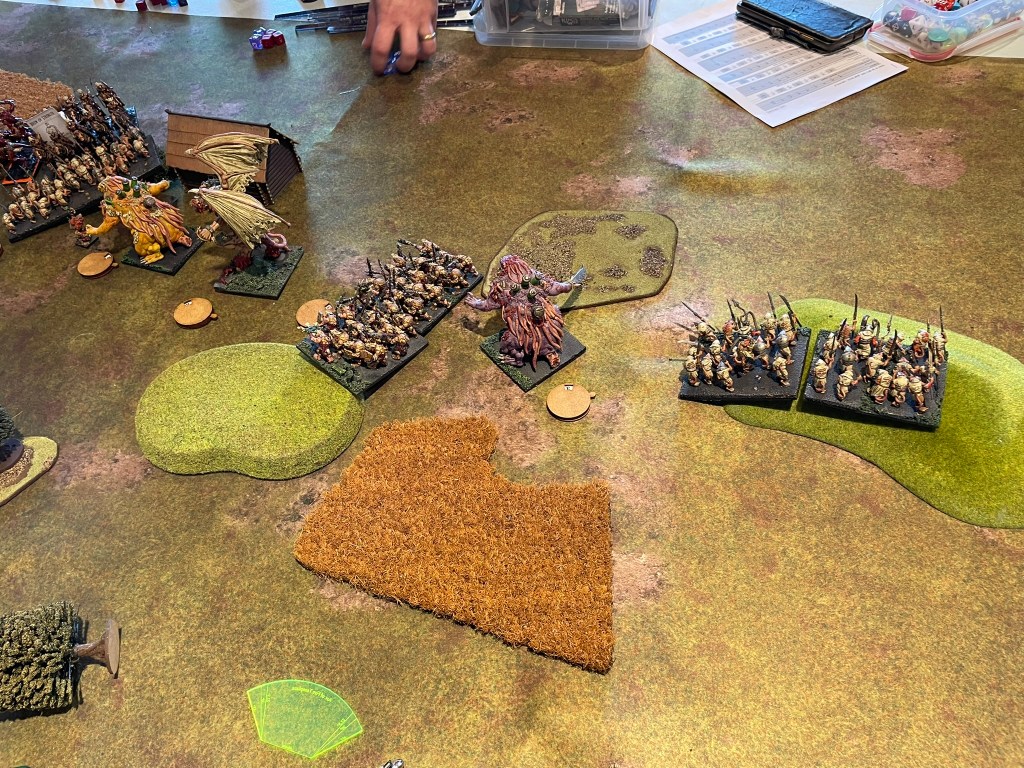
The Abyssals set up with a refused flank going from the centre to my right flank. I decided because I had a few fast units, which I hadn’t played with for a while, that I would spread myself across the whole table putting Scud, the Night Terror and the Hackpaws on the far left with the rest of the army spread from the centre through to the right flank.
I was a little bit worried about the aggressive units that were on either end of the Abyssal line. There was a berserker regiment at each end of the army with Abyssal horsemen supporting the centre and on the right-hand side he had Hellhounds. These units could easily chew through my flanks if given the chance. For that reason, I held my right flank back and pushed my left flank forward as far as I could without giving any charges to the Berserkers or Abyssal horseman and let my centre creep very slowly forward. The demons pushed forward more aggressively in the centre, which you’d kind of expect them to do, and inadvertently opened up an opportunity that allowed me to get Scud and the Night Terror into a warlock in the centre of the table. Smashing the evil sorcerer to a pulp allowed Scud to reform to a position where he would be able to jump into the back lines of the demons and start causing problems. Which he duly did.
In the next turn he took down a troop of gargoyles before turning to face back over to the right flank. And at that point I started to feel a little bit more comfortable about winning on the right. That being said, the demons weren’t going to make things easy for me. The seductress was able to charge Scud and started knocking wounds off him, but because of the positioning, the rat demon was still able to charge the Hellhounds.
In the centre, Chroneas and the Tortured souls went into the into the spear rat horde but didn’t really do very much. That set up a flank charge on Chroneas with the Shock troops and let a Mutant Rat Fiend and the spear horde take care of the Tortured souls. This really opened up the centre and meant that the Molochs and the Nagarri got pulled into the melee that was starting to erupt there. By about turn 4 Scud had managed to remove the Hellhounds from the right flank, and with the exception of one minor moment of discomfort where I realised that I had given a flank charge on a Mutant Rat Fiend to Berserkers and a rear charge to Zaz’u’uszu. Fortunately, the demon dice underperformed, and the Mutant Rat Fiend managed to survive, killing the Berserkers in the next round.
By turn 5 the rats had full control of the centre of the board and full control of the right flank, only the left flank was still to be contested. For most of the game the Hackpaws had managed to keep the Berserkers and Abyssal horseman back. But in the dying rounds, the Berserkers managed to get into rat riders, drive them to ground and move forward to claim the flank, giving the rats their first win of the day.
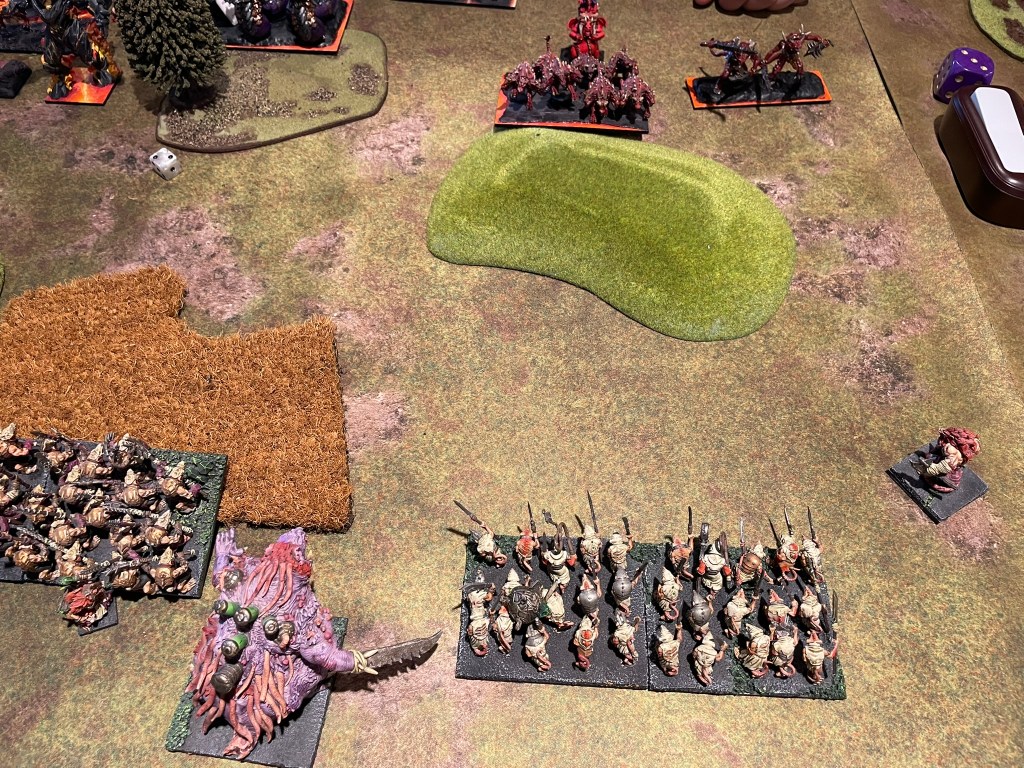
Game 2 vs The League of Rhordia, Stockpile
I haven’t played against Rhordia for a while and thought this would be an interesting matchup because there are some similarities between the two factions, such as a liberal use of rally and ensnare. Not only that, but our set ups mirrored each other. Our infantry hordes were placed centrally with our faster units on my left flank.


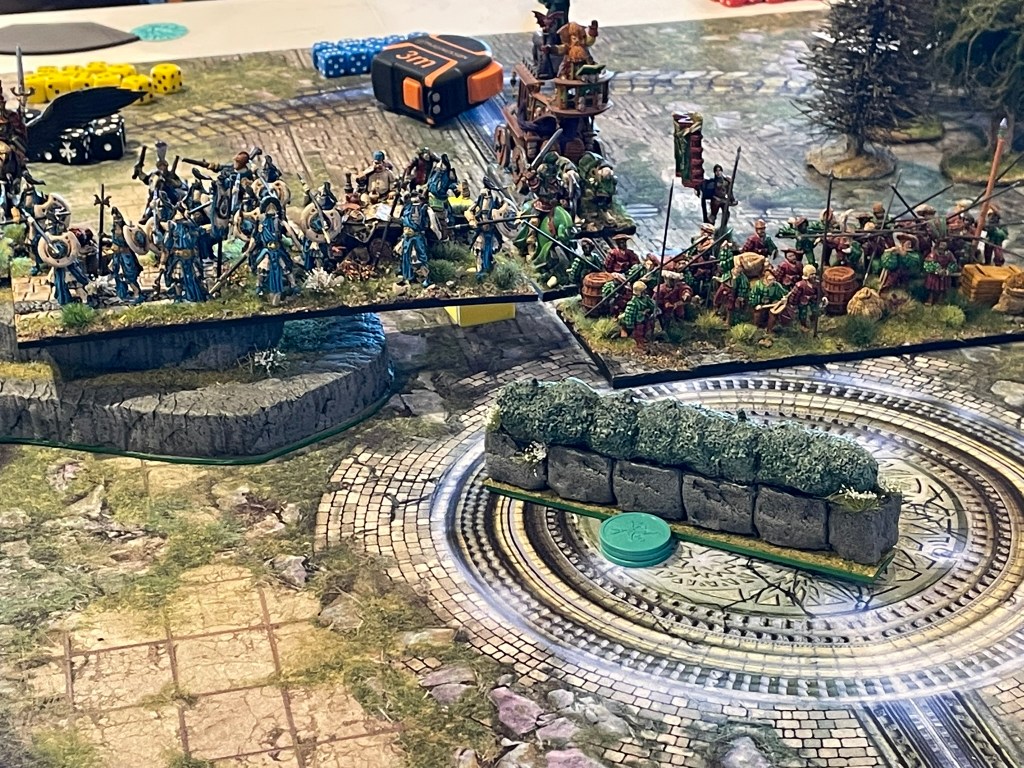


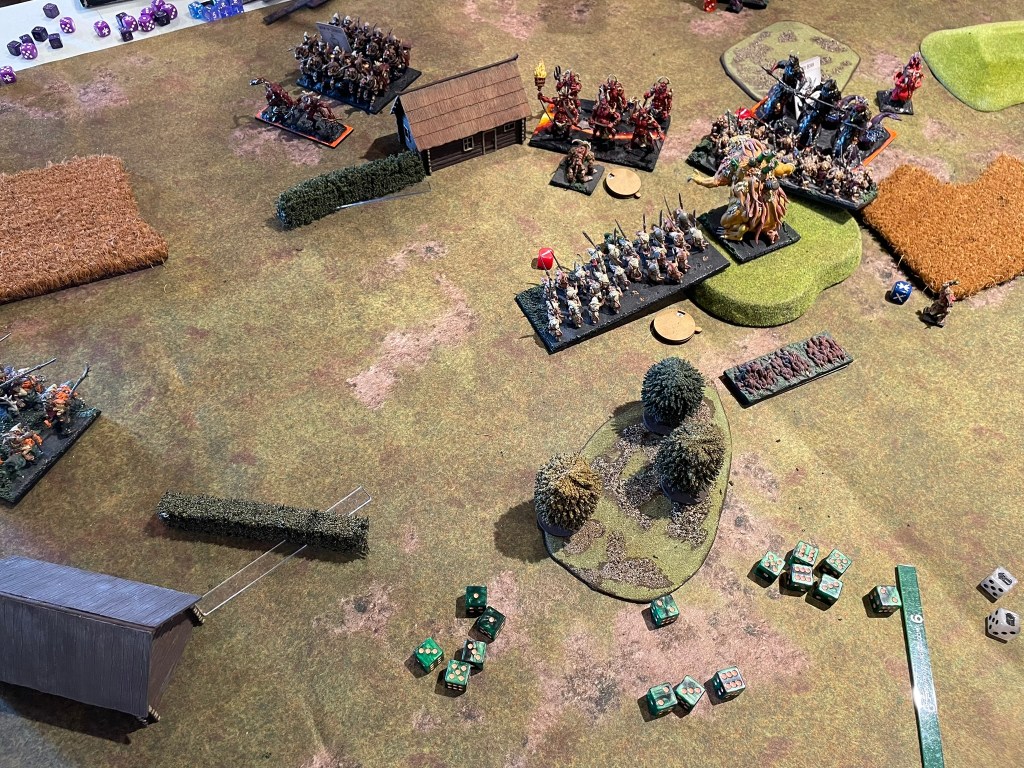
The amount of shooting in the army made me a bit nervous, so in the first turn I decided to try and dampen it down. I brought Scud over to lightning bolt one of the organ guns, hoping for a cheeky waver, and used Twitch to try and hex the War Shrine. Unfortunately, across the nine dice I rolled to hit none made it above a 3, leaving me with a sense of foreboding. Then, to add insult to injury, the volley gun that I had tried to waver shot back at Scud and managed five wounds on him.
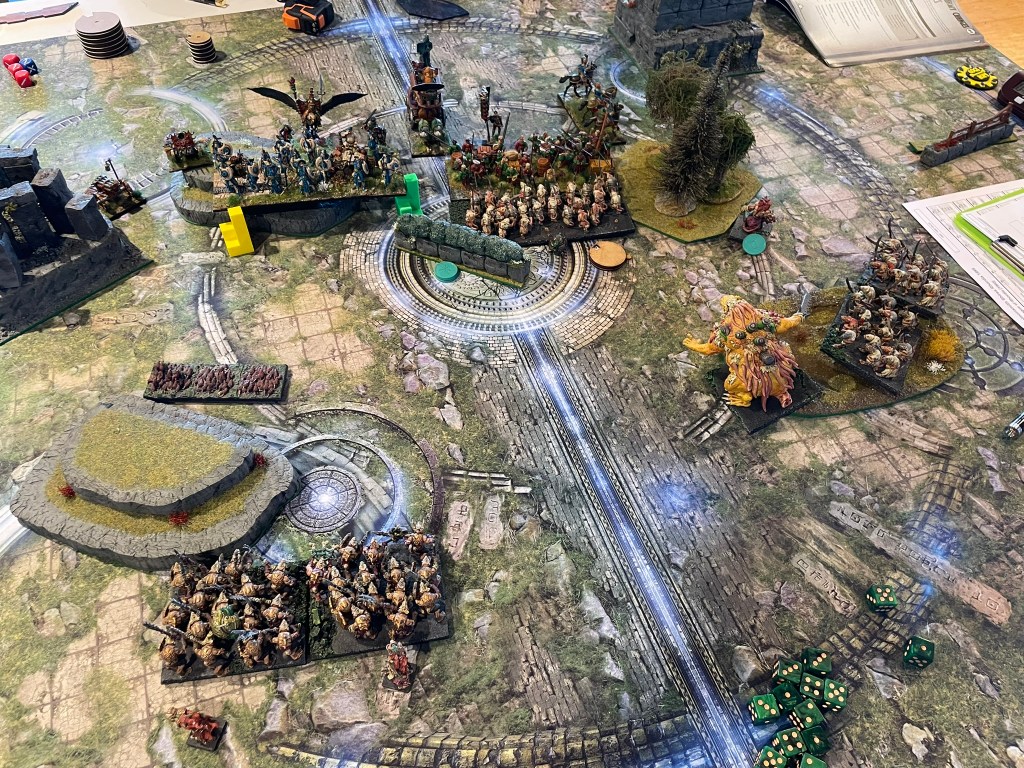
In the centre, I was trying to balance moving forward with also keeping my Shock troops away from too much shooting, which the hill in the centre of the table really helped with. I knew at some point the armies were going to have to engage and frankly, I didn’t fancy my chances against either of the hordes of dogs of war the Rhordians had brought with them. I decided that my best bet was to break through on the left flank. As Scud had taken a fair amount of damage, I decided to just go for it, and charged the rat demon and Night Terror into the Honour guard. The Hackpaws dropped their boots and their plague pots to go into the Mounted scouts.
The rat riders did brilliantly and took the Mounted scouts down, whilst the Night terror and Scud outperformed all expectations and wiped out the Honour guard in one round. All looked like it was going smoothly until the Knights managed to waver the Night terror. This caused a bit of a blockage, denying the multi charges I had hoped would let my beasts turn their attentions to the centre in the next turn, although the next turn would see the flank collapse and the rats win the stockpile.
In the centre battle had been joined. The regiment of Vermintide had managed to avoid a volley from the volley guns and overrun one of them, which worked wonders for my confidence. I had sent a horde of spears into the Shields of Hetronburg and my opponent had been really keen to clear them out, so much so he put his heavy hitters, the Razors of Berlonviche, into their flank. Not surprisingly, the rats disappeared, but the reform meant that the Razors would end up having to take a charge from a Mutant Rat fiend and the Shock troops in the next turn, which led to their very rapid demise. The Mutant Rat Fiend was then able to start collecting the stockpile from the centre of the table whilst the Shock troops made themselves useful mopping up the War Shrine and the Wizard on Pegasus, and generally clearing away the support units.
While all this was going on, my Brute Enforcer had been busy collecting tokens and hiding in the woods as the Mounted scouts had been shooting at him. In the final turns, the Mounted scouts decided to try and get up close and personal, but the brave rat managed to survive. However, unfortunately, because of the combat, he wasn’t able to hand off one of the two tokens that he was holding. So that meant at the end of the game, although the rats were holding all seven tokens, we were only able to score six of them, giving us a second win.
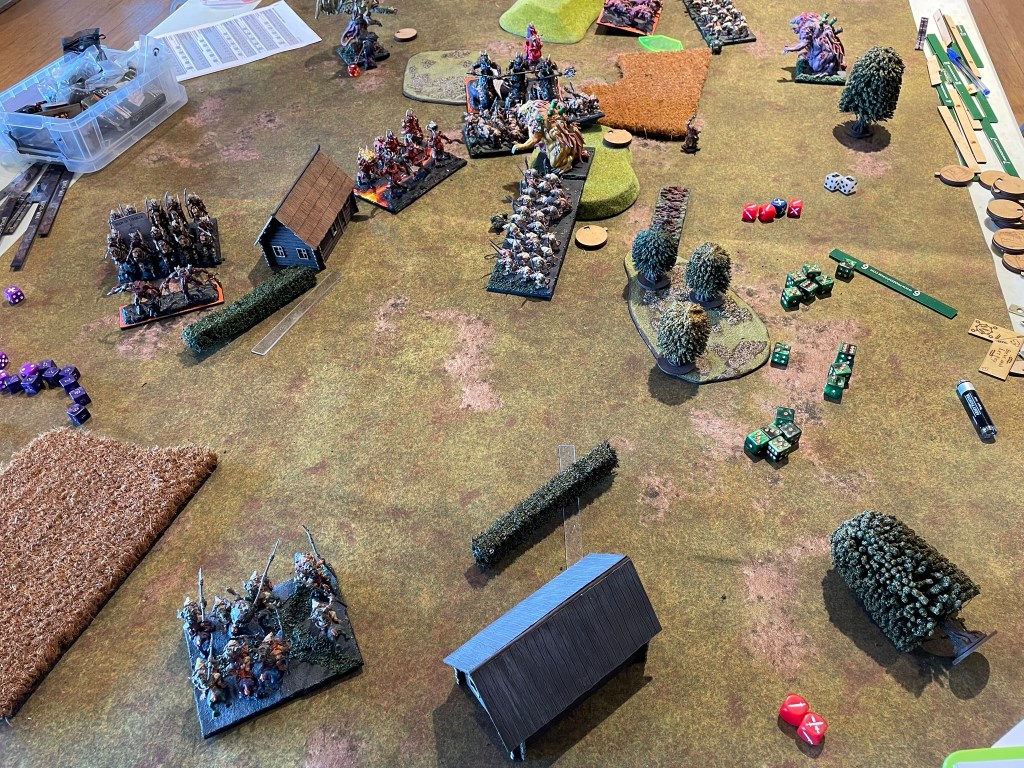
Game 3 vs The Order of the Green Lady, Control
For the final game, I ended up facing off against the amiable, but formidable, Chris Lynch and his rather perfectly formed Green Lady army playing control. Chris’s list was simple, straightforward and to the point consisting of four hordes of cavalry and two Pegasi. Going into this game I knew I didn’t have much of a chance of winning, so instead I decided to give myself a bit of a personal challenge, namely to keep something alive, score at least one point and kill one of the hordes, I figured this would keep me focused on something that felt achievable.


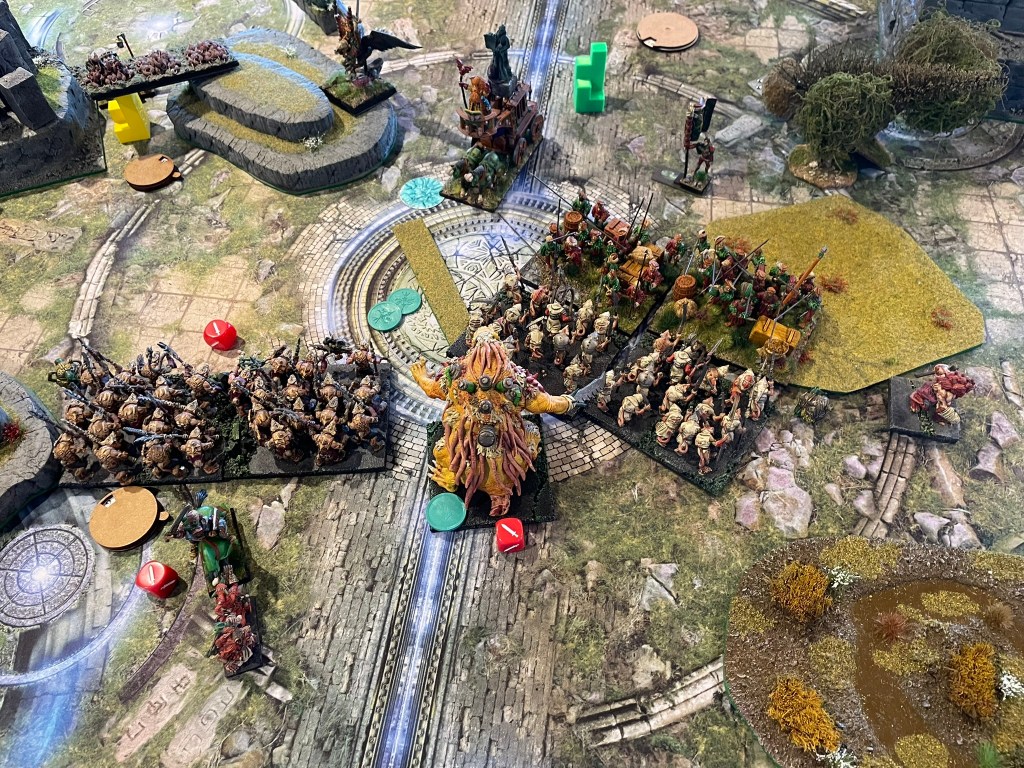
The game opened up with me playing a refused flank. The fast stuff went on the left flank and everything else went into the centre. I was hoping that if I didn’t move forward very much, and he sent one of his hordes in, I might be able to get enough units around it to be able to take it down.
Chris deployed with one horde on either flank and two in the centre. On the left, I moved forward because I figured, given that I had the Night terror, the Hackpaws and Scud, that are all faster than the knights, I would be able to pin down the horde on the flank and maybe get a kill. I was aware there was quite a bit of healing in Chris’ list, which meant I couldn’t rely on chip damage to weaken the hordes. They had to be taken down hard and fast, which rats aren’t great at.
The first opportunity to take down a horde came as a result of the sharpness knights charging into a Mutant Rat Fiend and absolutely wiping it out. That allowed me to put Shock troops and spears into the front of the horde. Some damage was done, but not enough to take it off. The spear horde then got flank charged by one of the other knight hordes, so that didn’t hang around, but fortunately, a combination of plague pots and phalanx kept the Shock troops alive and importantly, unwavered. Between the Shock troops and a flank charge from the Brute Enforcer, the sharpness knights eventually went down. Unfortunately, the Shock troops then got absolutely massacred in return by the horde that had taken out the spear rats in the previous turn. All was not lost though, as the Brute Enforcer managed to escape and leg it towards the right-hand corner of the table, dodging lightning bolts as he went.
Originally on the left hand of the table, I thought I would be taking on the knight horde that had started opposite me. However, the second horde from the centre had made its way over and I was presented with an opportunity where I could get a multi charge from Scud, a Mutant Rat fiend. a horde of spears, and the Vermintide regiment. The Hackpaws very bravely held up the knights on the left, whilst everything else tore into the other horde and by some fluke managed to destroy it.
At this point I was in a really good place. I had managed to take two hordes off the table and coming in to turn five it actually looked like I might have enough stuff on the table that at least one or two things might survive. And sure enough, in turn six, I had Scud scoring in the left and the Brute Enforcer scoring on the right with Chris spreading his remaining troops across the other four zones. Unfortunately, there was a turn seven. And as is always the way with these things, the Pegasi lightning bolts, which had been frankly a little bit rubbish for a couple of turns, hit with a vengeance and the Brute Enforcer was lost. Whilst it might have been a loss, I couldn’t be happier with my performance and ended the day in ninth place. Not bad for a list that I hadn’t taken to a tournament for the best part of five years.
Final thoughts
Another excellent event, so a massive thanks to Si, and of course my fab opponents for really enjoyable games. I have to admit I was surprised by just how well the list functioned, and I forgot just how satisfying giving Shock troops the Brew of Sharpness is. The Hackpaws with boots and plague pots were really good fun, and I’ve already included them in my list for The Forlorn Hope next week. The only thing I have to mull over is whether to include the Birthing Daughter Mr. Brand was recommending…
I hope you enjoyed the report and if you don’t want to miss anything in the future, drop your email below and subscribe.
