
Command dice have become a pretty interesting proposition for me at this point. Based on the games I had in Gloucester, I don’t think everyone agrees. I play three factions reasonably regularly which all have a faction specific ability that gives them access to +1 thunderous charge. Over the few command dice games I’ve had I’ve quickly realised just how useful being able to add this is to a unit anywhere on the table is. As a result of this I always make sure to spend 20 points on a white dice which means most turns I will get the requisite 4 points required, but freeing up the points for this meant having to play around with the horde heavy list I took to the last event.

The changes weren’t drastic, one of the Mutant Rat Fiends was dropped, a spear horde got promoted to shock troops and a troop of scurriers was recruited. The scurriers were the experiment for this event. I was hoping the large amount of rallying in the army would keep them reasonably alive and their shooting would nicely support the war engine teams.
Game 1, Compass Points vs. Forces of the Abyss

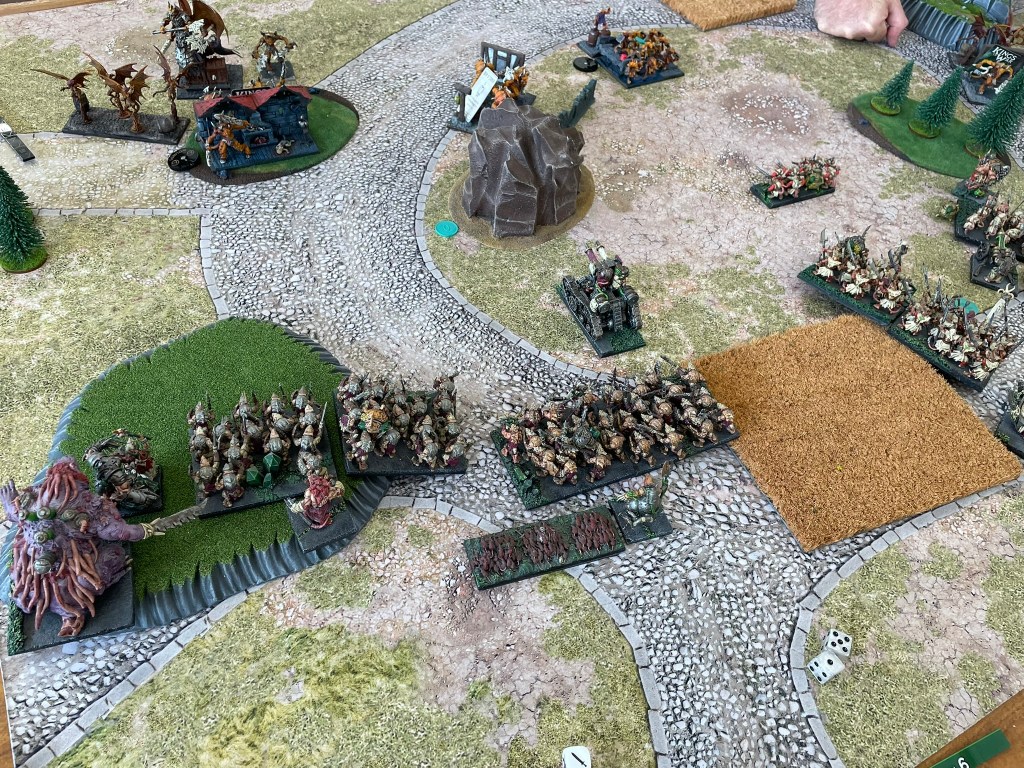
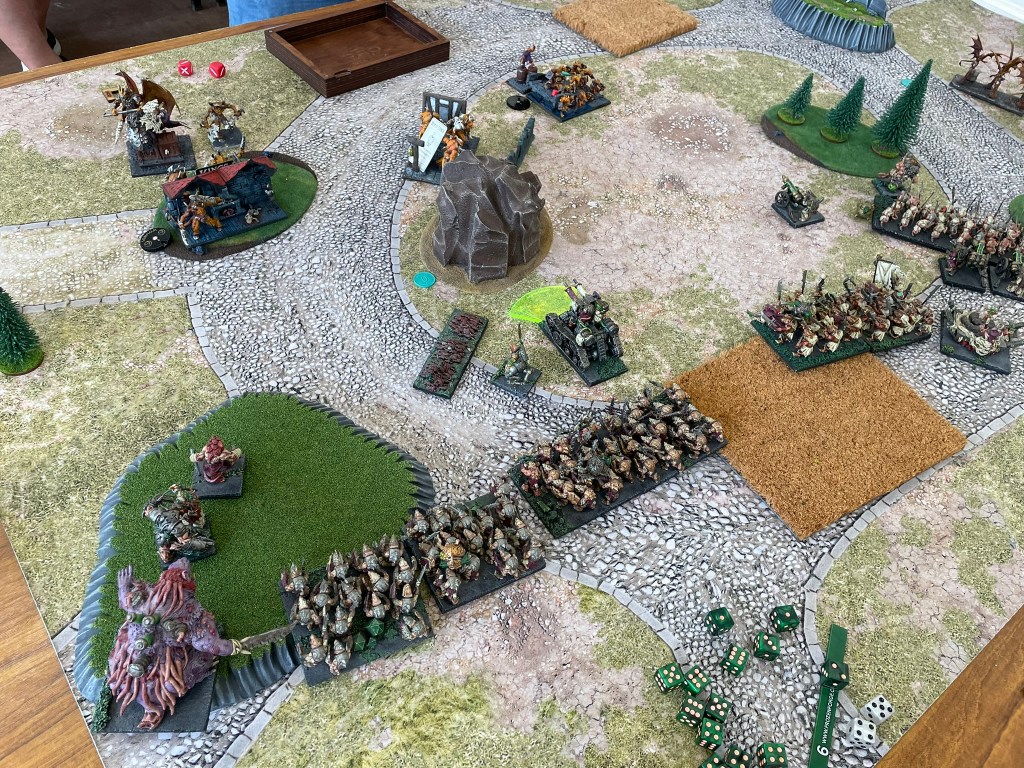
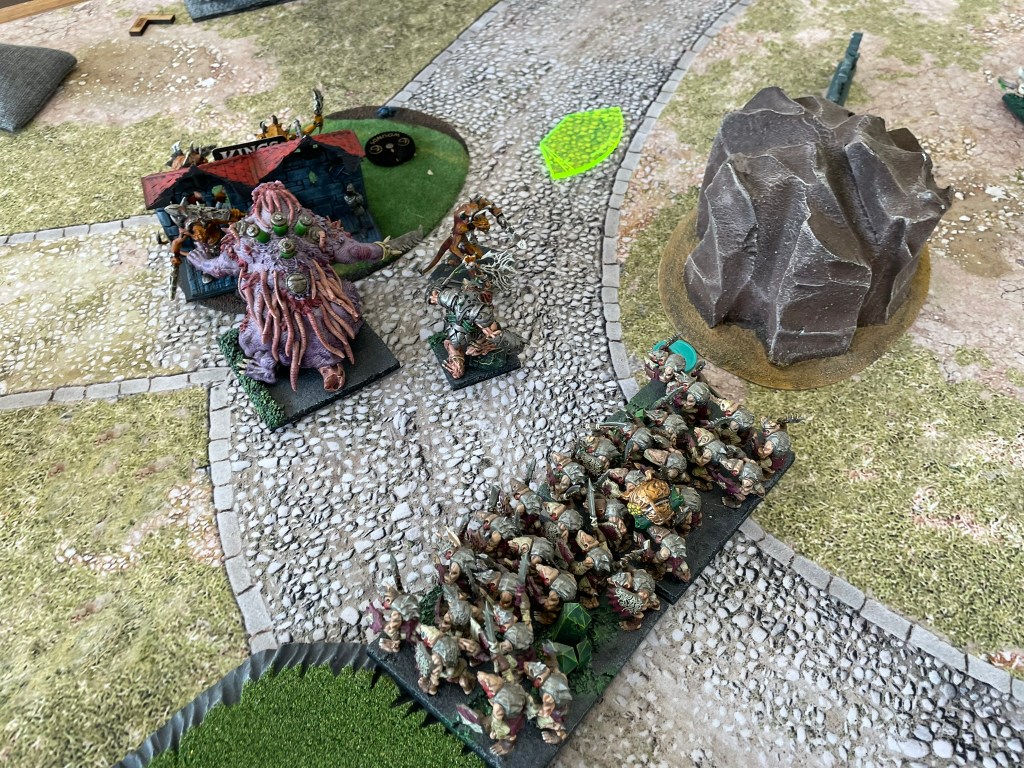
At first glance I was very nervous about this list. Loads of berserker hordes and a couple of flying archfiends massively concerned me. I had visions of flanks being found and rats being torn apart by blood thirsty demons. After a bit of reflection though I started to wonder if the demons would have it all their own way. My phalanx could limit the effectiveness of the archfiends and, whilst it’s important not to underestimate 30 attacks with crushing 1 from melee 4 or 5 troops, it occurred to me that my weight of numbers could also create more than a few problems for the denizens of the abyss.
Compass Points didn’t feel like the best scenario for me. The big points are won by crossing the table, and with nothing faster than a speed of 7, against an enemy that could threaten me from any number of directions there was a real concern that I might get boxed into my half of the table for the duration of the game.
I was slightly relieved when my opponent split his forces equally on either side of the table. Two hordes of berserkers, archfiend and support went on either flank with the lower abyssals and the warlock holding the centre.
I set up everything going from my left flank to the centre, with spears defending the ends and shock troops in the middle. My scurriers and the death spewer went into the centre with the war engine teams. I decided I would try and shoot the lower abyssals out the way, get the scurriers onto their objective whilst the hordes did their best to hold out against the rest of the demons, hopefully securing my own objective long enough to stop my opponent scoring on it.
By about turn 2 it was evident that the plan was not going well. I had badly underestimated the enemy shooting (including the fireball command dice ability) and the scurriers had been shot off the table. What was more, the demons on my right were readying for a charge against my spears, whilst trying to sneak their agile units around the back of my lines.
On my left, a strike was looking imminent. The sharpness wielding beserkers with their vicious aura creating apostate were hauled up in the woods and things looked a bit grim. My plan was rapidly being recalculated to just holding onto my own objective in my half for as long as possible.
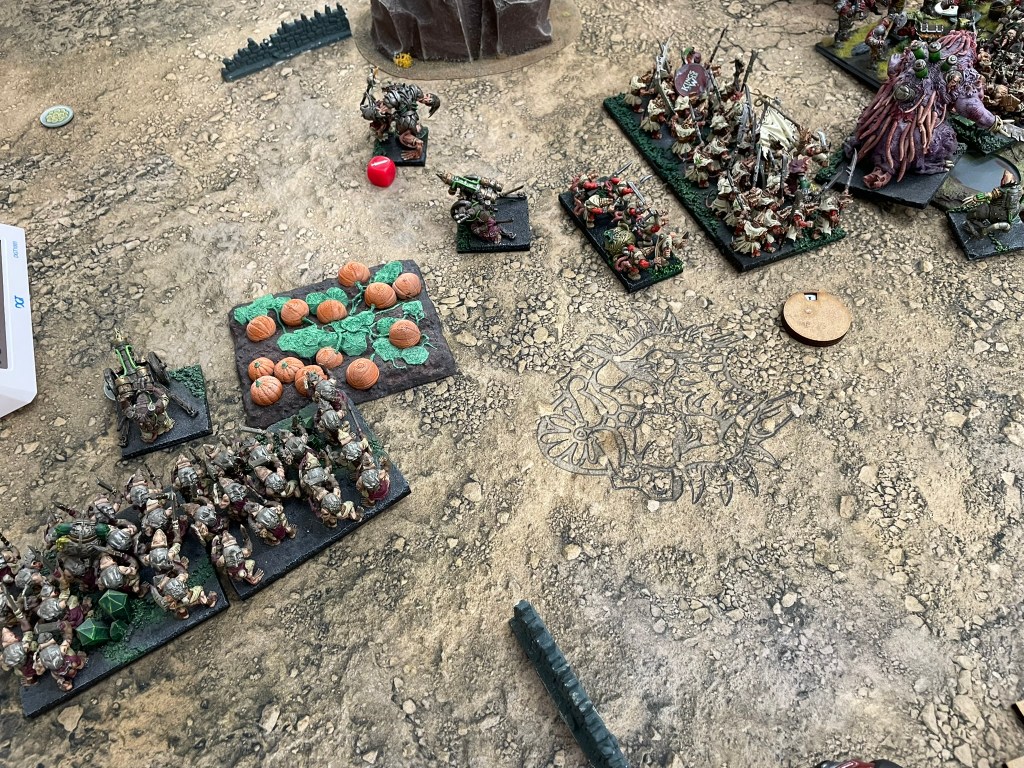
One of the berserker hordes to my right charged my spears, where a brute had been positioned to prevent a double charge against the rat warriors. As the demons went in the other horde broke off and headed around the rock with the arch fiend in support. I braced myself for impact. The slaughter just didn’t materialise. Not only did the beserkers fail to rout the spears, but their fight back, together with the brute that was now in the demon’s flank, quickly took the unit out of action. To make matters worse the war engine teams, and the Tangle converged on the creatures sneaking around the rock and reduced them to a stickly mess. Only the archfiend remained, and a failed attempt to destroy the Tangle left him at the mercy of the guns.
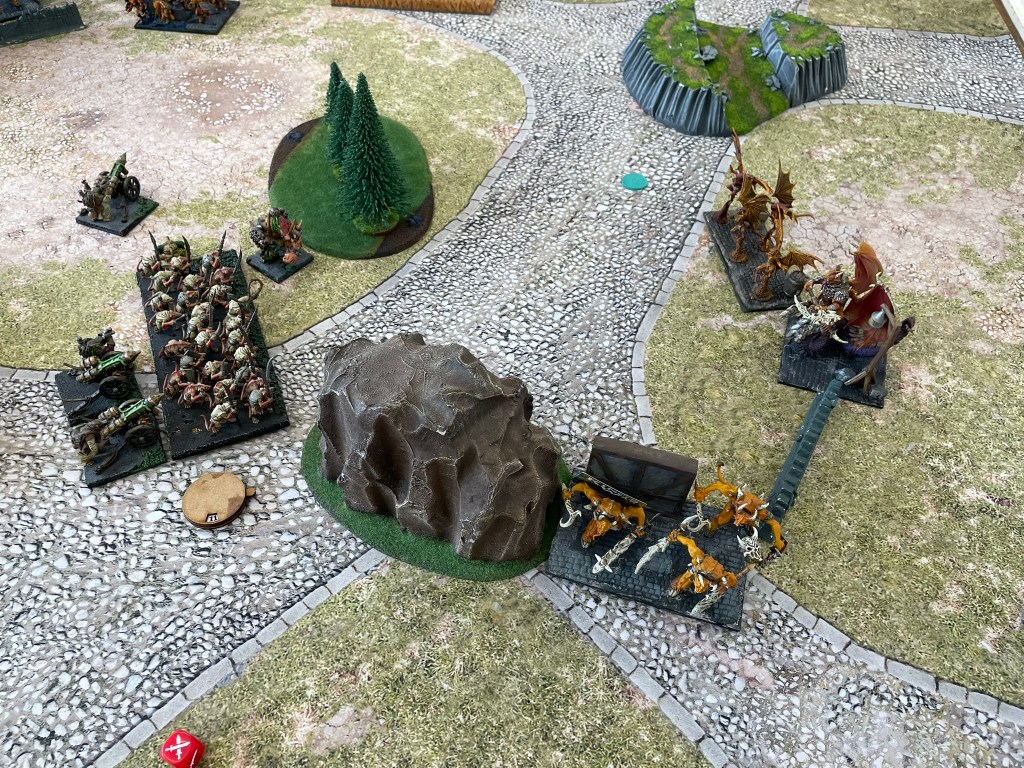


As the smoke on the right was clearing, very much in the rat’s favour, the left flank was strangely lacking in smoke. Part of the abyssal contingent on the left had been distracted by a horde of shock troops making their way down the centre of the table, emboldened by the collapse of the demon’s right flank, but the remaining berserkers were not to be sniffed at.
Taking an opportunity, I sent a brute enforcer into the sharpness horde in the woods to keep them there for another turn. This was followed by vermintide, and then anything else that would keep them away from the objective and the spear horde I was hoping would win the flank.
In the centre, the demon attackers were being thwarted by a combination of terrain, plague pots and phalanx. Unit after unit was pinned and killed until the shock troops held the objective in the enemy’s half. All that remained now for the demons to try and claim was the left flank objective, but just as everywhere else on the table the demons had failed to break the rats, their only saving grace was the fight back had begun so late in the day the rats may have stopped the demons in their tracks, but they ran out of time to finish them off. The game finished with a victory for the rats.
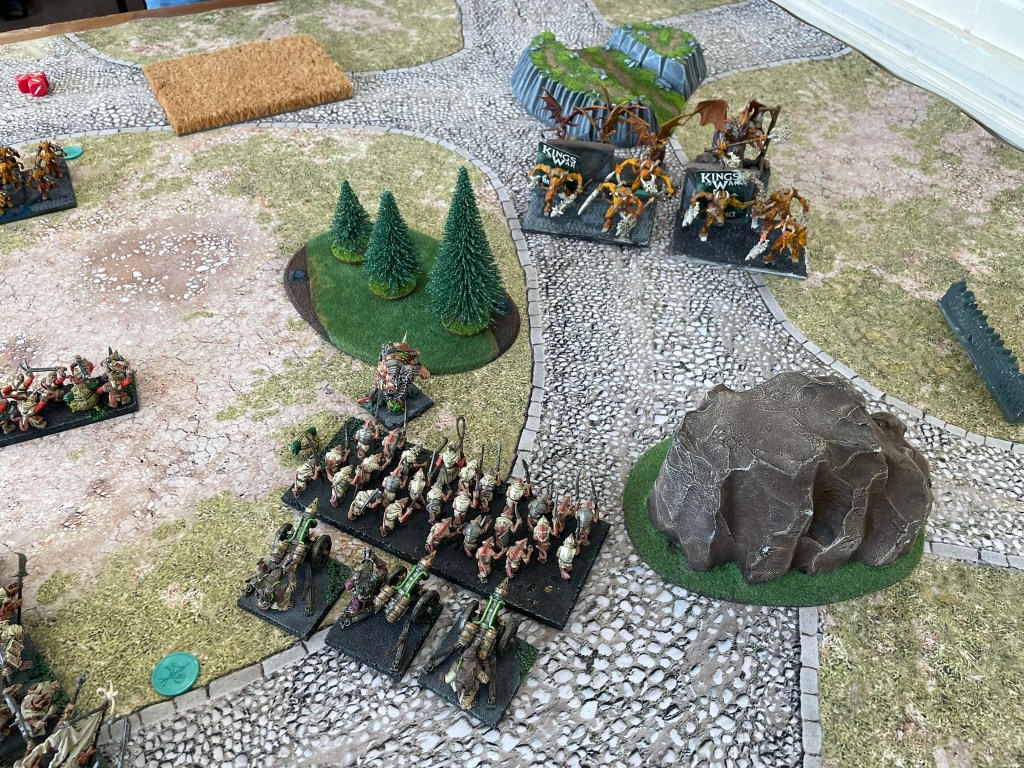
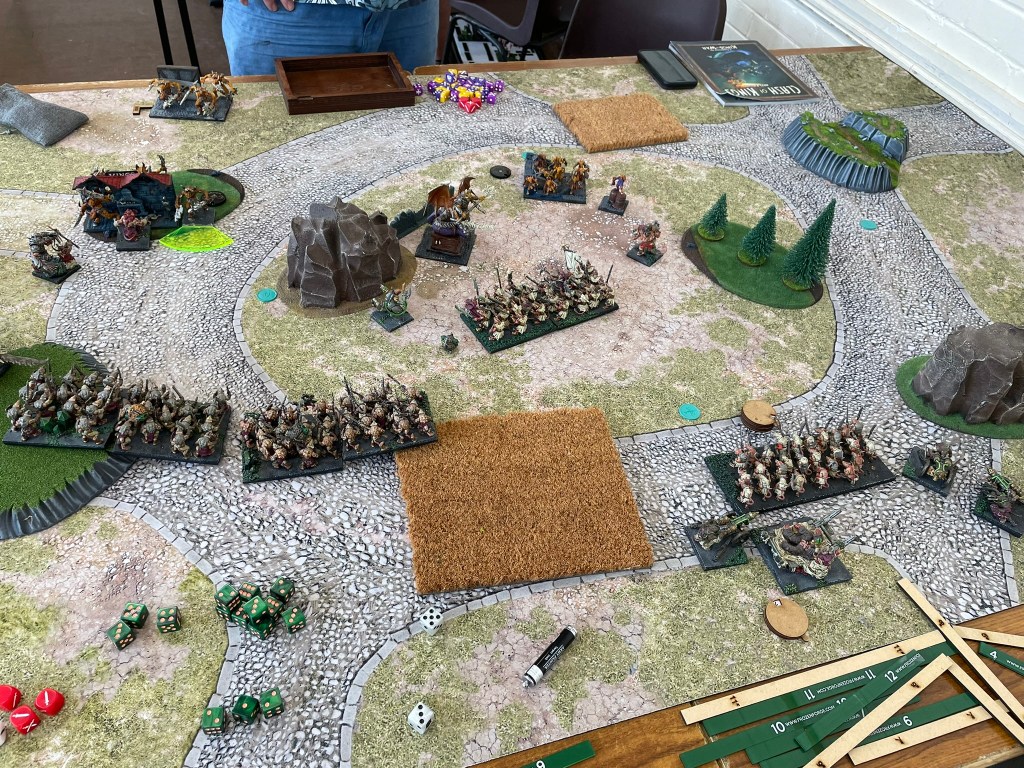
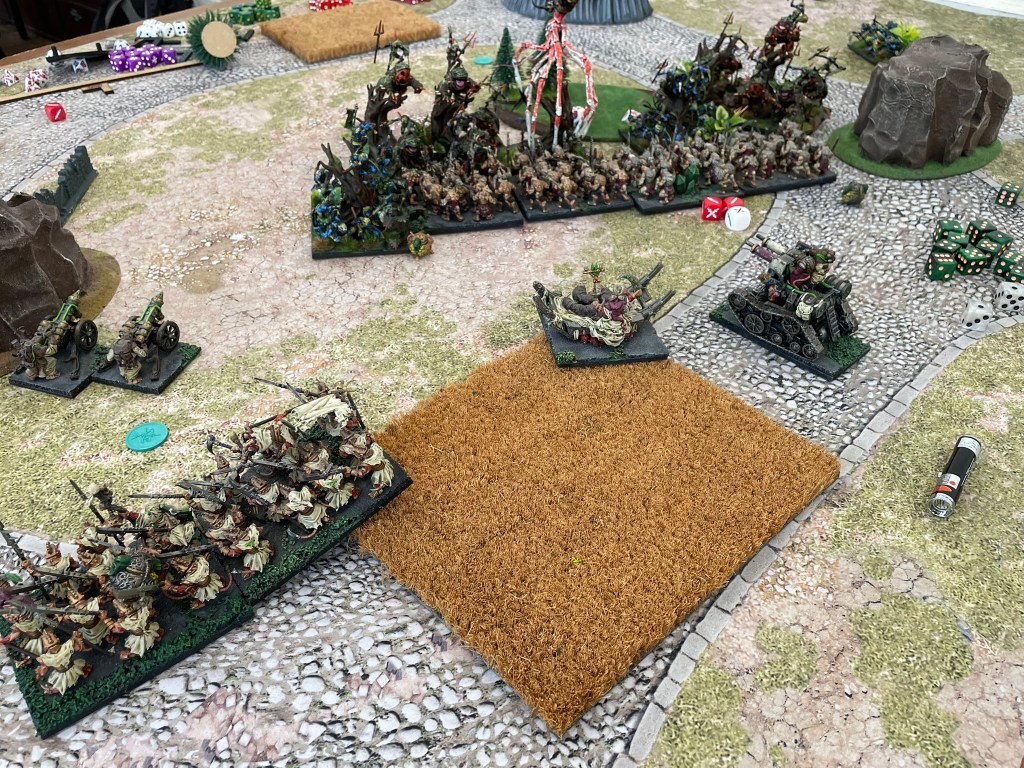
Game 2, Stock Pile vs Ogres

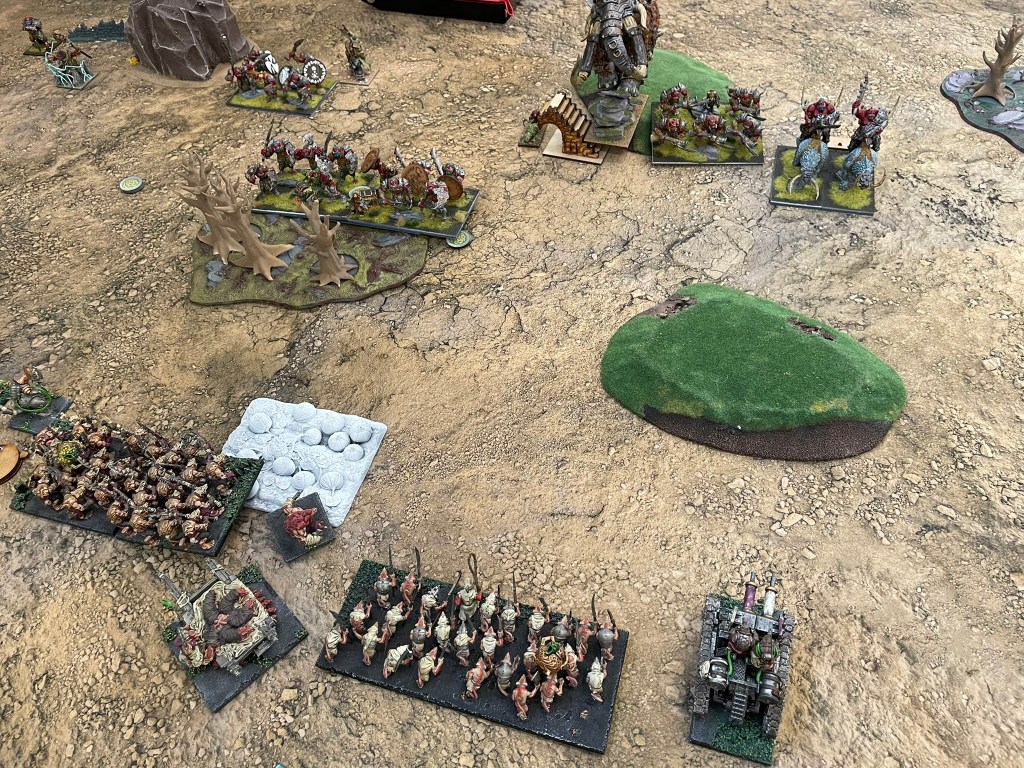
There suddenly seems to be a lot of ogre legions in my world! Let’s not beat around the bush, they are horrible. Not only are they incredibly destructive, but they can also take quite a bit of damage. The legion, the Big Deal and boomers all stood in the centre of the table looking very menacing, whilst the rest of the ogre forces stretched over to my left flank with the siege breakers, Nom and Grok anchoring the line to the table edge. This felt like it would be an uphill struggle.
Goblin sniffs shot forward from the line to secure the first loot counter on the left of the table. With Nom they managed to waiver one of the war engine teams, but that did not stop Cryza, the remaining weapons teams and the scurriers removing both troops over the next couple of turns, and waivering Grok. Despite the chaos from the shooting the siege breakers managed to force their way forward, steal an objective and start slowly moving back towards their own lines.
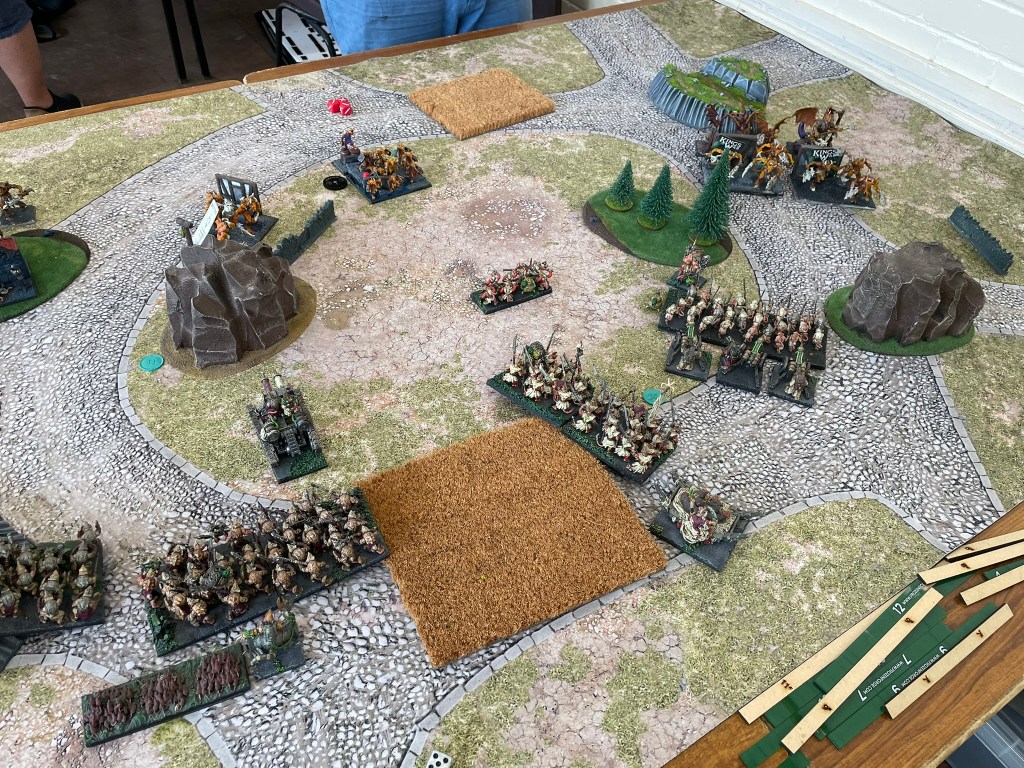
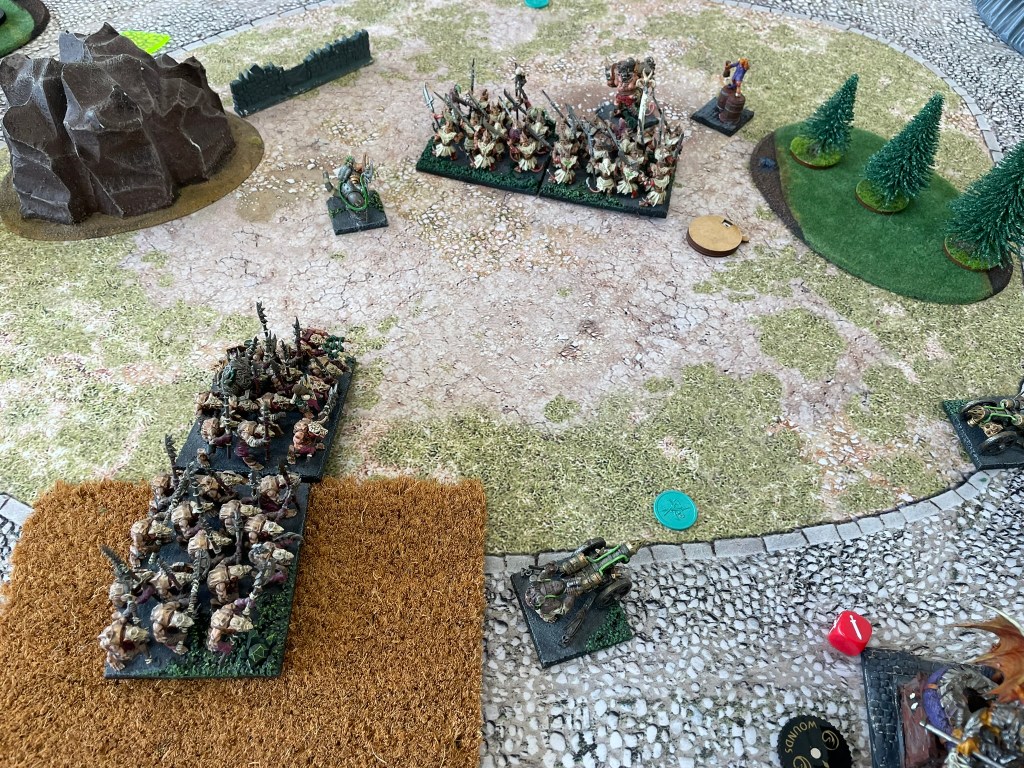
In the centre things were a little more circumspect. The presence of the legion and the Big Deal put off any rash charges and the ogres were gathering tokens in relative peace, until an opportunity presented itself. The opportunity in question was a set of charges that would tie up the legion and allow the rats to deal with the warrior horde and paymaster protecting it’s left flank.


Shock troops dismantled the warrior horde swiftly before turning to face down the flank of the legion. However, in their haste they hadn’t realised they would end up presenting their rear to Nom. The evil ogre warlock threw himself, with just a little too much glee, into the charge and shock troops started dying. Fortunately, the scurriers were on hand, and just as Nom had found a cheeky rear, so the scurriers found a cheeky flank. Their melee 3 attacks came into their own, and by the time the shock troops had turned to face their attacker several poisoned daggers already protruded from him from various awkward angles.
Whilst the shock troops had blasted through the ogres, the mutant rat fiend had struggled removing the paymaster, unlike the ogre legion which had cut through rats like butter and were now able to turn and face the wave of vermin that had been hoping to get into the unit’s flank. A moment of quiet spread over the battlefield as the rats charged, the long front of the legion accommodating shock troops, scurriers, the mutant rat fiend and the brood mother. Blades struck out and seconds later the ogres were put to flight and the wave crashed forward, washing away the Big Deal.
The last bastion of ogre hope were the siege breakers, desperately trying to depart the battlefield. Unfortunately, in their rush they exposed their vulnerable flanks to the weapons engine teams, and Cryza darted between the burning bodies to secure the final loot counter and a second win.
Game 3, Hold the Line, vs Trident Realms
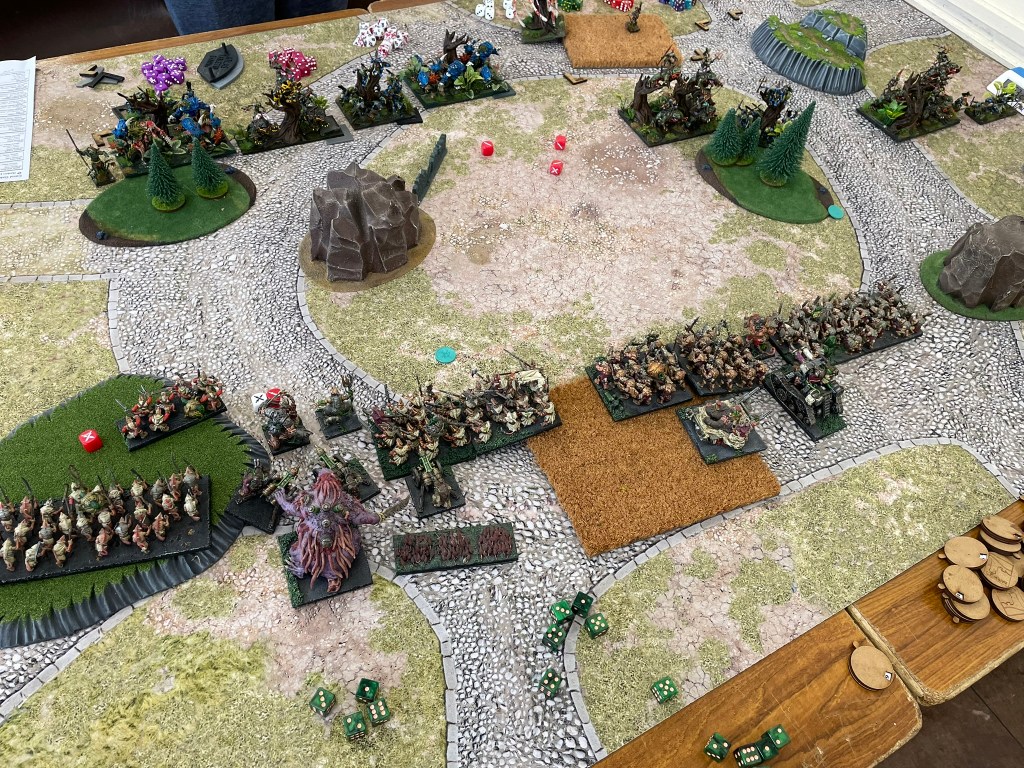
Trident realms have to be one of my least favourite match ups because of the ensnare. That being said, most of the army I found myself against had fly, which did mean my phalanx was going to come into play. Of course, the amount of nimble that was also coming for me meant I had to be very careful of my flanks, for a second time this event.

Having played Hold the Line at a number of events this year, I’m starting to realise that it’s probably the scenario I seem to play most poorly. Even with counters down to show the scoring zones I just didn’t quite get my head around my positioning. The game felt very close all the way through as both myself and my opponent struggled to inflict meaningful damage in the early rounds. The war engine teams, and the spewer were instrumental in removing giggas, by shooting into their flanks, whilst a flying flank charge from a frog regiment consigned one of my shock troop hordes to the bin.


Frustratingly though a combination of timings and wavers took their toll. I had forfeited the right flank early in the game, preferring to focus on the centre and the left. An unfortunate series of waivers in the closing turns on the left kept a full horde of spears out of the scoring zone, whilst a turn 5 and 6 that consisted of literal seconds mean the weapons engine teams lost out on a couple of turns of shooting. The game ended in turn 6, but with a turn 7 and a bit of time there was a chance, things could have worked out differently. Regardless of all that though it was a really great game, and the rats held up a lot better than I expected.
Final thoughts
The day was brilliant, the food was fantastic, and the games were brilliant fun – all you could ask for really!
In terms of the rats, well I’m still loving this structure of army. I’m finding the hordes pretty easy to play, they just move forward, so the smaller units in the army become the interesting ones. There are definitely some learnings to be had from the third game about how I space out my chaff, and manage Hold the Line, but overall, I think it’s a solid list.
The death spewer has to be the most interesting thing in it and I’m not really quite sure what it’s great at, but it seems to contribute in every game, just never in the way I want it to, or think it should. It’s definitely staying. I think there’s about 200 points now that I’m not sure about, but to be fair I think that’s quite exciting in it’s own way as it gives me opportunities to throw some different things into the mix. At the moment I’m torn between a couple of hackpaw troops and a couple of spear regiments. Hey ho, only time will tell…
You can catch up with the next blog post by dropping your email below and subscribing.
