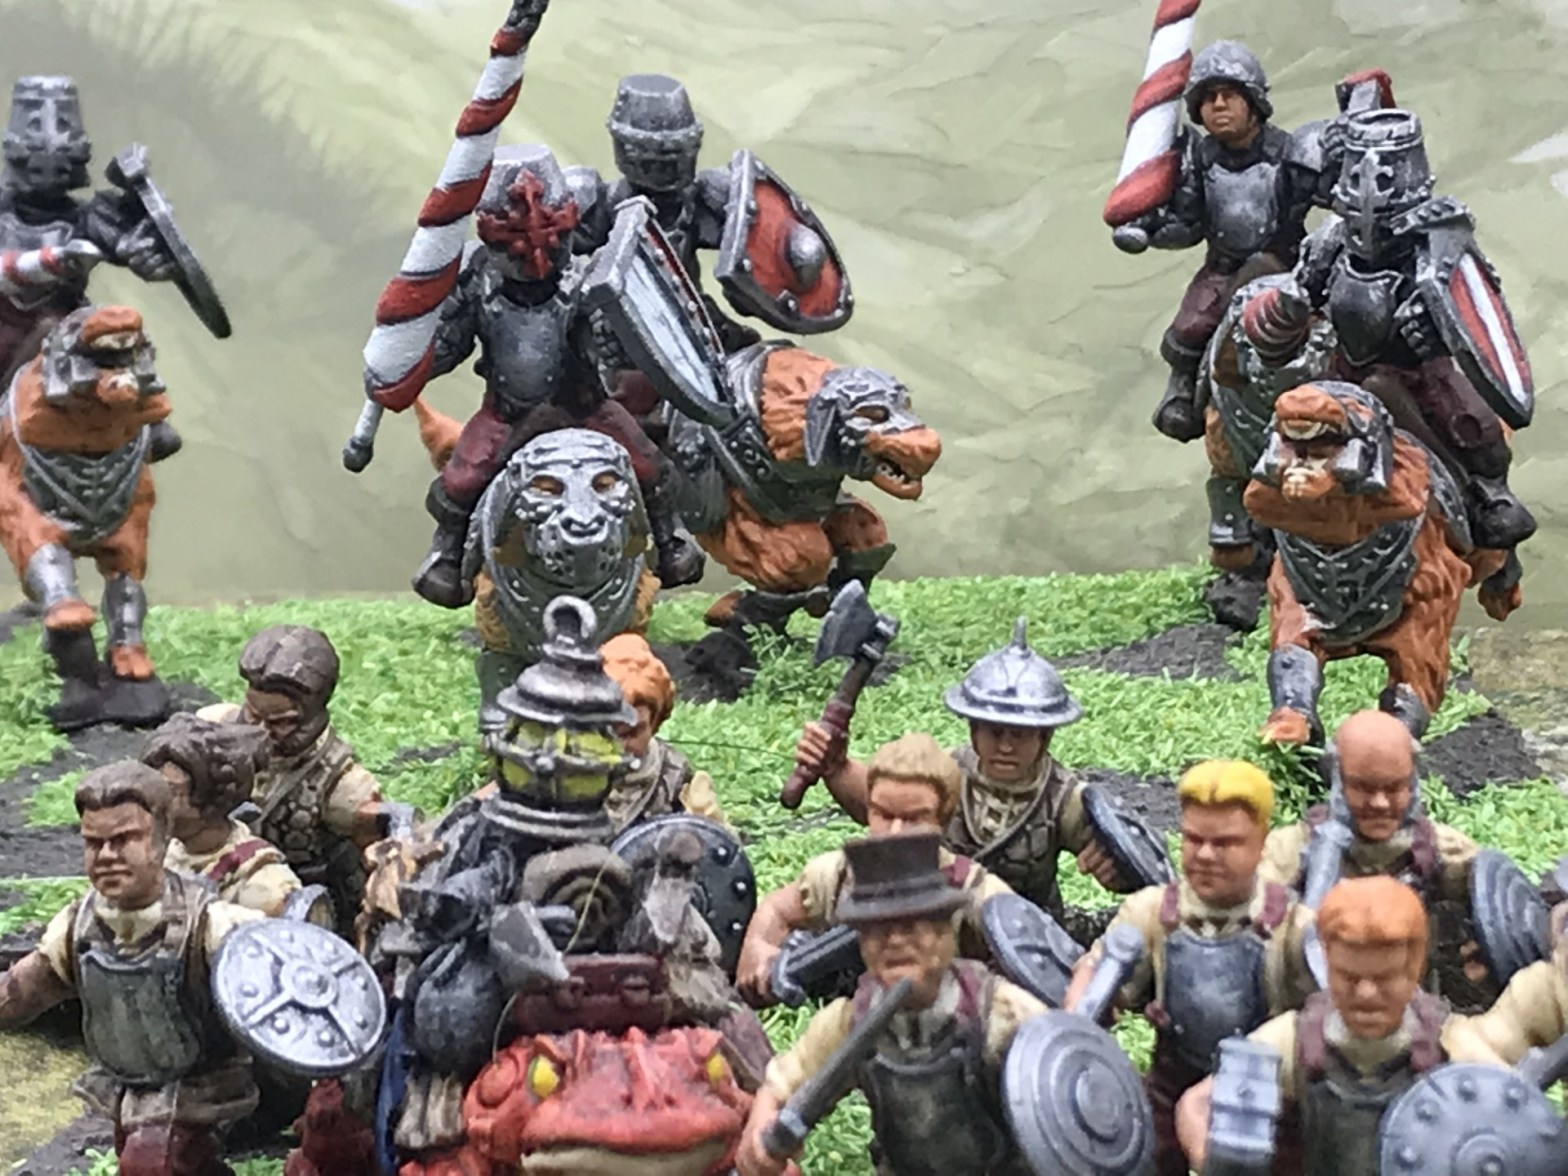
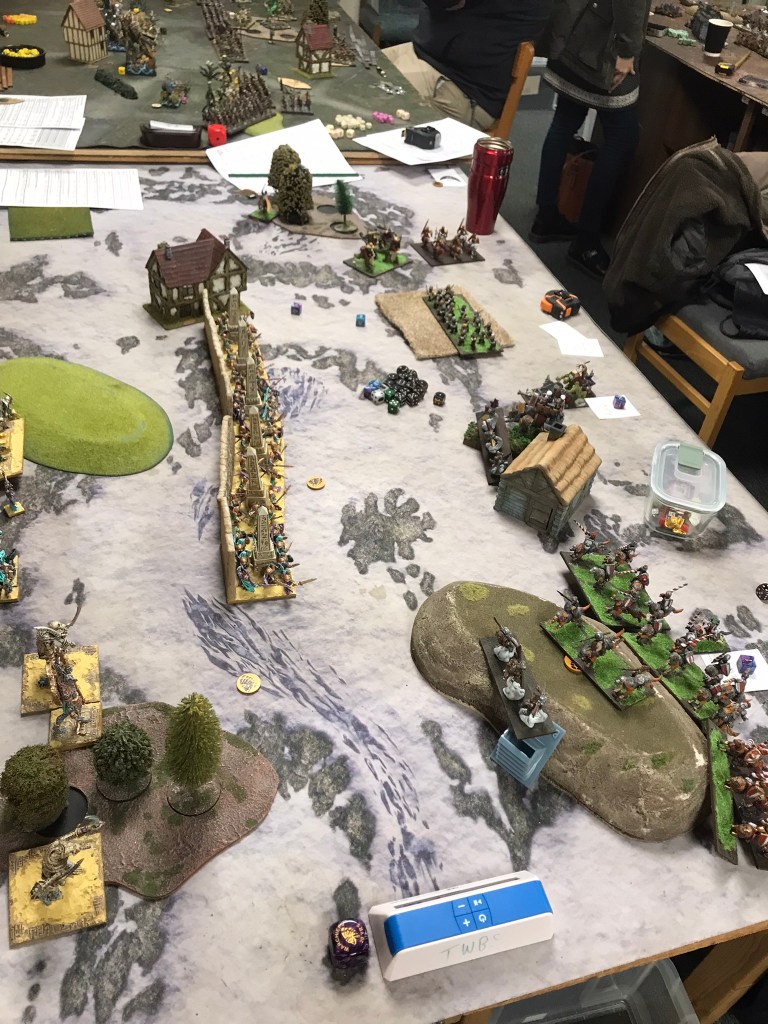
For the past couple of years, the first event I’ve attended has been Stanes of Blood over in the Southeast. However, this year it wasn’t on and instead the Moonrakers stepped up to run a small event in Bristol, that rapidly became a 44 player showdown. As a result, the Halfings found themselves rubbing shoulders with some of the premiere players in the South.
Going into the event I’d accepted a challenge from Heath, who was bringing Empire of Dust, and I had a lot of feelings about the game. As someone who’s great at picking armies that don’t really pack much of a punch Empire of Dust is always a bit of a tough match up. However, my list for this event includes a Jugger horde with the Brew of Strength, which I was hoping would make life a little easier in this match up.
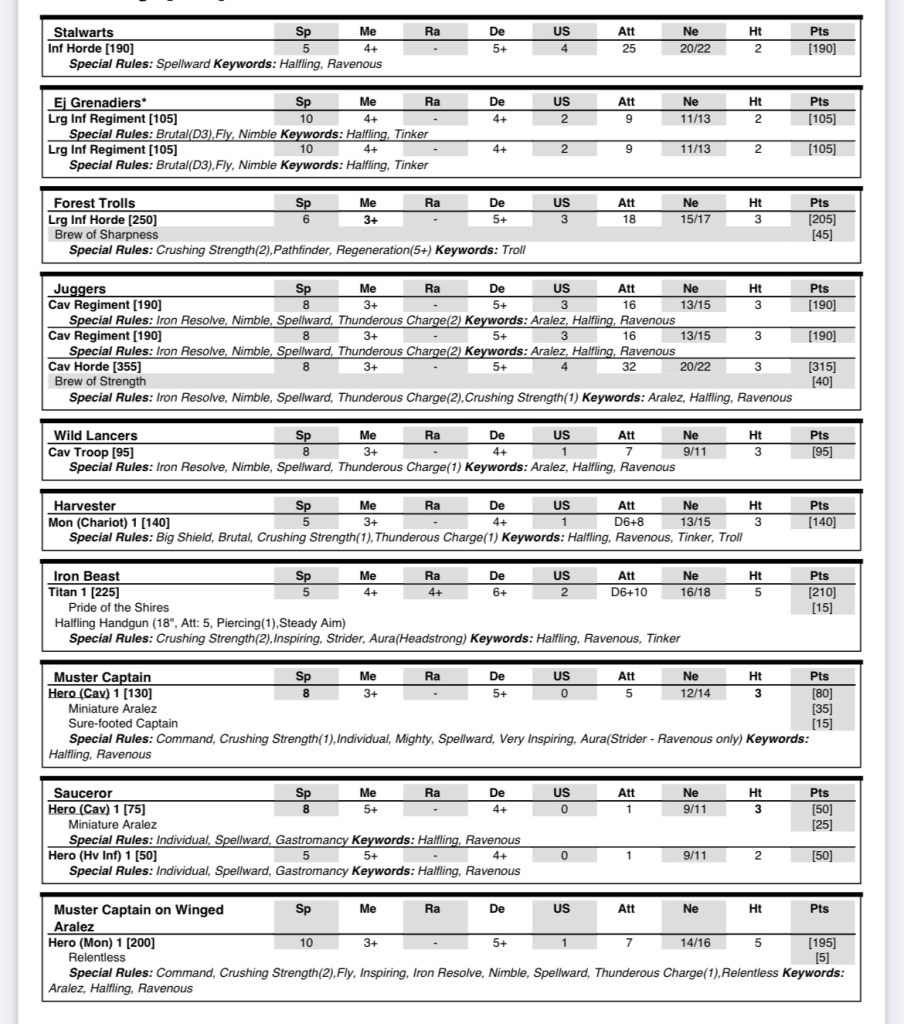
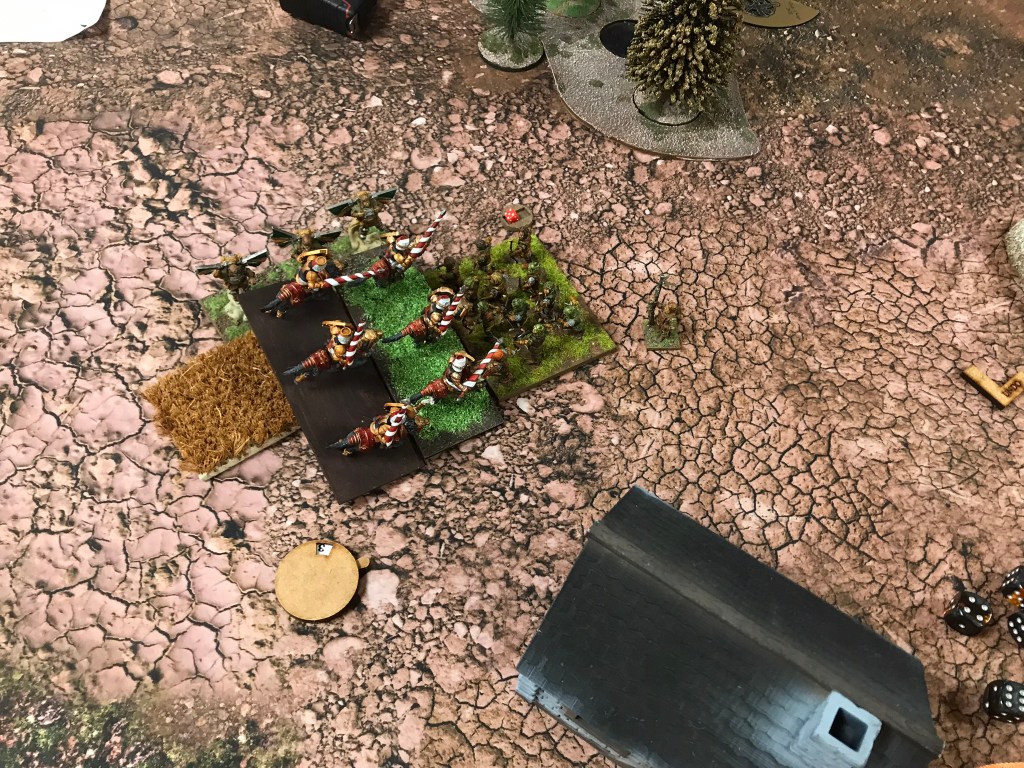
The Jugger horde is definitely something of an experiment, which to date I’ve been massively on the fence about. It’s performance today was likely to determine whether it would become a permanent fixture in the list. The rest of the list included:
Game 1 vs Empire of Dust, Seek and Destroy
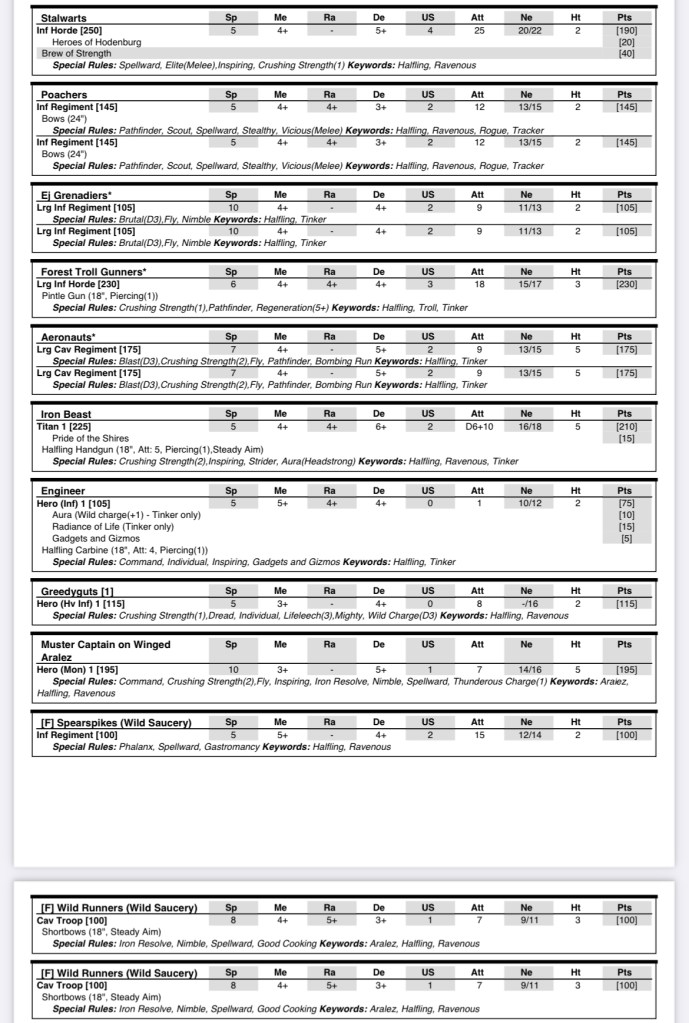
Heath’s list was massively intimidating on the table. A solid line of high defence and nerve with loads of healing. What I tend to find with games against Empire of Dust is they tend to go one of two ways. Either you manage to smash through a couple of key stone units at either end of the line and roll up into the middle for a solid win, or you bounce off them in the first couple of turns and then they grind you down.
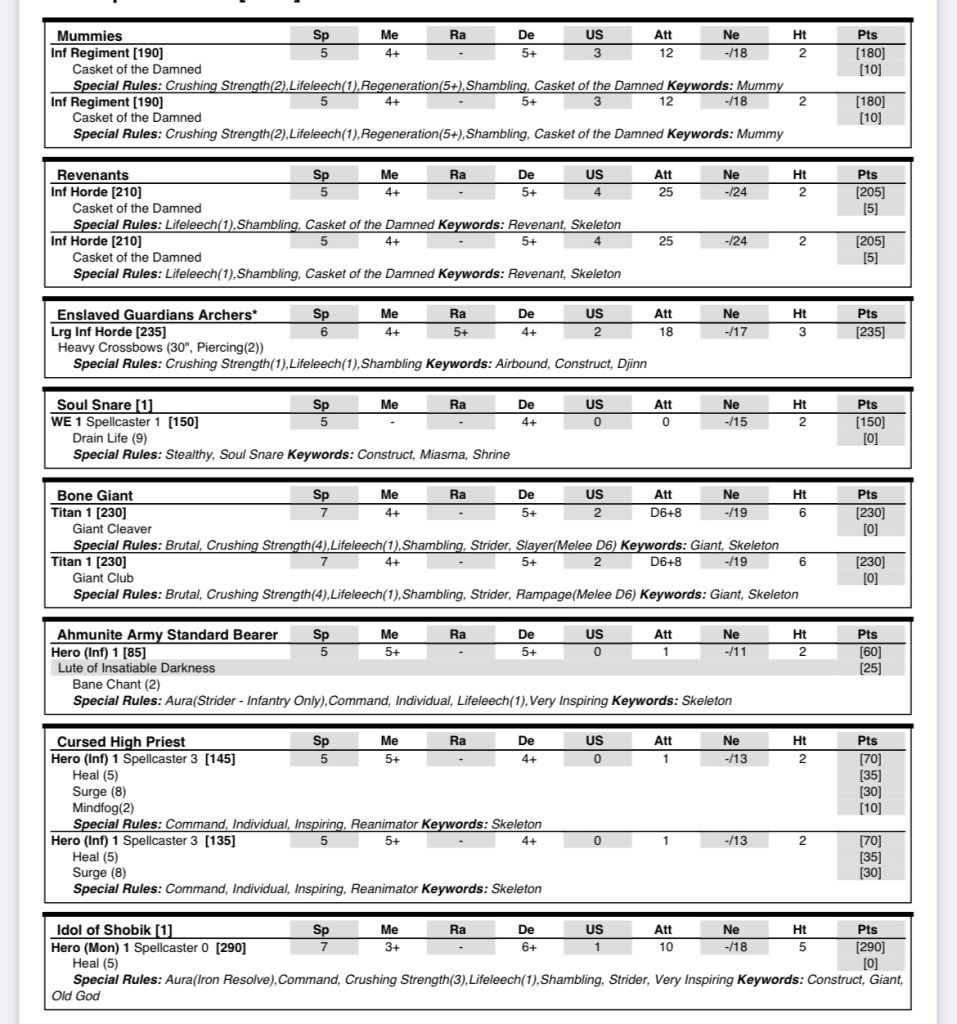
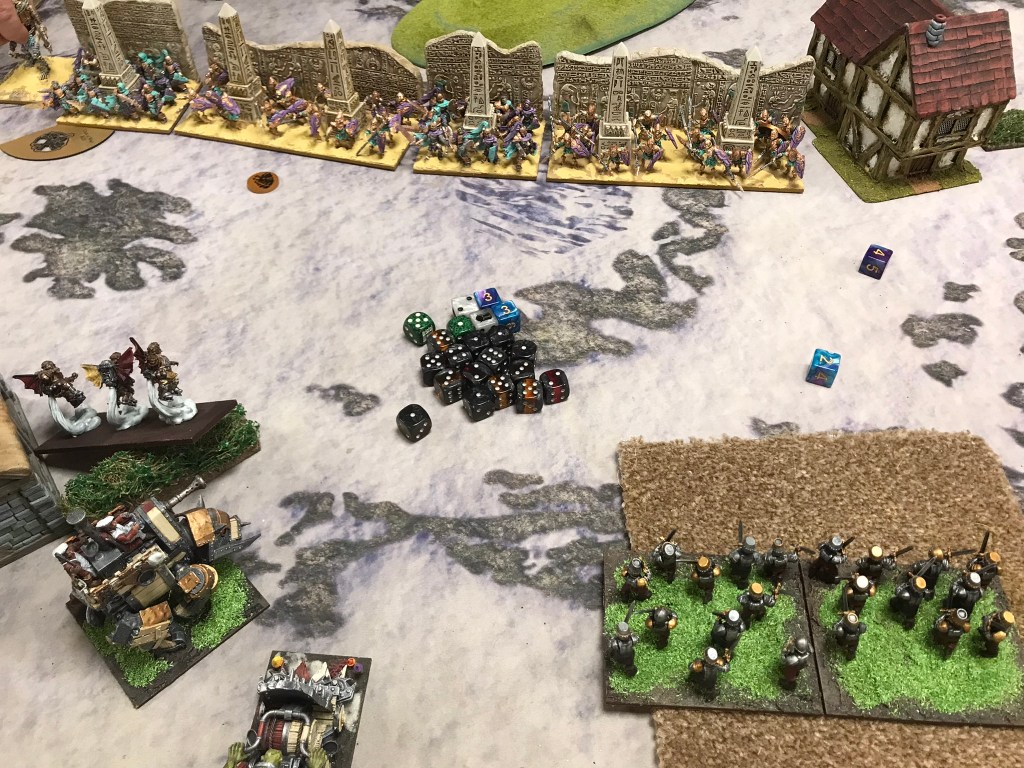
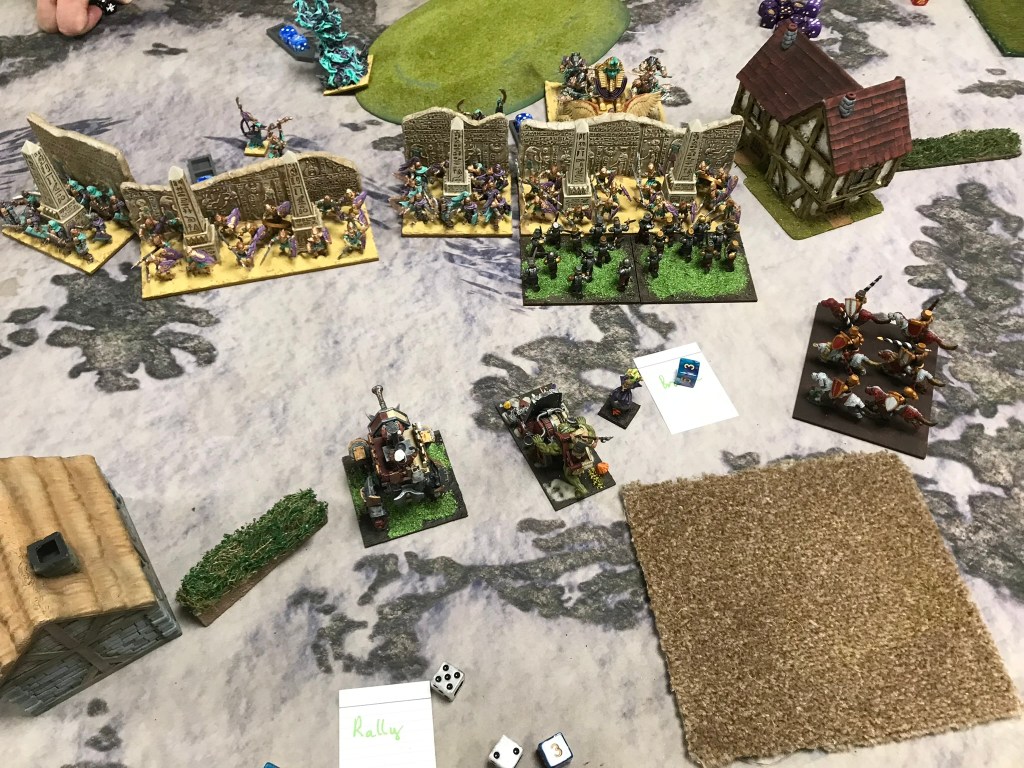
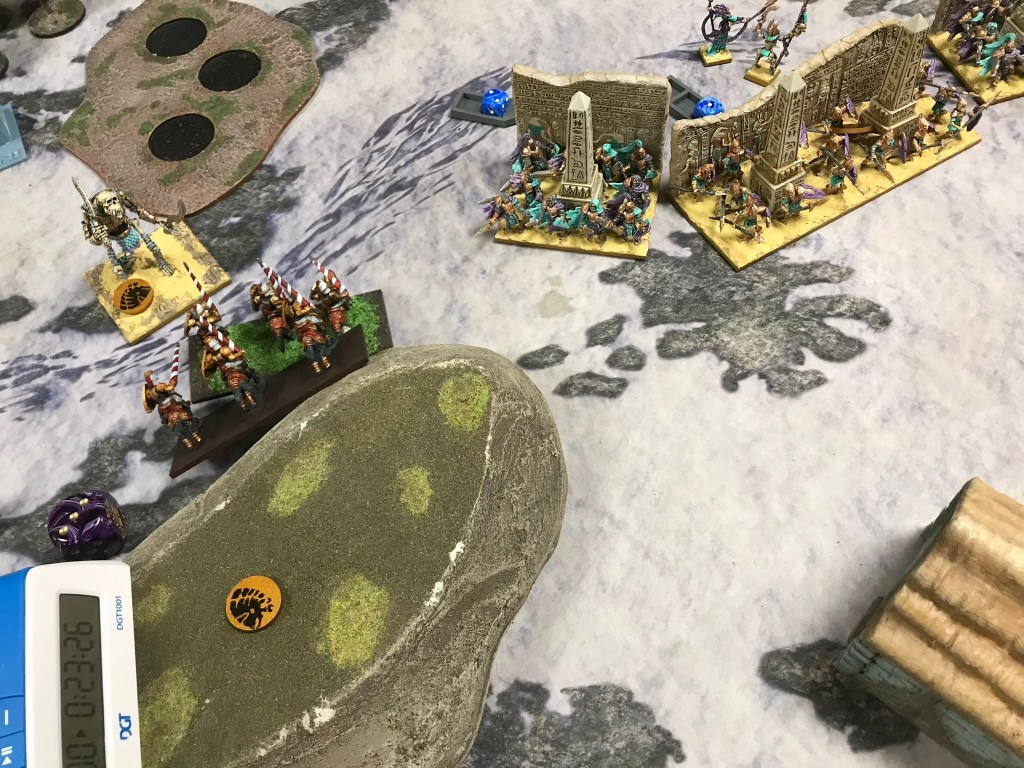
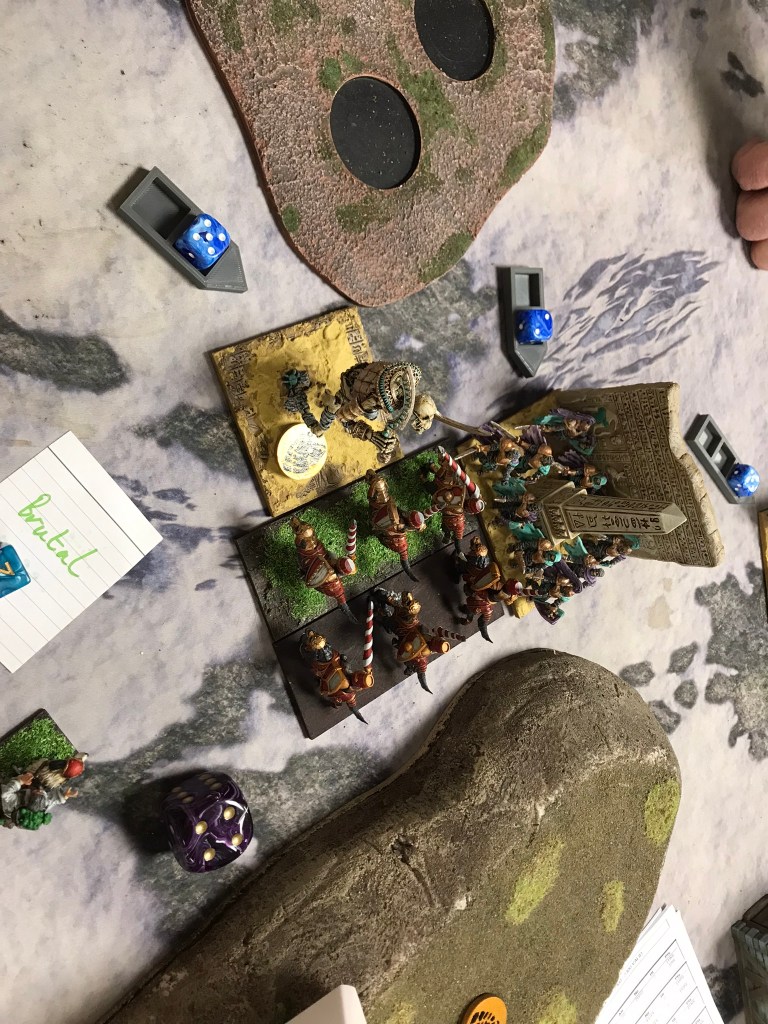
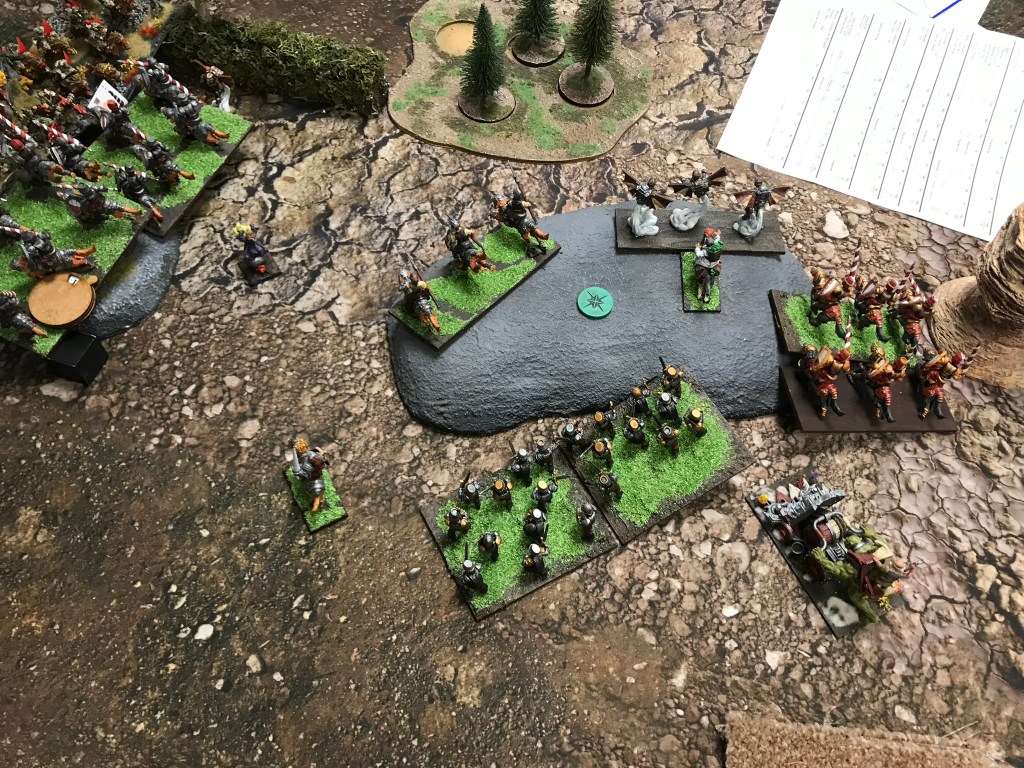
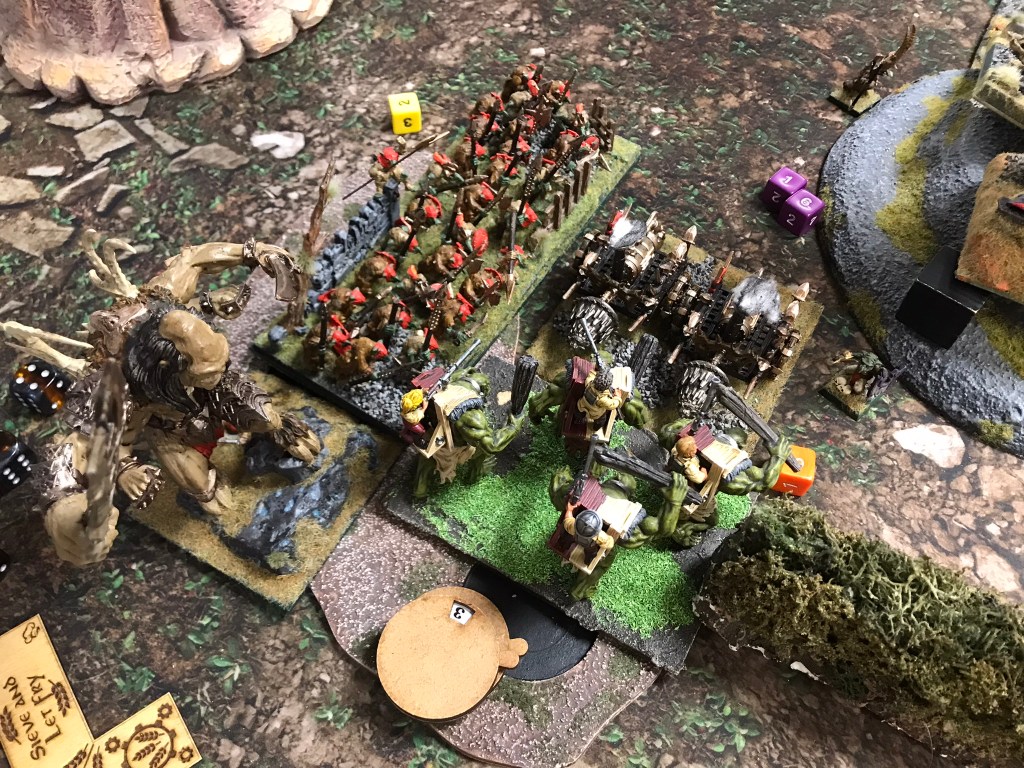
When I set up the loot counters, I did my best to spread them around the table, knowing that the EoD’s strength lay in sticking together to deny flank charges. I was hoping he might send a unit or two off on their own reducing the inevitable wall that would form in the centre. Unfortunately, Heath was not going to fall for that trick and so the game kicked off. On my left flank I had put the Jugger horde, together with a regiment and the Wild Lancers. They started out well, managing to fell a Bone Giant and Shobek. Unfortunately, I messed up the reform allowing the second Bone Giant to get a charge, which could have been avoided, into the horde which took it off the table.
It was a bit of a shame, but to be honest the horde had done more than enough at that point and put me in a great position where I believed I might have a chance. My positivity stemmed from my token placement, which meant there were two loot counters on my far right I could collect with my trolls completely unchallenged, which meant I only had to secure another two tokens for the win.
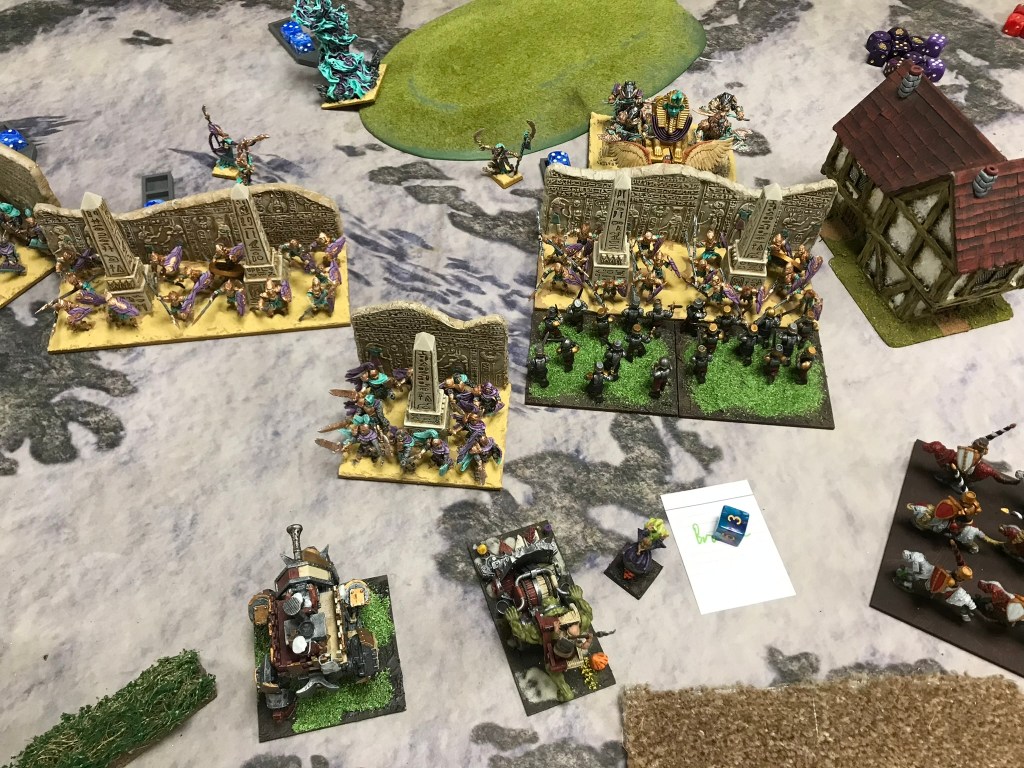
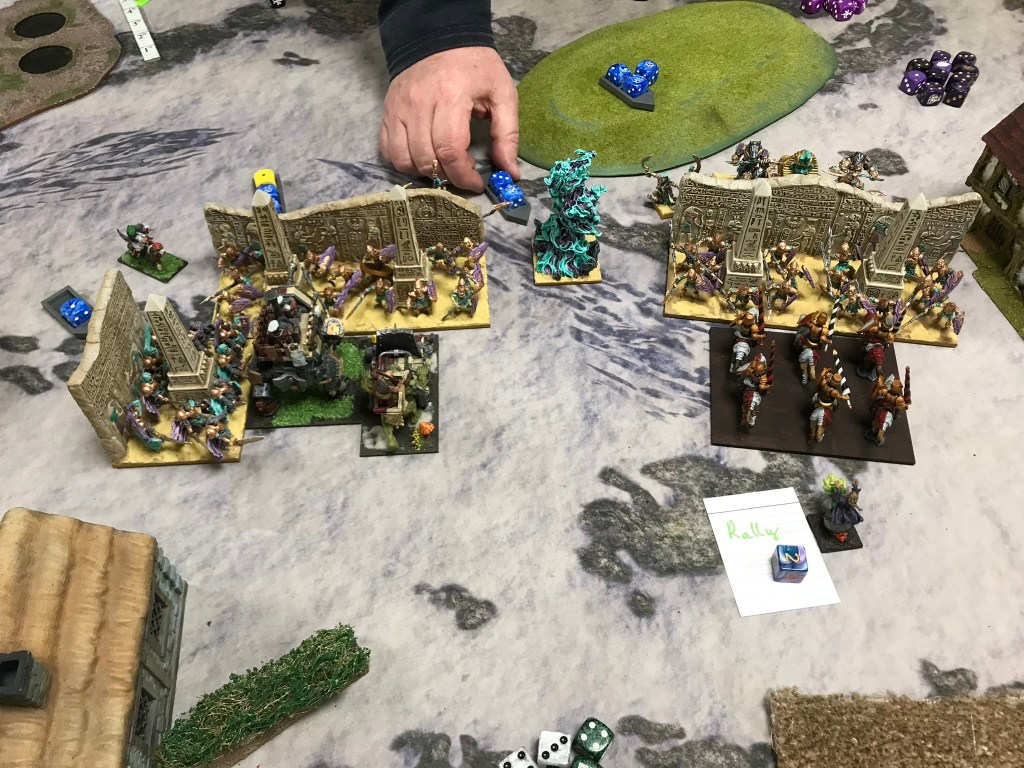
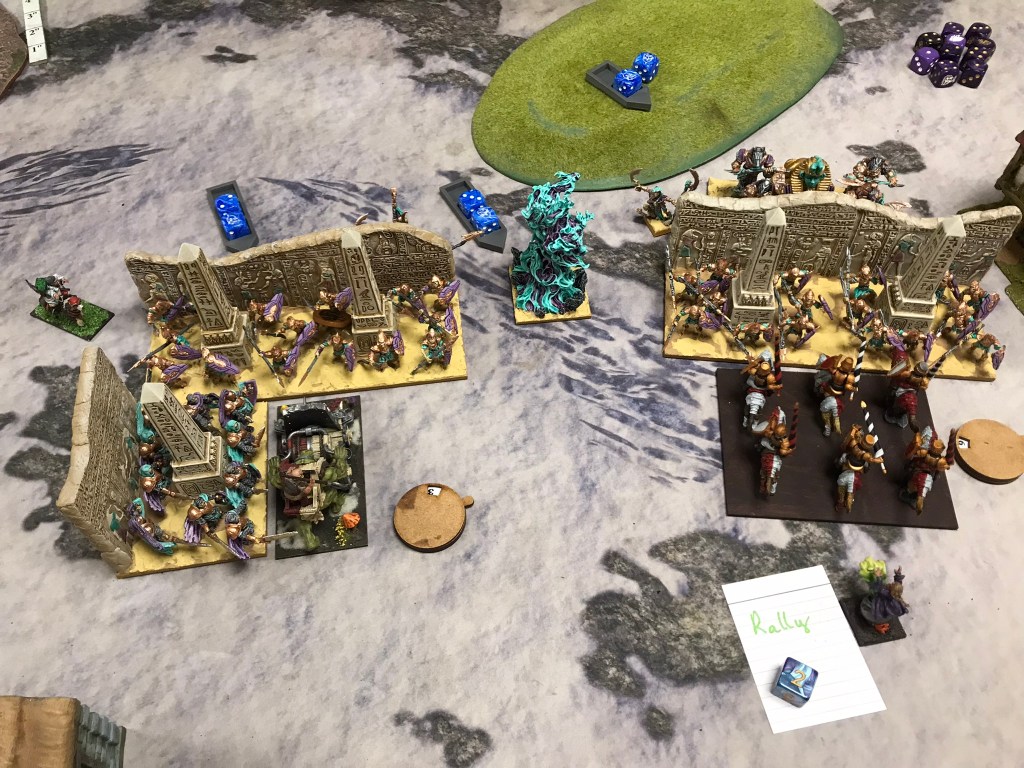
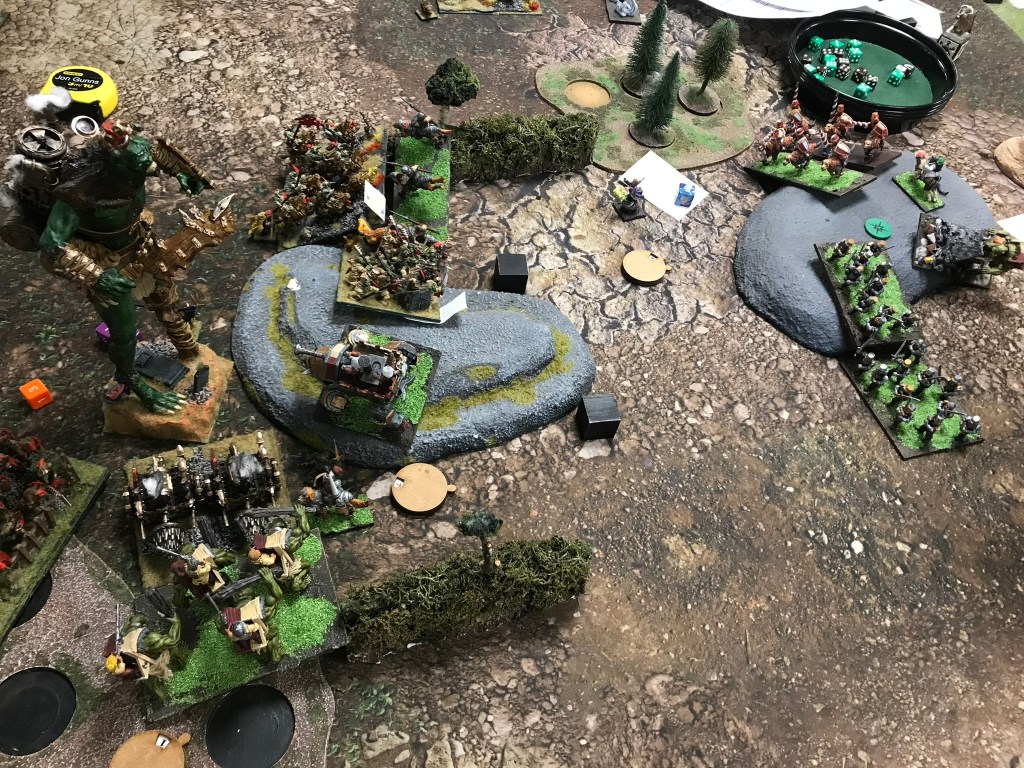
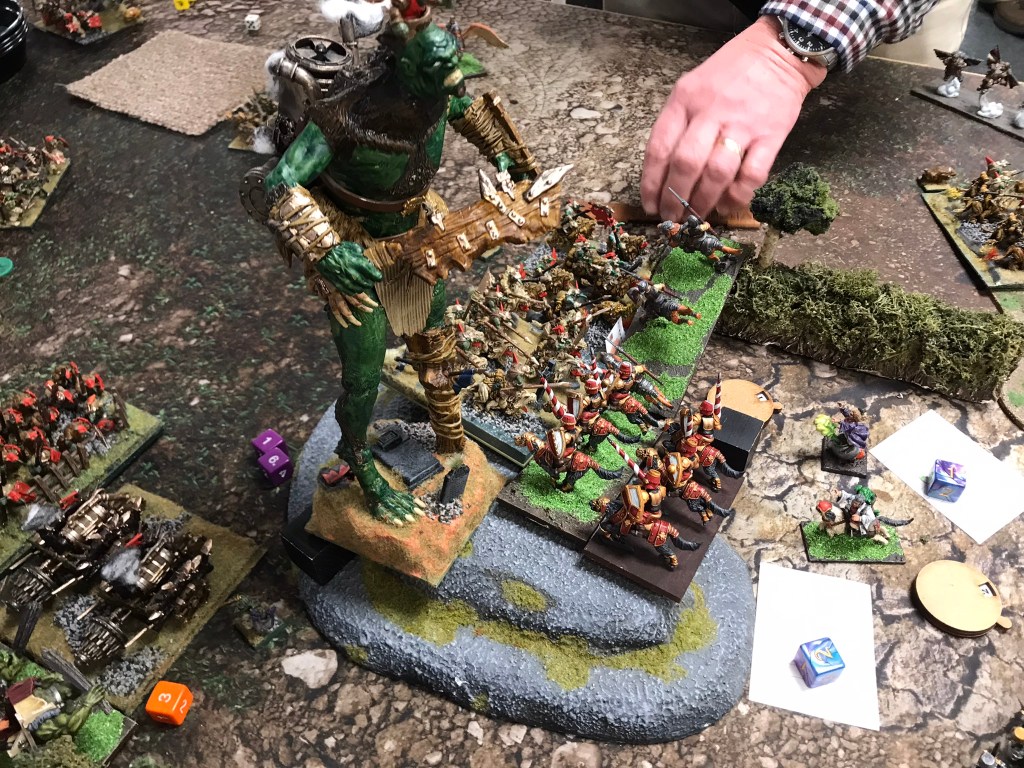
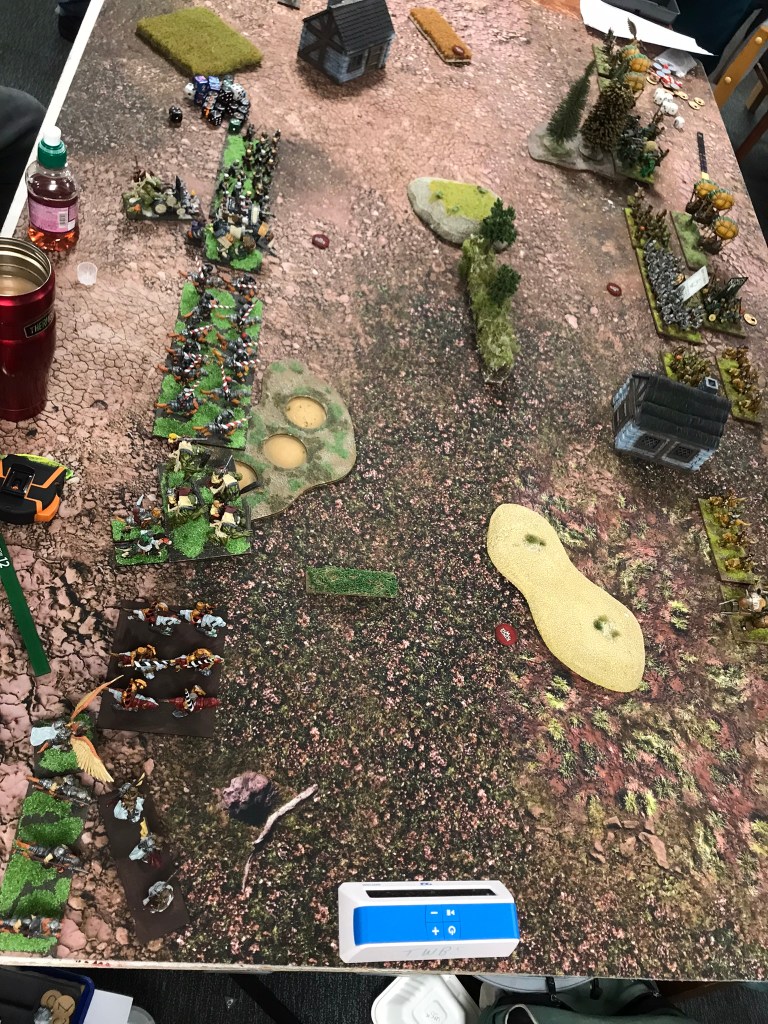
With great in roads being made on the flanks I prepared to break the centre. An over enthusiastic over run from a Mummy regiment left it open to a multi charge from the Iron Beast, the Harvester and unhindered Juggers in the flank. Now all I needed to do was breakthrough the horde of Revenants that anchored the EoD line in the centre of the board. With a rear charge from the Muster Captain on Winged Aralez, a Stalwart horde in the front and some brutal from one of the Saucerors I had high hopes! But it was not to be. The Revenants weren’t going anywhere and over the next few turns the combat would wipe out the Stalwarts, the Captain and a Jugger regiment. Unable to break the centre, and with the momentum from the right flank falling away the Halflings found themselves running from the field, although there was a moment of celebration to be had that they had escaped with two loot counters, but they weren’t enough for the win.
Game 2 vs Goblins, Wrack and Ruin
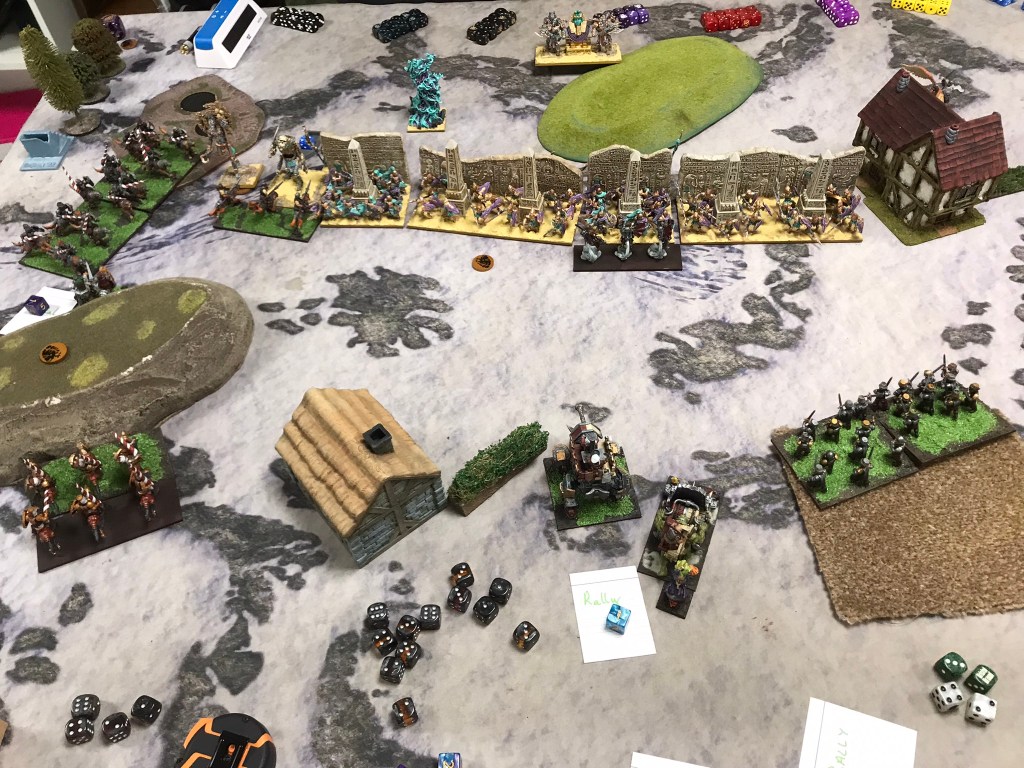
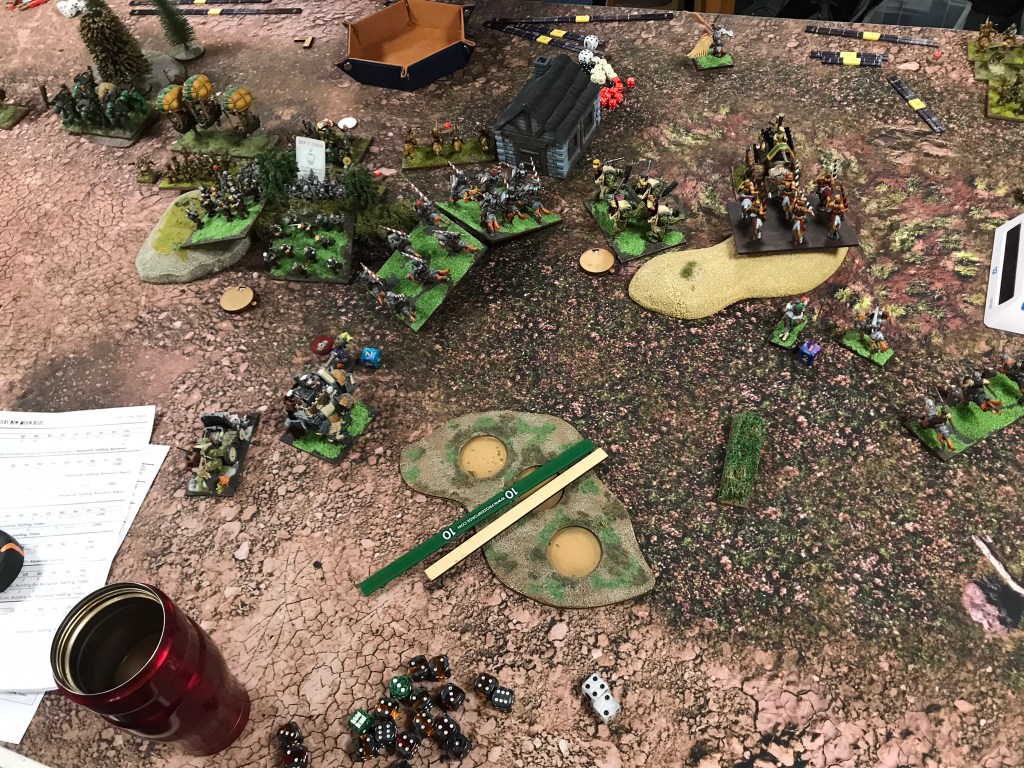
I always think it’s a shame I don’t encounter Goblin armies more often as they are great fun to play against and offer some really different challenges to a lot of other armies. This particular list featured a good mix of infantry, fleabags and giants as well as the new formation. Having had a few issues with Wrack and Ruin in the past I decided to keep it simple and throw the majority of my unit strength onto my right flank with just a small force of Juggers, Ej Grenadiers and the Muster Captain on the Flying Aralez on my left. The Goblins set up the majority of their troops on my left flank with only a regiment of Fleabags and Groany Snark on my right.
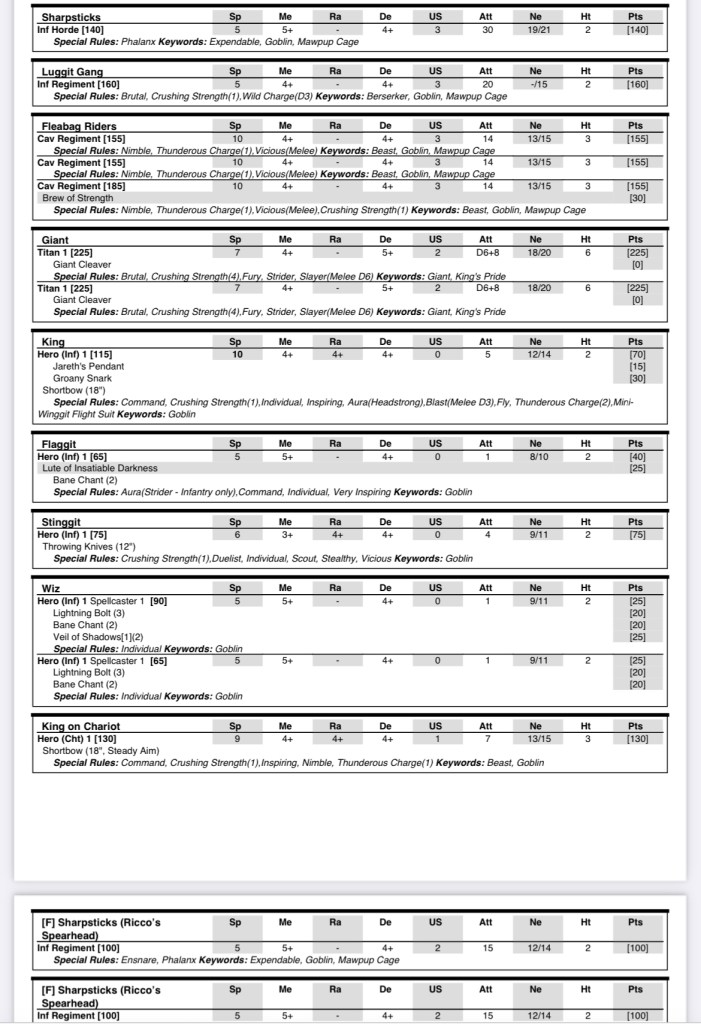
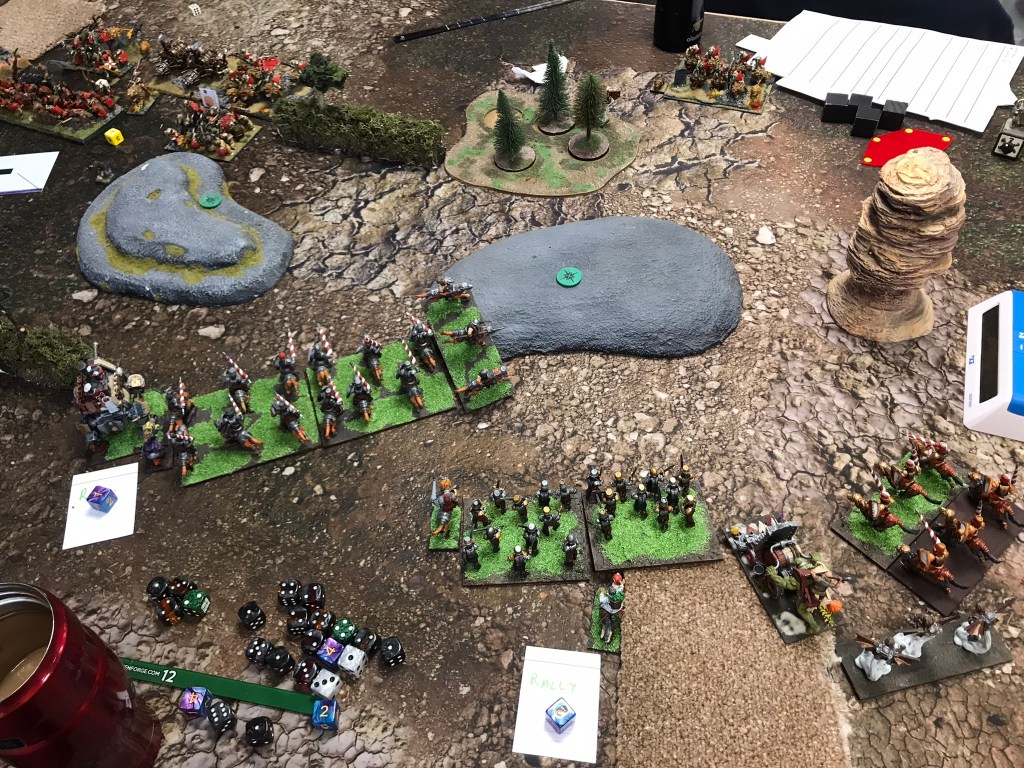

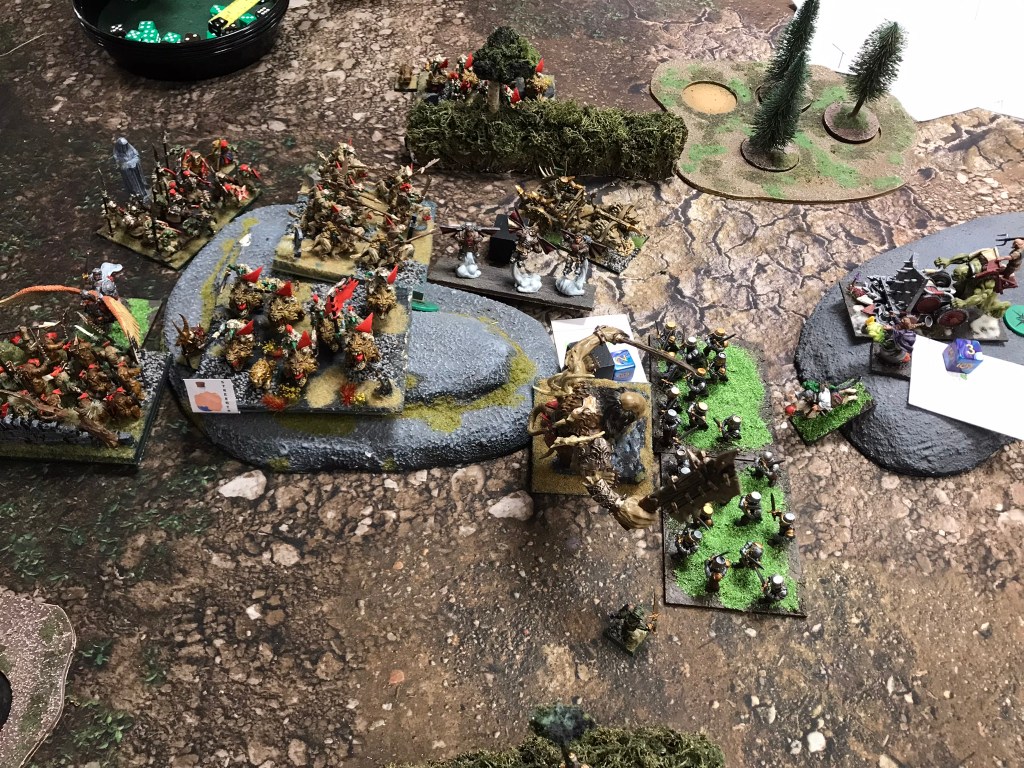
Both armies pushed forward into their respective scoring zones, before turning in towards the centre. With the benefit of hindsight, I realise that I was probably a little too eager to engage with them and foolishly threw both my Iron Beast and Jugger horde into a regiment of goblins that had been pushed ahead of their line. Not surprisingly, the goblin regiment rapidly disappeared from the table however this opened up my Horde to a charge from a hindered Fleabag Regiment, Groany and a unit that I completely forgot was the Luggits. The damage from Groany and the Fleabags was negligible, however the Luggits rolled exceptionally well and the Jugger horde broke.
Despite the breaking of the horde the Halflings where still strong enough to hold onto the scoring zone on the left for turns 3, 4 and 5. What I loved most about this game though was that whilst there was quite a brutal trade of units going on in the centre of the board there was a far more intricate game of cat and mouse happening in my opponent’s deployment zone. The flying Muster Captain and a regiment of Ej grenadiers played cat and mouse with Fleabags and the King in the Chariot looking for an opportunity to support the struggle for the centre. Unfortunately, that opportunity didn’t materialise in a meaningful way, and whilst the Halflings easily managed to keep the Goblins out of their scoring zone they didn’t have sufficient strength to push the green mob back from the centre.
Game 3 vs Halflings, Compass Points
One of the reasons why I wanted to get my head around Halflings is that over the past couple of years when I’ve played against Halflings I’ve found them to be a real challenge, and the people playing them have been great to play against. So, it was brilliant to find myself up against another halfling army. What was particularly great from my point of view was that the list I was playing against is far more representative of what I would expect to see in a Halfling list, so I was interested to see how my force would fair.

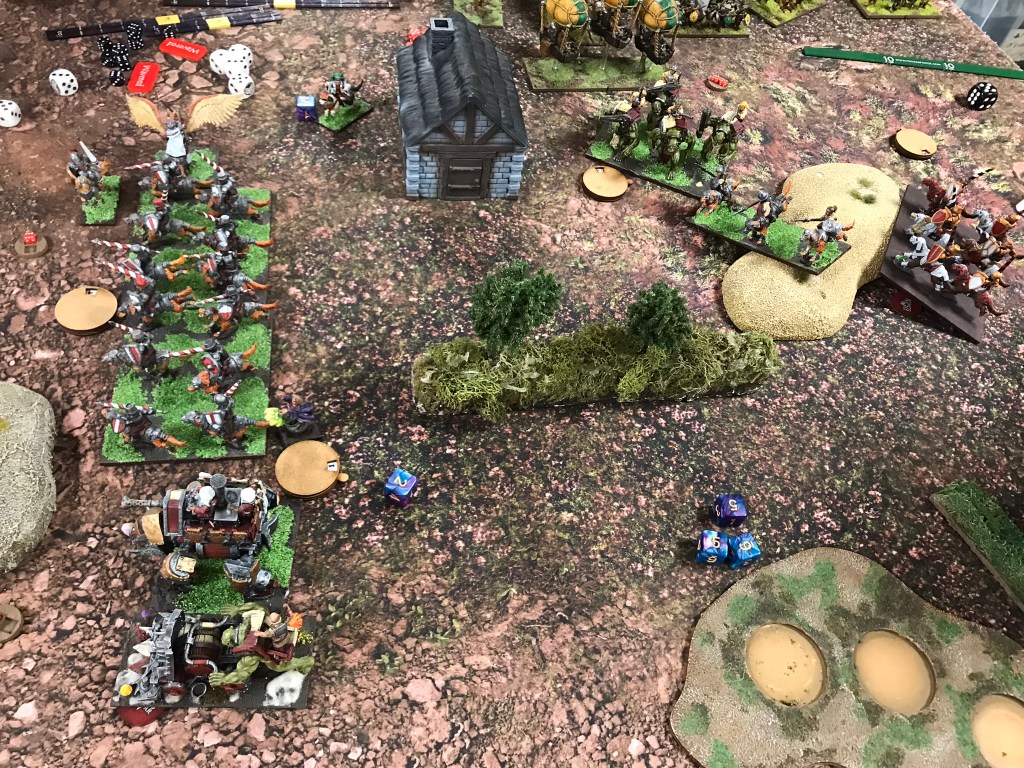
Having deployed my opponent scouted his poachers forward right into the charge range of my Jugger horde and I had a sudden flash back to the previous game. Taking the first turn I was immediately faced with the opportunity of a turn 1 charge.
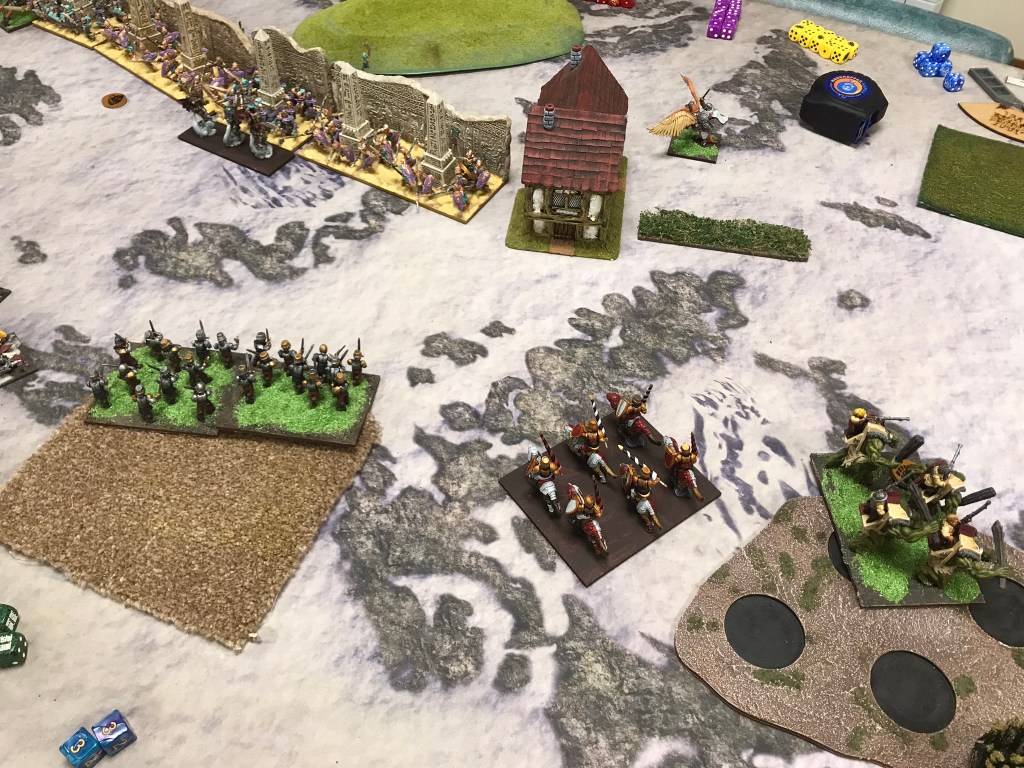
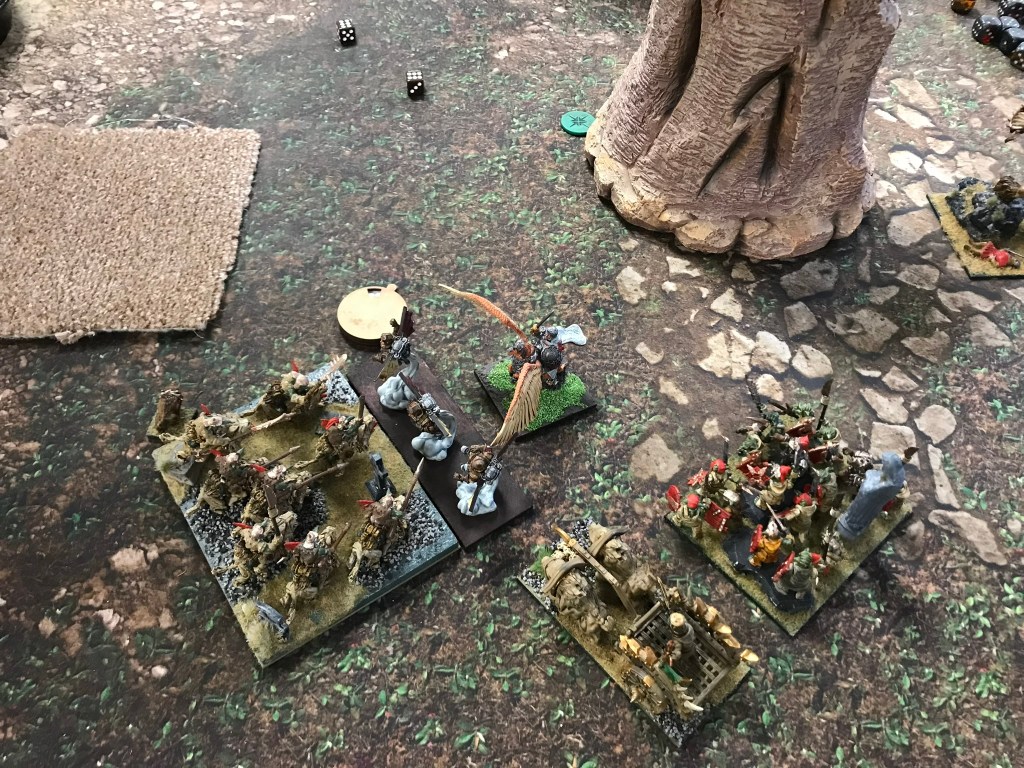
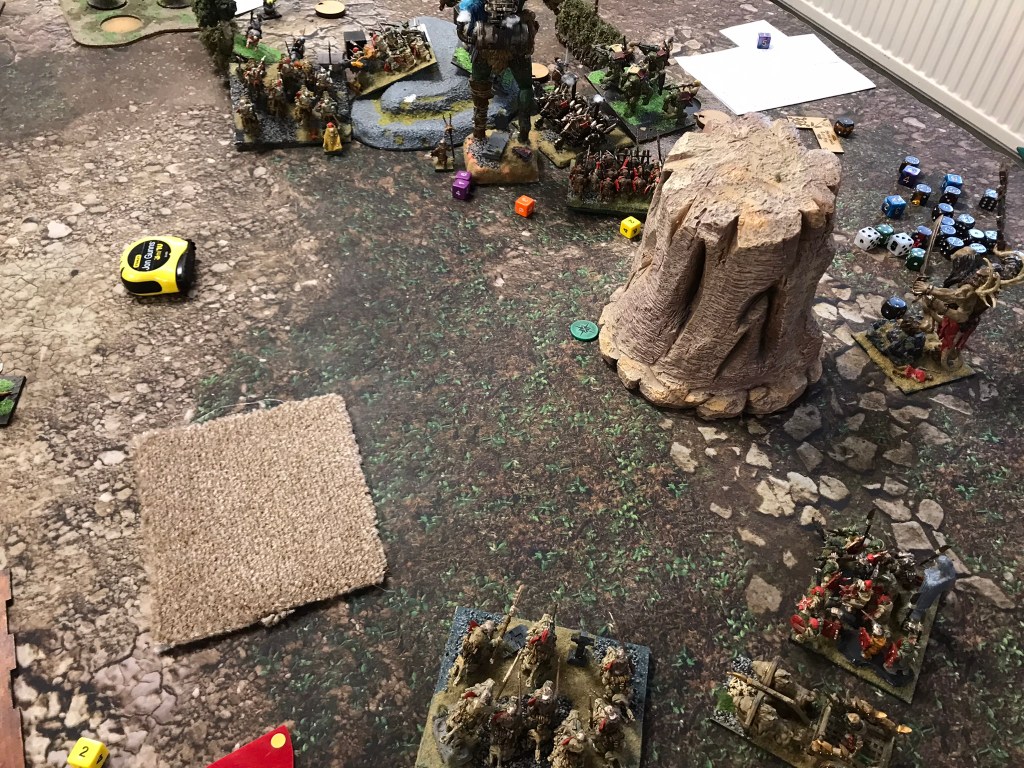
For this game my opponent had deployed relatively evenly across the table, kind of. Although there was a heavier unit count on my left flank, they were quite low on nerve with a flying Muster Captain, Ej grenadiers and Aeronauts. On my right flank stood the Iron Beast and a troop of Wild Runners. In the centre were the majority of their infantry and a regiment of Aeronauts. I had deployed largely across the right side of the table with only a Jugger regiment and grenadiers on the left.
In an audacious moment I decided to aim to take both the centre objectives and the one on my right flank. I ummed and ahhed a little over the turn 1 charge with my Jugger horde as a way to remove one of the Poacher regiments and really press the attack on the central objective on my opponent’s half. In the end I got cold feet due to the amount of enemy units that could potentially find ways to multi-charge the horde (I wasn’t keen to see my horde disappear so quickly again).
Instead, I moved forward cautiously in the centre, keen to avoid the troll gunners and wanting to keep the Aeronauts at arm’s length. On the right flank though I pushed forward very aggressively, given the enemy units protecting it I knew it would be relatively easy to remove the Wild Runners and then deliver multi charges into the Iron Beast at my leisure. Once the beast was dealt with, I would then be able to send units around to secure my opponent’s central objective.
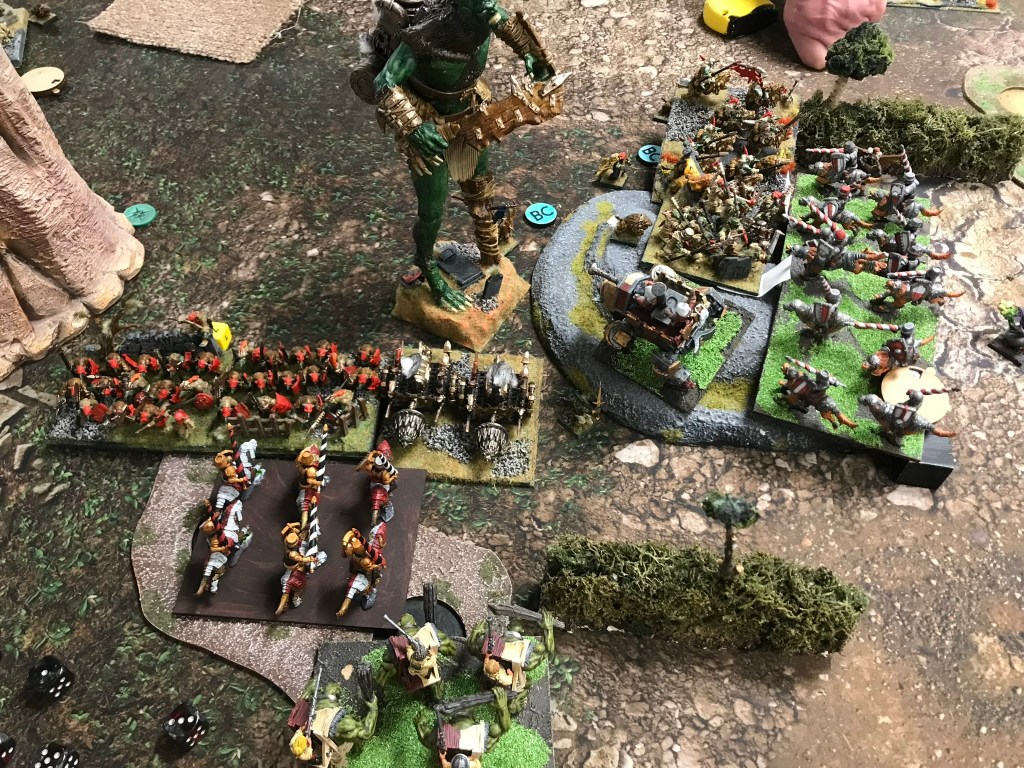
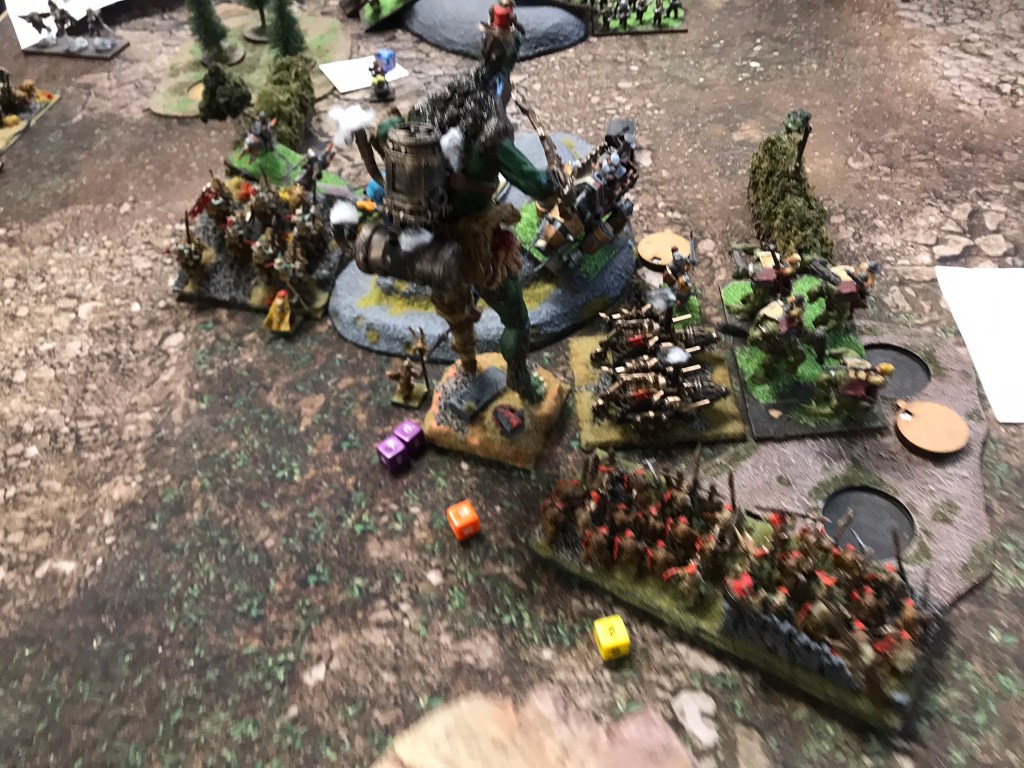
In turn 2 the charges began. Whilst the Stalwarts blocked up the centre by rushing their opposite numbers, the horde removed the poachers they’d had their eyes on, and the trolls took off the Wild Runners with the Iron Beast. However, the momentum got lost very quickly as the enemy Halflings started to bog down my key units. With quite a few units in the centre there was plenty of low value units to throw at my horde. On the right though the Iron Beast just wouldn’t die. Despite taking two rounds of flank charges from the trolls nothing seemed to be able to bring the mechanism down. By the time my Halflings had killed it, there was not enough time to get the cavalry around a house that blocked their most direct path to the furthest centre objective.
Fortunately, the flying Muster Captain had made his way behind enemy lines and, after making an absolute nuisance of himself, turned his attentions towards the objective. However the turns were running out, and my opponent still had a lot of options to delay my progress. His flying Muster Captain came face to face with mine by the objective, effectively cancelling out the scoring. We had both taken control of a flank which left, in turn 6, the tie breaker coming down to ownership of the objective in my centre. I had my Iron Beast and Harvester defending, positioned in such away that his nearby Aeronauts would only be able to reach the beast. The Aeronauts descended, but rolled poorly, failing to even dent the construct, giving the game to my Halflings at the end of the turn, but then a turn 7 meant that my Halflings were also able to secure the object in my opponent’s centre, strengthening the win.
Final thoughts
What a thoroughly great start to a new year. A massive thanks and congratulatory hats off to Andy Marshall for putting on a great event. And of course, a massive thanks to my opponents for a great series of games.
I have to admit I was really impressed with the army overall. Although I finished with two losses and a win, the losses were what I would call good losses, and as a result I ended up coming in a respectable 25th. Despite my misgivings the horde did very well and I’m pretty sure timing is everything when it comes to deciding when to finally commit with it. My main concern about the Halflings was their low nerve, which was one of the reasons for choosing the horde, but it didn’t impact me as much as I thought it would. What was very noticeable was just how useful the terrain mitigation in the army was with strider and the trolls.
The one area where I think the army did underperform was in the killing department, and there is a change to the line up I’m carefully considering that I think would have made a difference in all of the games at this event, but more on this later. The other aspect of the army I really need to give greater consideration to is the Saucery. I think the army really benefits from it, but there’s definitely an art to choosing what the best option each turn is and I got the feeling from a couple of goings on that the buff that benefits the most immediate situation is not always the best one to take. For now, it’s time to kick back and prepare for The Hinckley Heist.
Happy New Year
If you enjoyed this and really don’t want to miss anything else I post, ever… pop you’re email address below and you’ll get a notification for each and every new post.

Nice report Ed, I really enjoyed playing against the two of you. I’ll work on my deployment and see if I can give you a tougher game next time.
LikeLike
I do take an age to reply to these comments! Another game would be very enjoyable, hopefully it won’t be in the too distant future.
LikeLike