
Saturday saw the first ever Light the Beacons tournament open its doors, and I was heartened to see, for a second time this year, no less than three ratkin armies amongst the thirty forces taking part. As an enthusiastic rat fan its really great to see more players bringing them along to tournaments.
For this event I decided to give my lightening bolt heavy list a second run out. It served me well at the last event, helping me secure a 4th place, so I thought it would be worth giving it another go. I did feel a little gamey taking it after listening to the Counter Charge Ratkin army review where the availability of cheap lightning bolt casters was noted as something to keep an eye on, and this event definitely helped me crystalise some thoughts on bringing no less than lightning bolt 25 to the table.
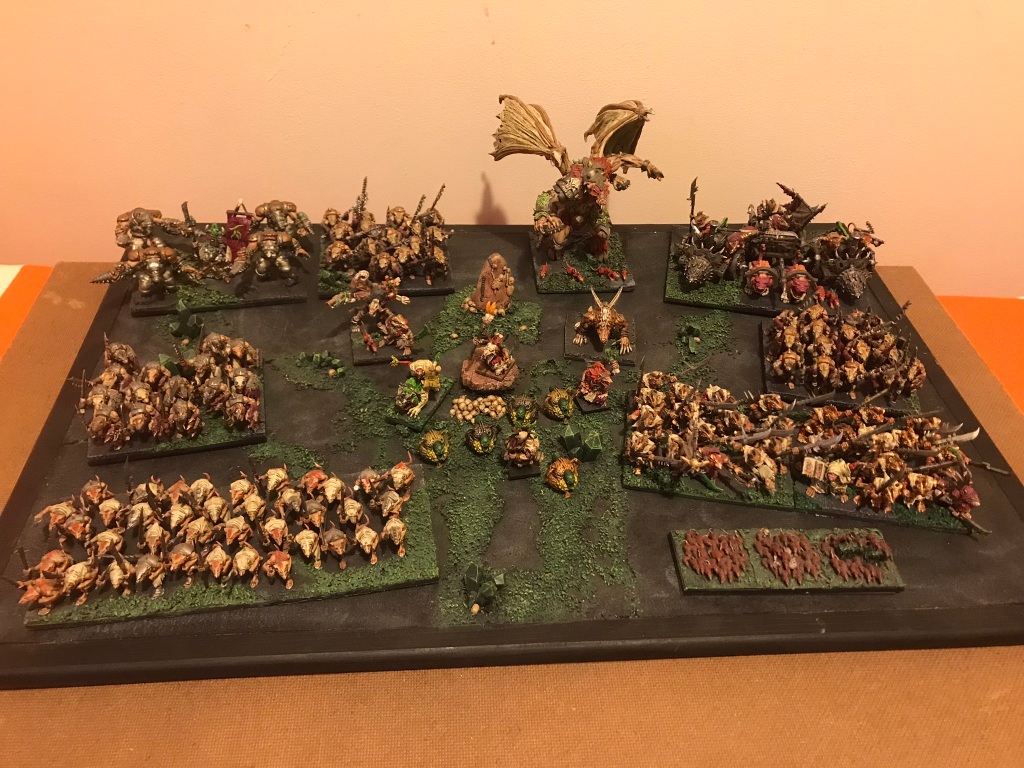
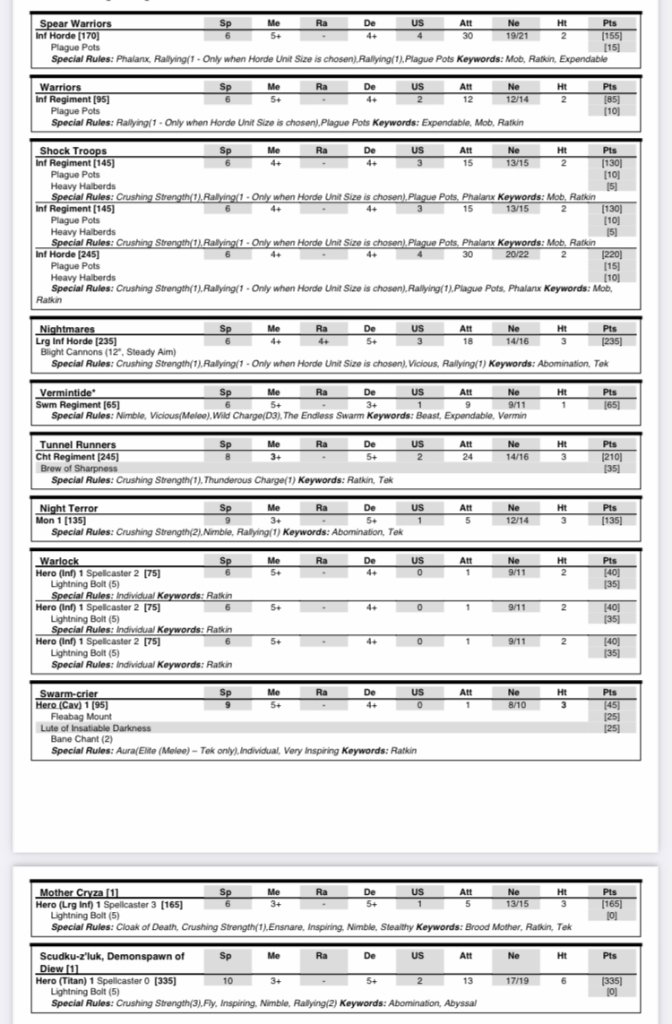
The list
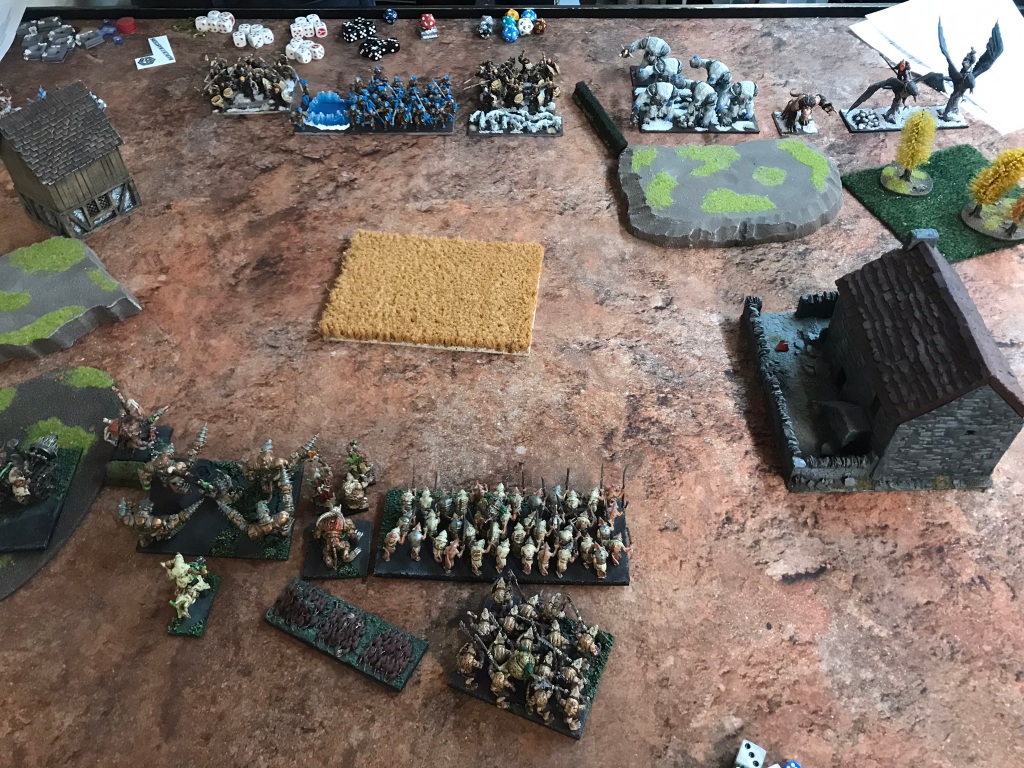
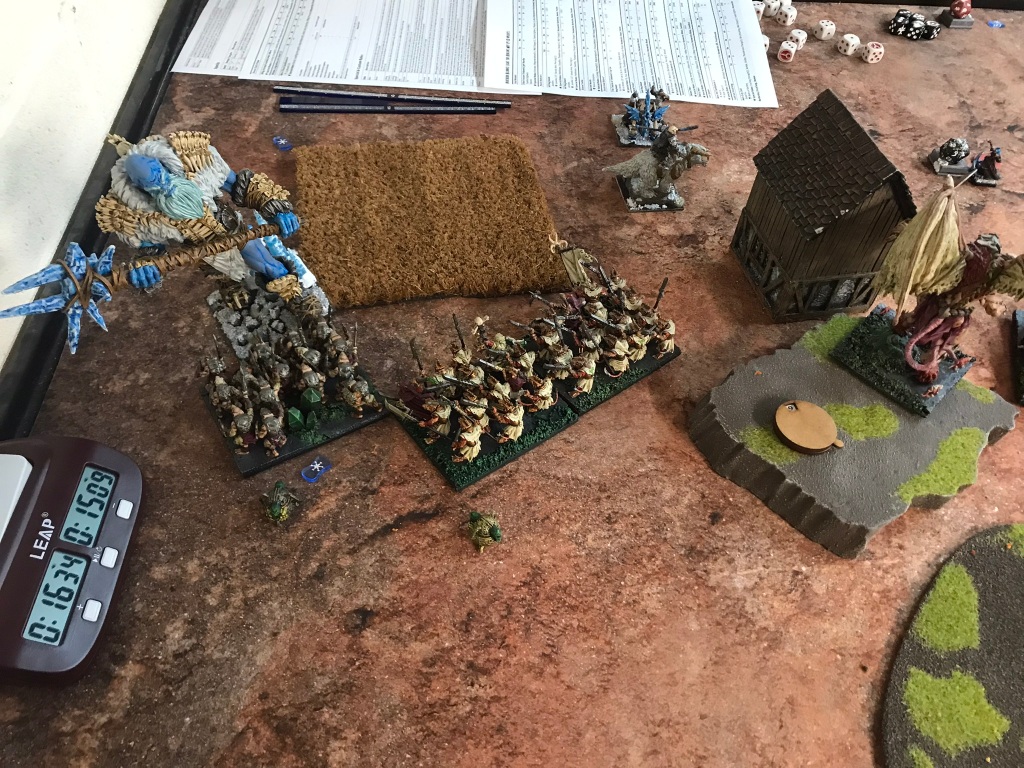
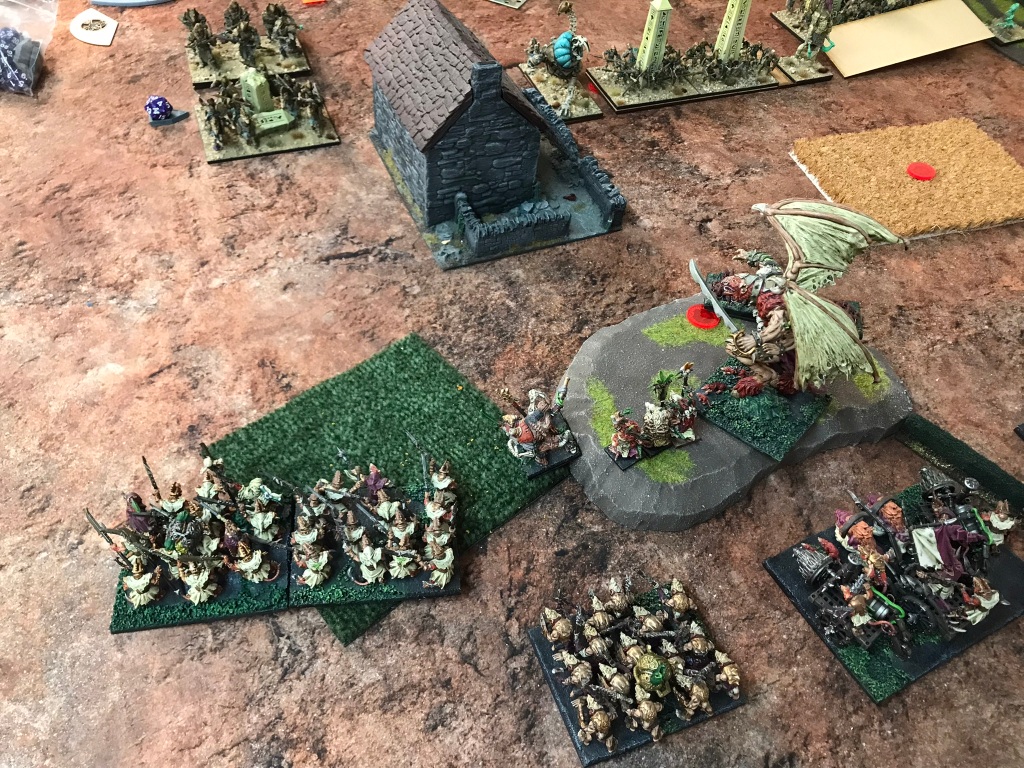
Game 1 vs Northern Alliance, Control
Despite their popularity I haven’t played Northern Alliance for quite some time at a tournament, so it was great to see them opposite me on the table. Looking through the list I was happy to see pack hunters, snow foxes and ravens, as these make great targets for massed lightening bolts. I was less excited by the hordes of naiads and trolls. Whilst lightening bolt is great at dealing with low defence units, high defence units with regeneration, and some heal in the list, tends to make this type of shooting pretty pointless, because chip damage simply doesn’t stick. On balance though I was reasonably happy with the match up on the basis that there were some good targets.

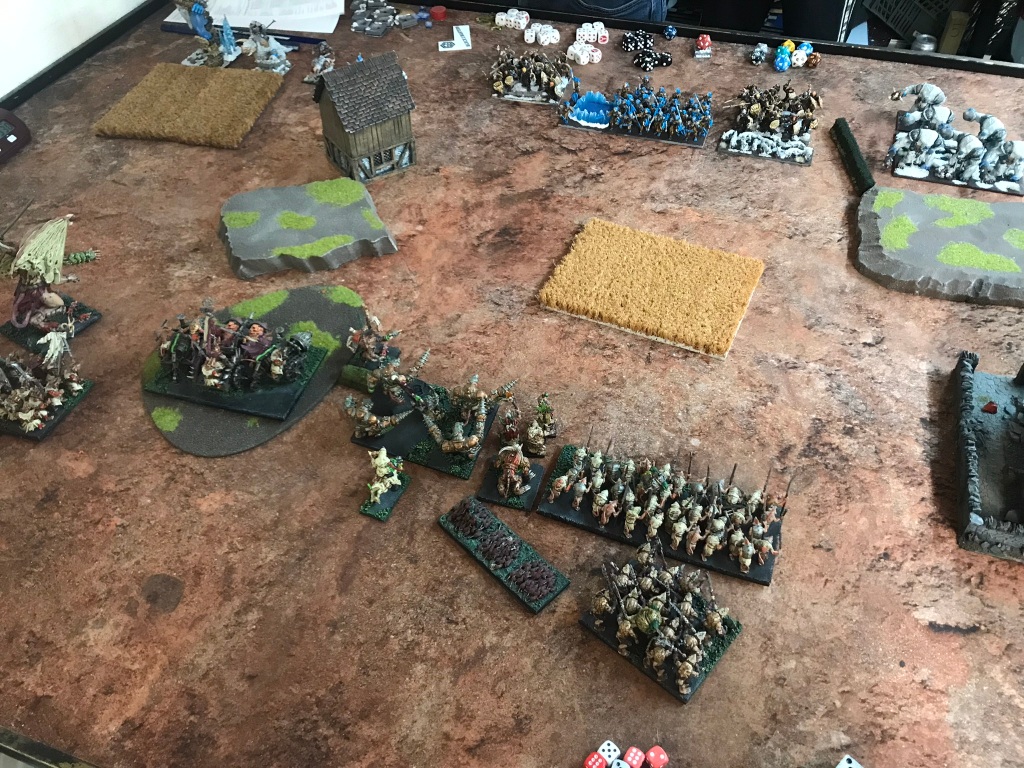
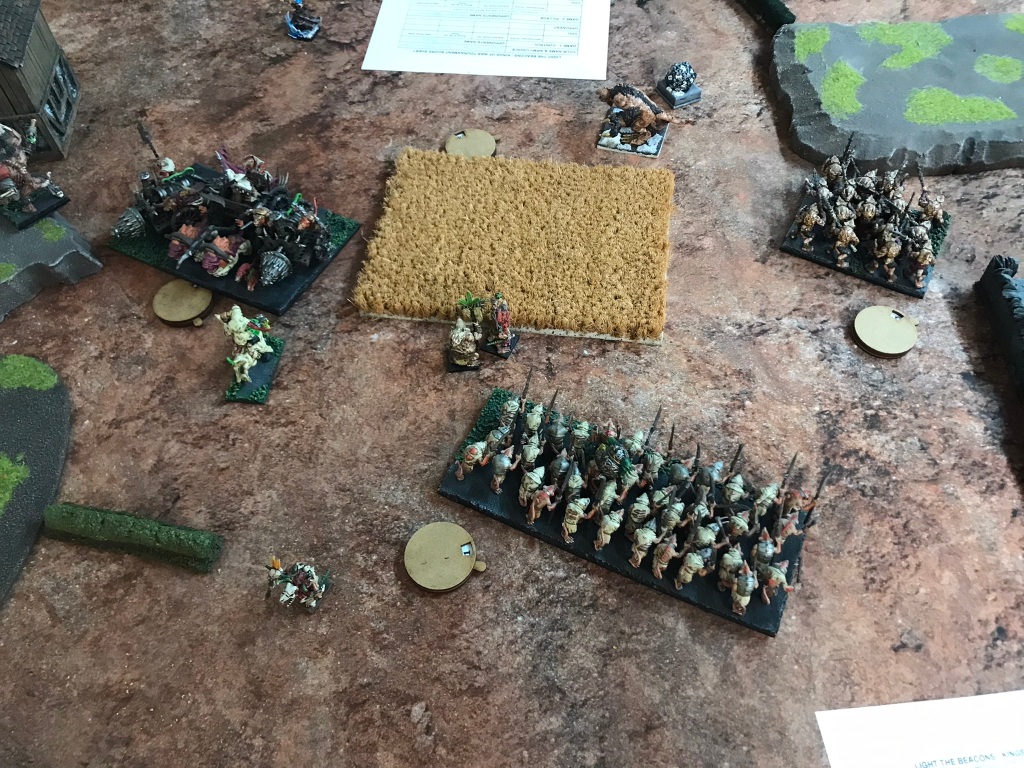
I won first turn and the lightning rained down. I managed to waiver the bolt thrower and kill one regiment of snow foxes. Across the table I held my forces in line because my opponent had a strong centre of naiads, trolls and pack hunters and a strong right flank of Hrimm, a lord on a frostfang and a cavern dweller. The northerners started to make their way forward and in turn 2 presented me with an opportunity I really should have thought more about! Whether it was the successful shooting in turn 1, or a delayed sugar rush from my morning toffee latte, I decided to throw Scud across the far side of the table into a regiment of pack hunters. Quite why I choose to do this, I’m still not sure, but as soon as I had committed, I started to realise just what a stupid mistake I had made. It was unlikely Scud would kill the regiment, and whilst there was no other threat to the demon, extricating him from the situation wasn’t going to be easy. Fortunately, the regiment was waivered and couldn’t fight back, but in the following turn the bolt thrower started shooting at Scud chipping three or four wounds off him a turn for the next three turns as I danced him around trying to avoid charges from the frostfang lord and the snow troll prime.
The good thing about Scud’s little adventure was that it managed to distract both the snow troll prime and lord on frostfang, and without these key support pieces my troops on my left of the table quickly finished of Hrimm and the Cavern Dweller, whilst the units in the centre polished off the naiads and pack hunters.

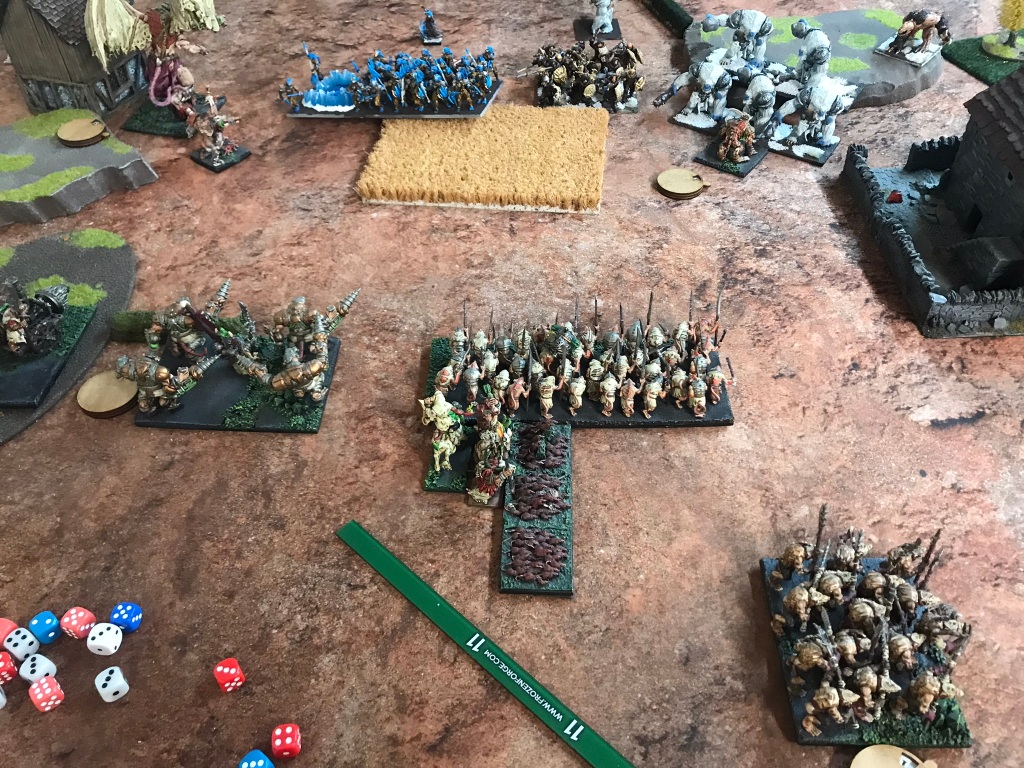
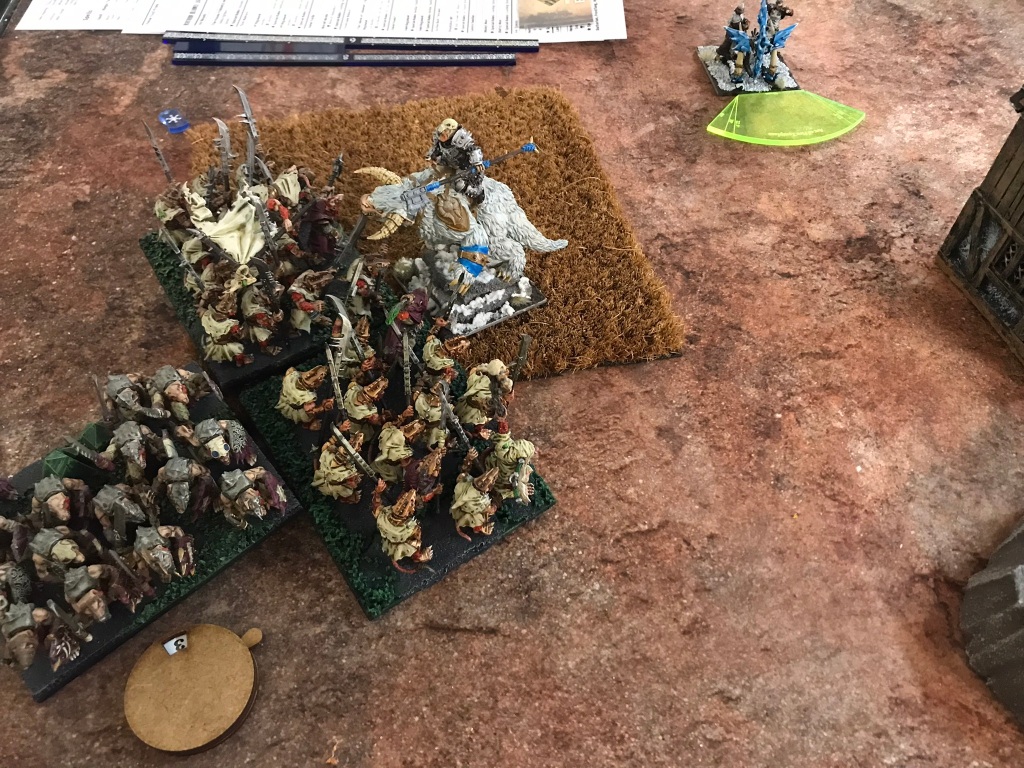
Eventually Scud’s misadventure came good, and he was able to flank charge the snow trolls, removing them from the table with a regiment of shock troops. By the middle of turn six things were looking very good for the rats, the northerners had largely melted from the table, and I was in a position where a bit of good fortune would see me take every section of the table. Unfortunately, I hadn’t been watching the clock and just as I started to roll for combats, I timed out. This was particularly frustrating as I had the remaining cavern dweller cornered by Scud and a regiment of shock troops and the frostfang lord had just charged into the shock troop horde, and I was keen to fight back. All this became compounded by my opponent rolling a turn seven. The upshot of all this was that the cavern dweller managed to kill the heavily injured demon, before flank charging my horde of nightmares and taking them off the table. Things were suddenly not looking so rosy. Fortunately though the frostfang lord was unable to remove the shock troops, and then some very tense measuring followed to work out which units were in which sections, by luck more than judgement my tunnel runners were just about in my opponent’s centre which out unit strengthened the lone cavern dweller, and I held three other sections, securing a solid win and a reminder to keep my eyes on the clock.
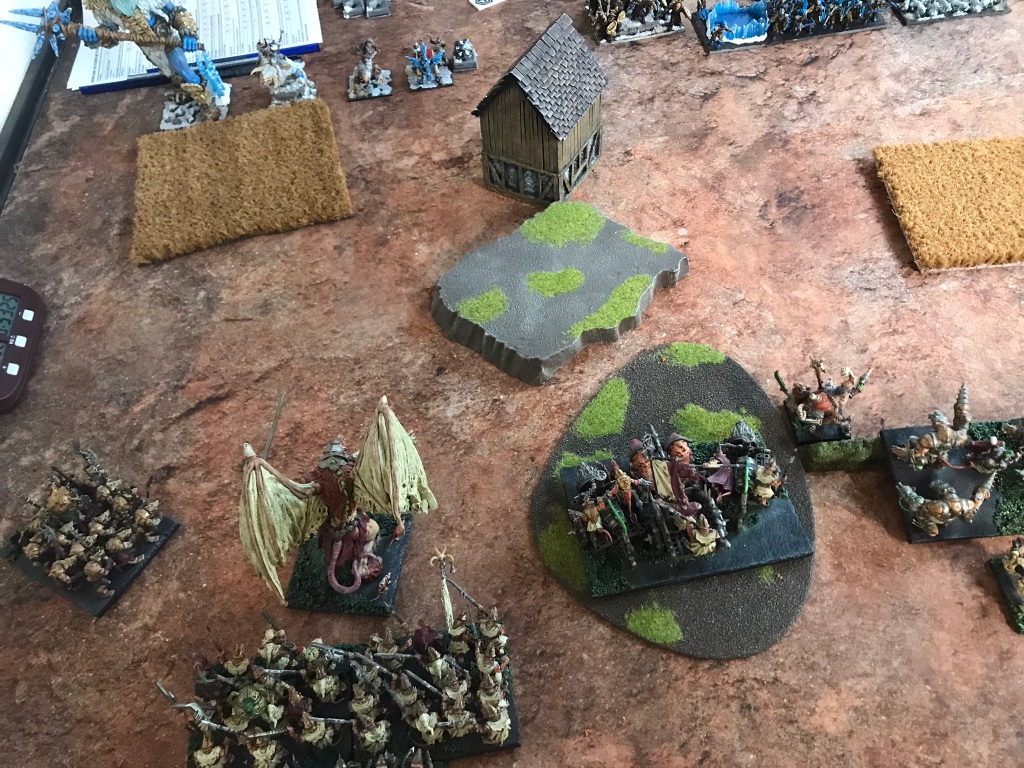
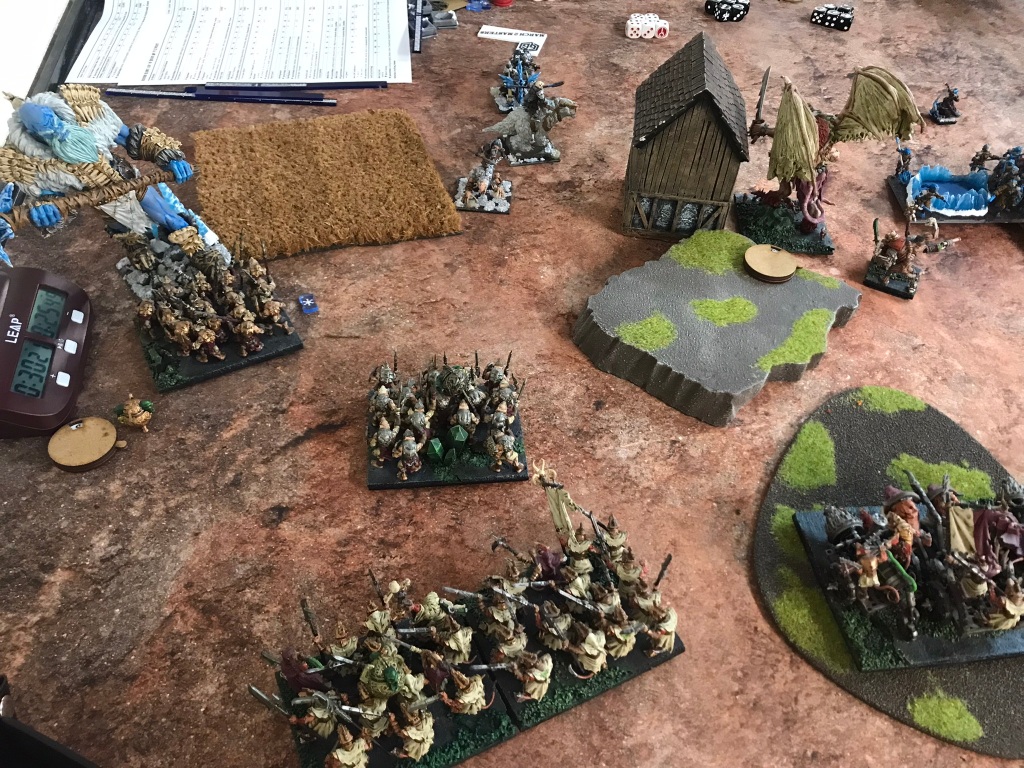
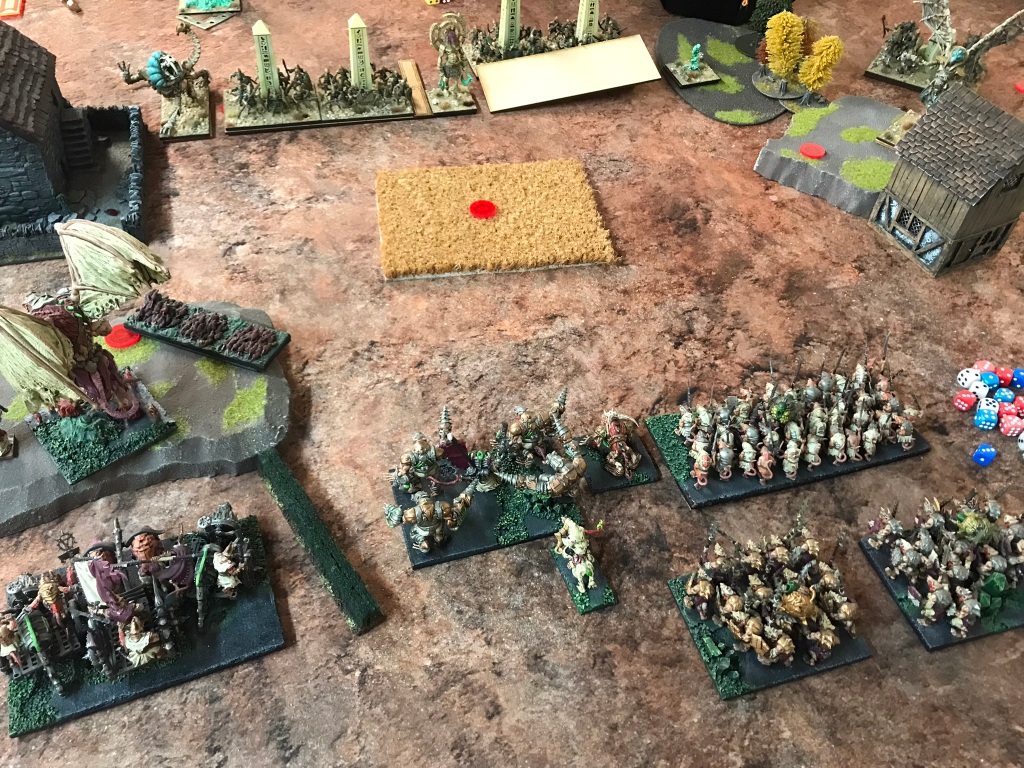
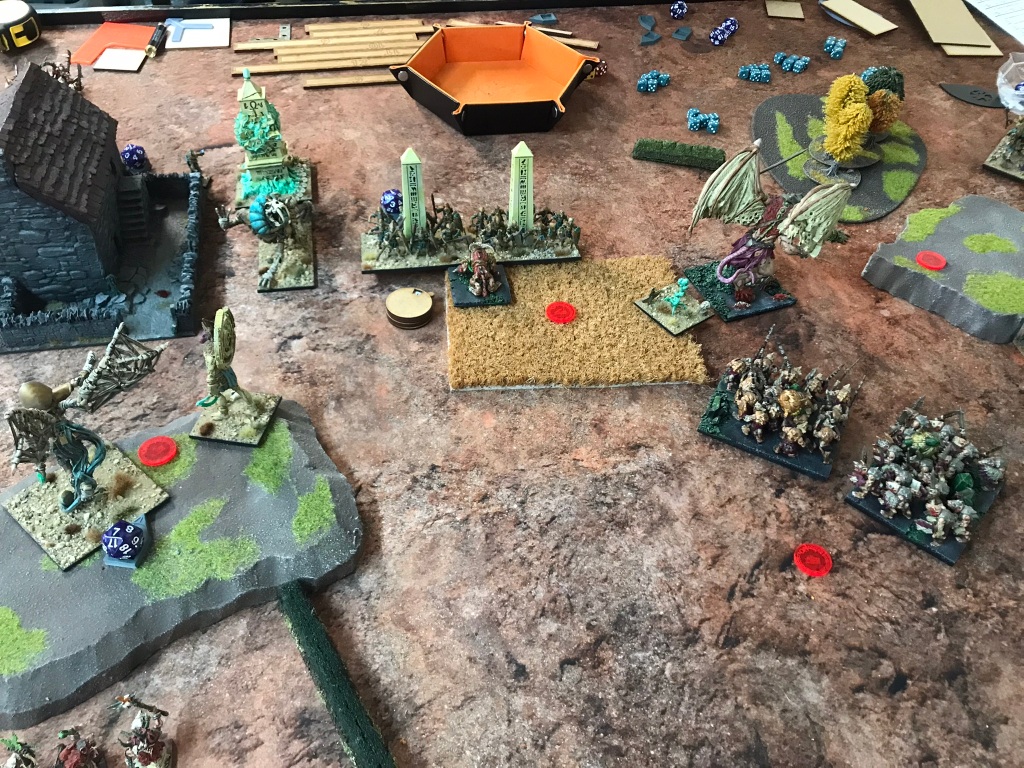
Game 2 vs Empire of Dust, Pillage
It’s fair to say this was probably one of the match ups I really wasn’t excited about. Empire of Dust don’t really bother too much about chip damage, and this list in particular had none of the few units in the army that are relatively easy to take down. Looking through the list I knew that my lightening bolts would only make an impact if I could target the priests, everything else would simply either bounce off defence six our get immediately healed.

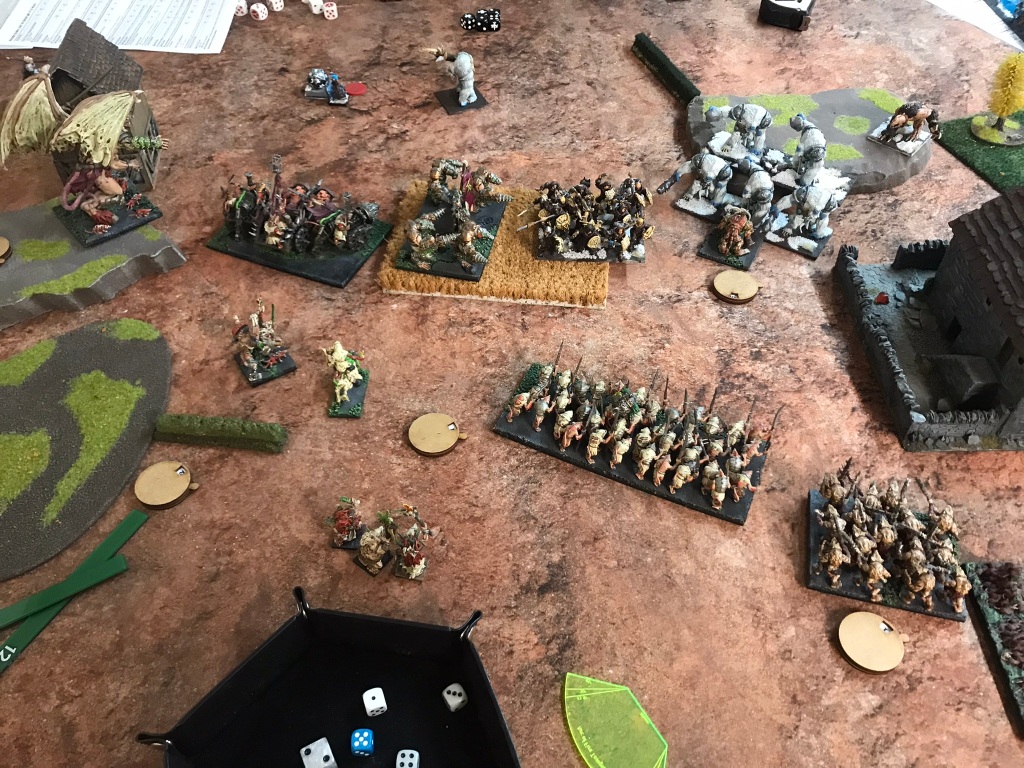
I will admit to not helping myself with my set up. I had a plan in my head about contesting objectives in the middle of the table, but I definitely didn’t position myself in the best way possible to do this. All this meant that by turn three the rats looked like they were heading for an early bath, and then a glimmer of hope appeared. For reasons best known to my opponent, after successfully deleting my spear horde, in the centre of the table, with a revenant horde he repositioned it in such a way as to allow Scud an unhindered charge into the horde’s flank, with support in the front from some warriors and a shock troop regiment. The revenants went down, shortly after this the shock troop horde, on my left flank, managed to remove a regiment of revenant cavalry, followed in very short order by the horde of enslaved guardians. Suddenly, the rats were back in the game.
Coming into turn five, the sweet fragrance of opportunity lingered in the air. My three warlocks, who had largely been irrelevant for most of the game had a viable target on the cursed high priest, whilst the shock troop horde that had already one shotted two -/17 nerve units had a charge on Sebekh-Rei, that if successful would carry them into the back of the monolith (unhindered, which would be 90 attacks on 4s with crushing strength 1), that would then allow them to contest one of the objectives. In addition to this Scud was facing a revenant cavalry regiment with warriors supporting in the flank for another objective. Whilst I wasn’t sure all this would guarantee a win, it would certainly put me in a better place.


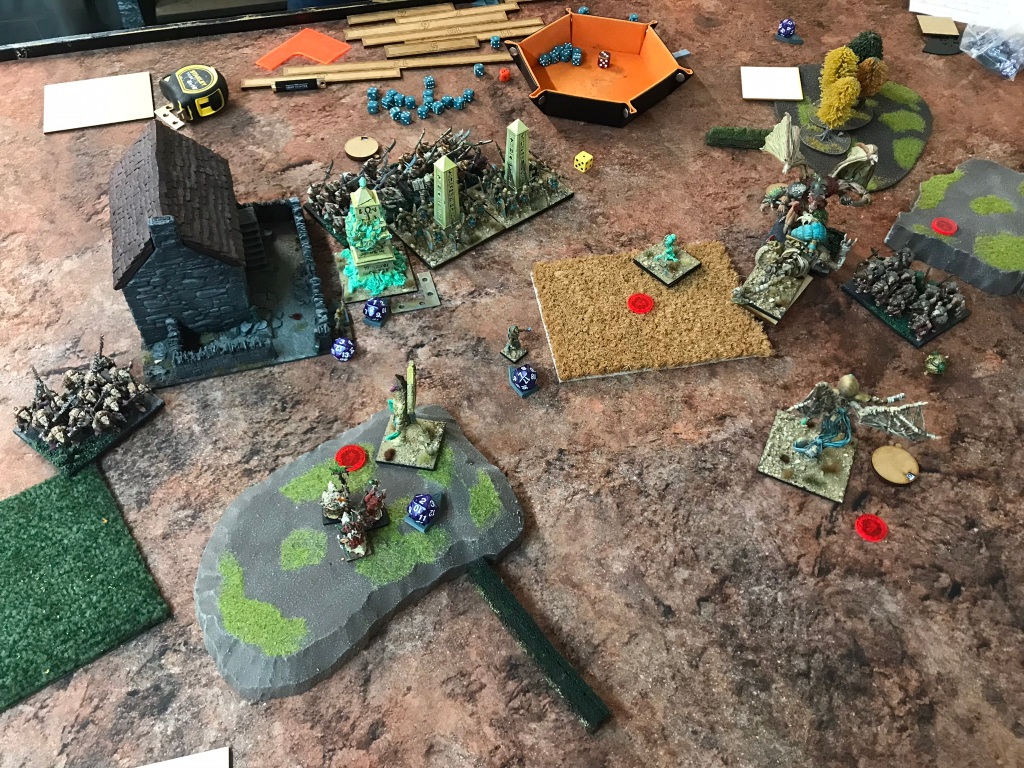
The lightning let rip, but sadly the priest survived. Not a problem, I thought, it was only the icing on the cake compared to the other two combats. Scud and the warriors went next, with a heroic effort from the warriors seeing the second cavalry unit leave the game. Finally came the big one, the domino run that could see everything change, unfortunately it was not to be. Despite a reasonable amount of damage going onto Sebekh-Rei I couldn’t make the nerve roll and so my unstoppable horde was very much stopped and with it any hopes of maybe drawing the game. Whilst undoubtedly a shame, my opponent had played a much better game than me and deserved the win, I was happy to hold onto one objective.
Game 3 vs Halflings, Salt the Earth
I felt massively excited to face off against Russ Charles’ amazing halfling force which I had been admiring on KOW Fanatics as he painted and sculpted it (not surprisingly it went on to take the Best Army prize). So excited, I failed to take any pictures of the game! It was an interesting match up from a lightning bolt point of view because of the prevalence of spellward in the army. I wasn’t overly concerned though because Russ had a number of units that don’t have the ability which were great targets for my casters, balloons – I’m looking at you.
In the first turn of shooting Scud and the warlocks removed the first balloon regiment from my left flank. With that threat gone Scud, the tunnel runners and the night terror charged down the spearspike horde not long after, removing it in a single turn, claiming an objective and turning their attentions to the centre.
The centre of the halfling line consisted of another balloon regiment, the Heroes of Holdenburg, an engineer and the Pride of the Shires. I held my forces back in the centre, not only because I wanted to wait for the flanking forces on my left to support the assault, but also because on my right flank the halfling juggers were pressing down on me. Much to my dismay the halfling chip shooting really started to take its toll, weakening both Mother Cryza and the tunnel runners. In addition to that the arrival of a muster captain in my back lines caused all sorts of upset as the plucky little dude managed to survive two turns of shooting and then two turns of combat, distracting valuable rat power from dealing with dogs and balloons that were starting to overrun the rear of the army.
Fortunately, though the rats managed to secure three objectives well away from the main combat zone, and the stalwart horde held back from joining the fight in the centre of my lines in order to secure an objective for the halflings. So, the fighting focused on the ownership of one final objective. Despite the halflings staking a solid claim repeated charges by shock troops took a massive toll and at the end of turn five the brave juggers were on the back foot. Unfortunately, at this point my opponent had to run for a train and so we called the game there with the rats taking the victory.
Final thoughts
All in all, it was a good day with some really interesting games, and a great test of the lightning bolt spam that ratkin have at their disposal. Having played this type of list at two events now I think I have started to form much more of an opinion on it. The first is that it is a pretty match up dependent list. Lighting bolt is a great spell for chip damage, and whilst twenty-five bolts have the potential to fell a horde in a turn, its rarely going to do that reliably. Consequently, you want match ups with armies that have decent targets that you can shoot from early on in the game. Against armies with high defence, high nerve and lots of heal your warlocks will be pretty useless.
One of the good things about maximising lightning is that you’re taking several different types of unit, namely warlocks, Scud and Cryza. This certainly doesn’t make it cheap, but it does mean you are bringing a variety of units that offer a range of different support to your troops, but this is also where it gets challenging. The main issue from this list comes from a combination of the number of unlocks required to bring all the casters to the table and then how best to prioritise the use of Scud and Cryza. Because of this the list can feel light on inspiring, even though it has three sources because of the need to prioritise the placement of units that contribute both lightning and leadership.
One final observation, I think the lack of a long-ranged unlocking unit in the ratkin list with piercing 1 shooting prevents my attempt at this list from being overly problematic. I think there is definitely a need for some other shooting support, which is what the nightmares are there for, but their lack of range means they can’t help out in the early stages of the game which is a shame.
Overall, though, it’s a fun list that definitely needs a little bit of thought and did land me in 8th place. Will I be taking it again? Well, I certainly won’t not be.
With all that said and done I’d like to finish by thanking my opponents for some great games, and Dave the organiser for a fun day.
