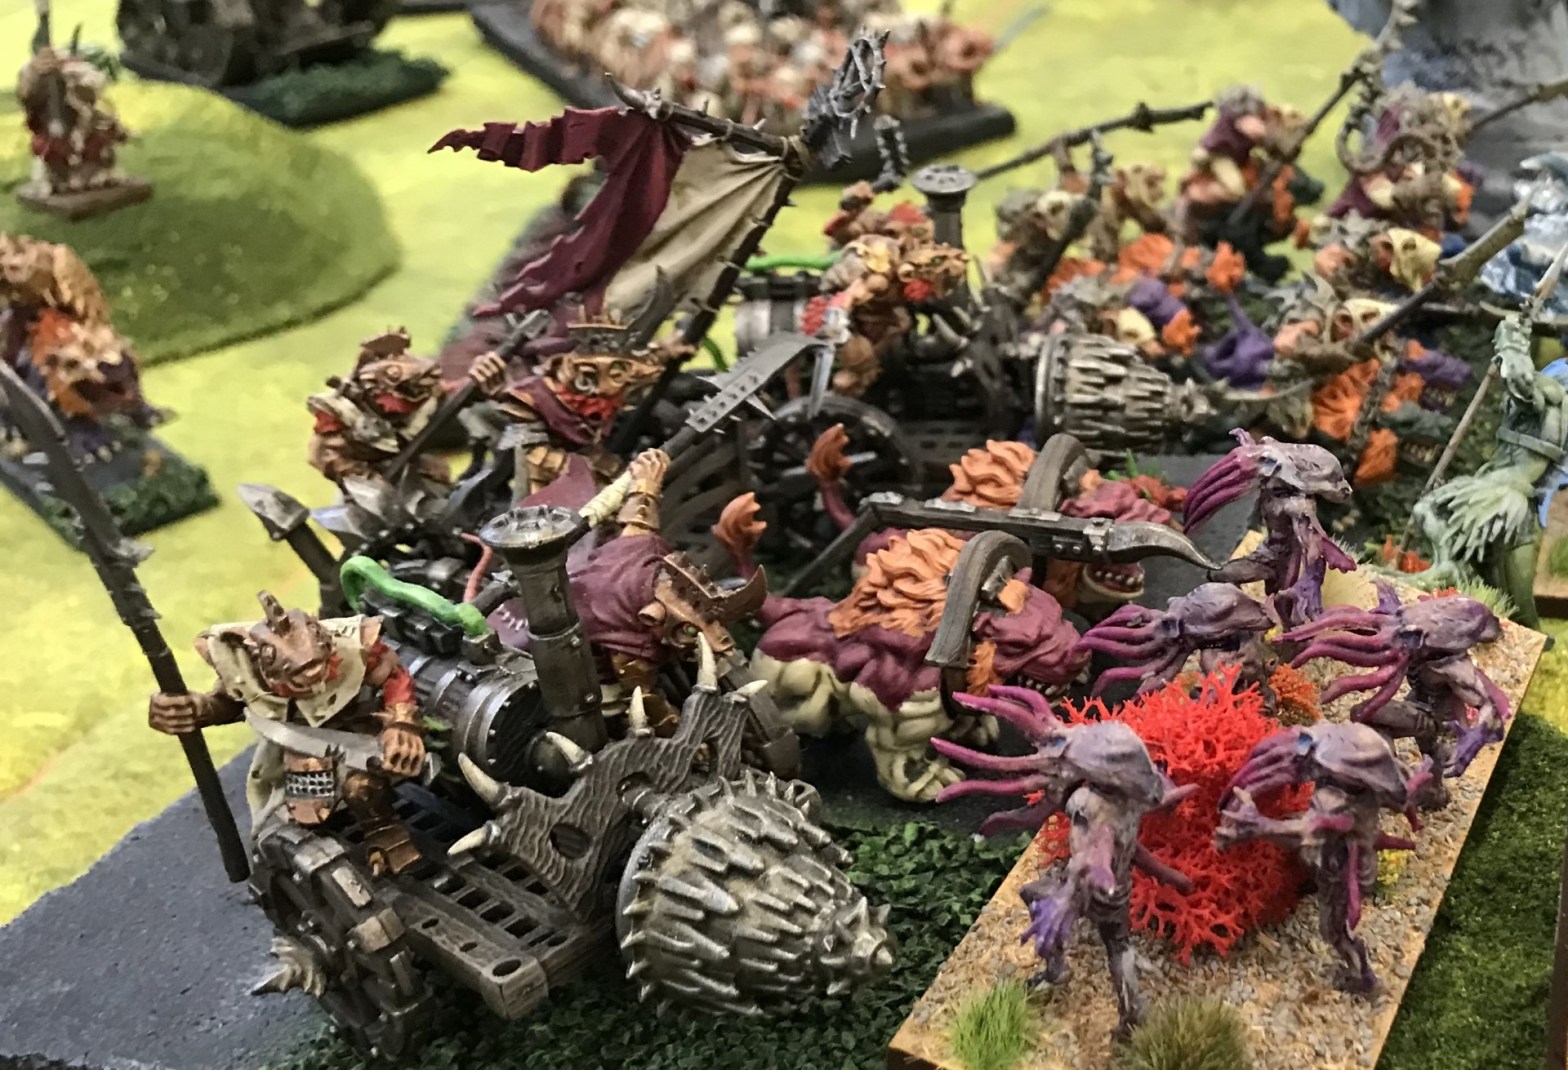
It’s fair to say I’ve been pretty excited about the changes to Ratkin in Clash of Kings, so when it came time to select a faction for my penultimate tournament it had to be the virulent vermin of Pannithor.
This might sound a bit odd for a Ratkin player, but I’m not generally one for putting a load of infantry on the table, I’m far more a light cavalry and titan fan. This is mainly because I’m not a fan of painting, although I love having a fully painted army on the table. However, over the last three years I’ve managed to cobble together no less than four hordes of rat foot sloggers that, with some recently refreshed rules, should make a half decent list.
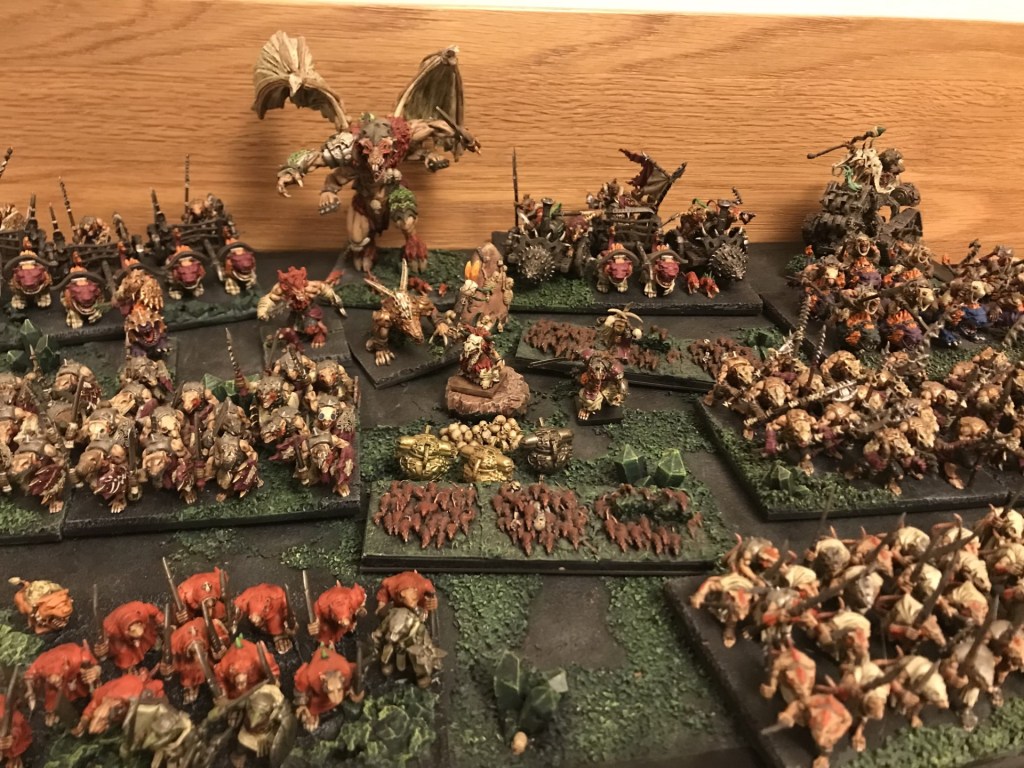
The List – 2,345 points
Spear Horde (1) with plague pot
Wretch Horde (1)
Shock Troop Hordes (2) with plague pots, 1 with phalanx
Vermintide Regiments (2)
Hackpaw Regiment (1)
Tunnel Runner Regiments (2) 1 with Brew of Sharpness, 1 with Sir Jesse’s Boots
Brute Enforcer (1)
Night Terror (1)
Warchief (1) with vicious aura
Swarm Crier (1) mounted on Fleabag
Warlock (1) with the Fireheart Amulet, Banechant and Lightning Bolt
Scud
The Reaper and scenarios.
The event had a special character which was a chariot that switched between two sets of special rules determined by a dice role each turn. Either it had Cloak of Death and Crushing Strength 1 or Radiance of Life and Rally 1. Strangely, but happily, most of the time my Reaper seemed stuck with a Radiance of Life and Rally 1.
Scenarios for this event were not book scenarios. I’ll give a brief description of them as I write up the games.
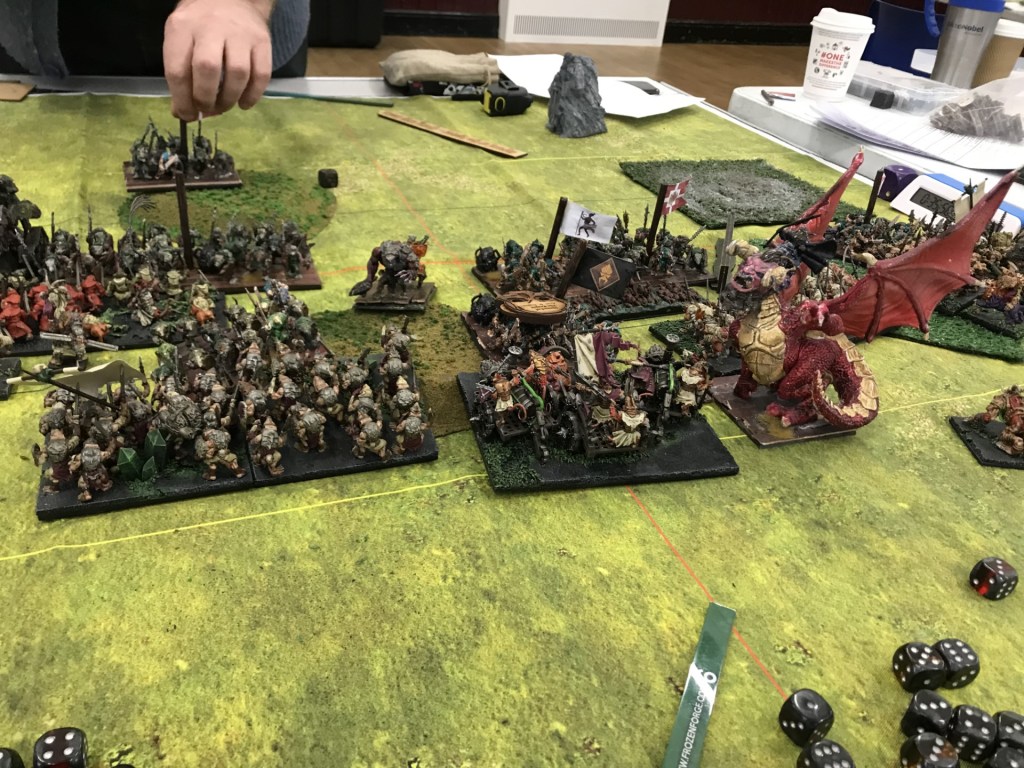
Game 1 vs. Ratkin Slaves
The scenario was to get the Reaper onto the enemy’s side of the table.
The slave list consisted of a lot of exploding rat regiments, eight in all, and a horde for good measure. In addition, there was a flying overmaster, Golek Skinflayer, Cryza’s Impaler, two other Impalers, an overmaster with the strider aura and a slave driver chariot.
I’ve played against this army a couple of times this year and they’ve been brilliantly close games, so this was a great way to start the day. I decided to put Scud and the hackpaws on my left, some shock troops and the tunnel runners in the centre and the spear warriors and phalanx shock troops on my right with my Reaper. Opposite my Reaper was the flying overmaster, the centre contained a massive block of rat slaves with the chariots and impalers being spread across the left of the field with the enemy Reaper opposite Scud.
At first, I was worried about the massive block of exploding rats that was moving towards my centre. Those critters can do a lot of damage. Annoyingly, in order to minimise the damage they do you have to avoid mutli-charges, which means clearing them out can take longer than you would think.


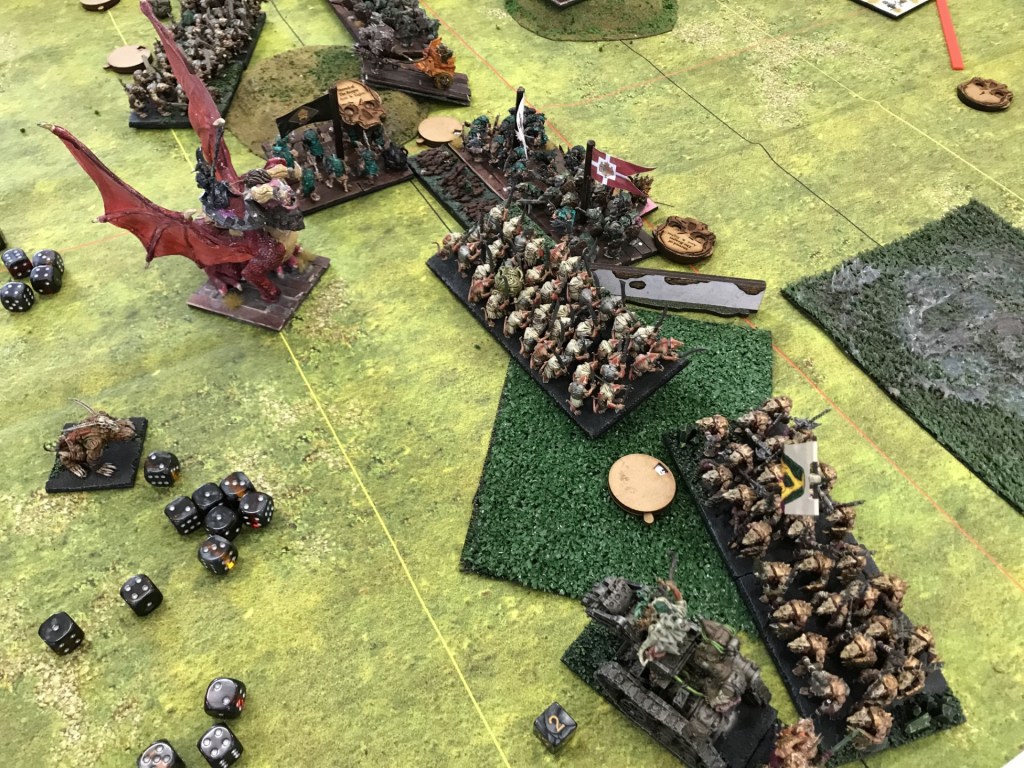


Unfortunately, everything became a lot worse in turn 2 when I very inadvertently gave the flying overmaster and his big beastie a flank charge on my warlock (opportunity of success massively improved by my careful removal of nearby sources of inspiring and rallying to ensure they did not get charged by a big flying beastie). The warlock did not survive, and neither did the tunnel runners with the brew of sharpness that the beast overran into the flank of.
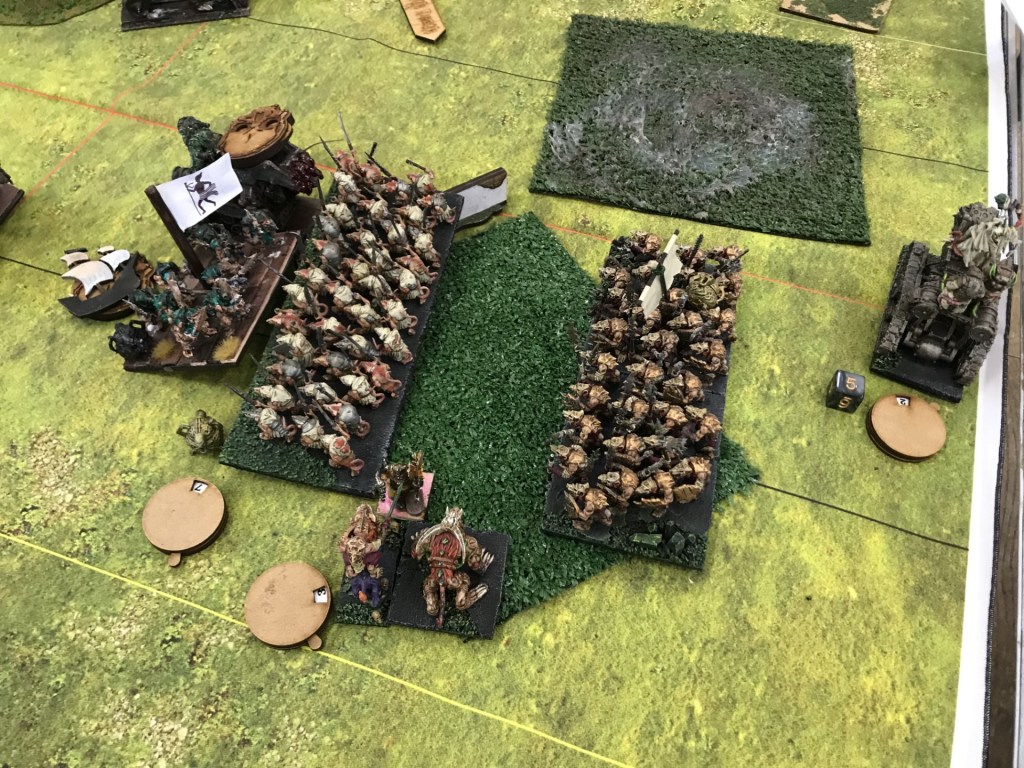
As the smoke settled, I did my best to look on the bright side and miraculously I managed to find it. With the beast moving into the centre, it had opened up a channel down the right side of the board through which I could get my Reaper onto the other side of the table. However, before that could happen my Reaper would have to accept a follow up charge from the beast, fortunately it was hindered, and the Reaper survived it. This allowed my phalanx shock troops a flank charge on it and the night terror a rear charge which quickly took the beast off the table.
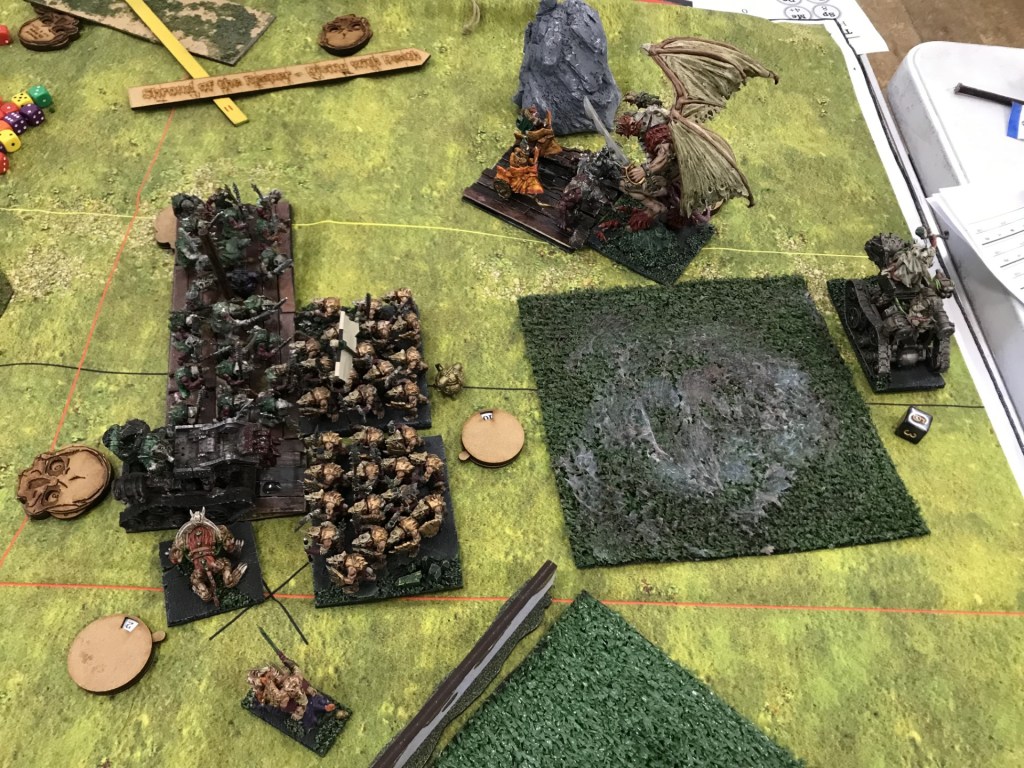
On the left flank Scud and the hackpaws were doing their best to get at the enemy reaper. Unfortunately, the abundance of units my opponent had meant he was effectively able to surround the Reaper and walk it over the centre link. The early loss of the tunnel runners meant I had no spare resource to try and help them. After a few turns of dancing around them trying to find a way in Scud decided to head over to the other side of the table where the remnants of the slaves were heading having caved in my centre.
Scud’s timing couldn’t have been better. As turn six rolled around it became apparent that the slave drivers’ chariots would not reach my Reaper in time. It looked like a draw was on the cards, until the dreaded turn seven reared its ugly head. Scud came to the rescue. The multi-talented demonspawn alighted in front of the chariots blocking their line of sight and sealing the draw. The add to the frustration of my opponent, his chariots front charged Scud and would have taken him off, if it wasn’t for the presence of the Reaper and its Rallying.
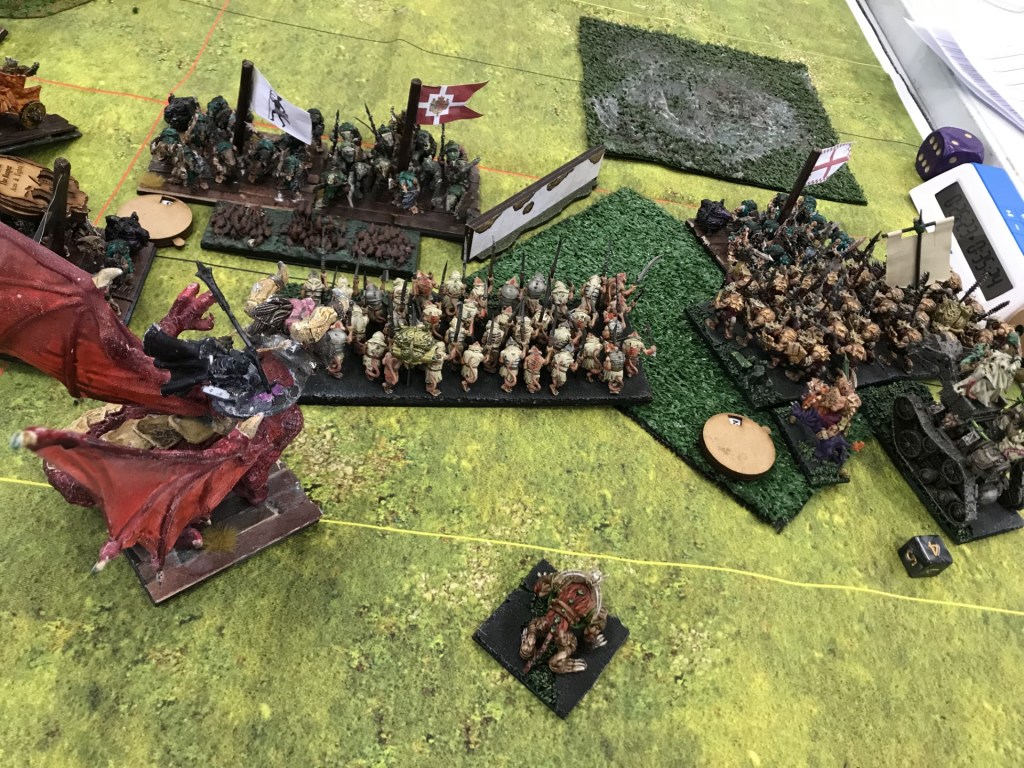
Game 2 vs Trident Realms
In this scenario 7 presents were placed around the table. You had to pick the presents up and open them in a following turn to be able to score them. If the unit carrying an open present and got killed the present and its score was lost from the game.
There was a little more to this scenario so the complexity of it meant I was expecting a poor outcome, at least for me. When it became apparent, I was facing trident realms I was pretty sure I was about to get very badly beaten. Leaving aside the fact that my opponent is a great player, trident realms is an army I’ve always wanted to avoid with my rats. The reason for this is the high availability of ensnare that makes it really difficult for melee 4 and 5 rats to do damage.
My opponent brought a nice mix of undersea denizens, they included: the thuul formation, an extra regiment of thuul, 2 regiments of heart piercers, a coral giant, a depth horror horde, a water elemental horde, a greater water elemental, Ector, and 2 regiments of tidal swarms.


On the left flank shock troops and the brute enforcer faced off against the heart piercers and coral giant. On the right flank Scud and the sharpness tunnel runners faced thuul and water elementals with the rest of the armies arrayed between them. Having never played this scenario I wasn’t completely sure how to approach it. But I was heartened that by mid-way though the game we both had a single scoring token. My opponent’s token was on the Coral Giant and mine with my brute enforcer who was heading far away from the enemy. What really shone through in this game was the resilience of the rat hordes. Although it was tough going removing the ensnaring fishfolk from the table the rats weren’t being washed away quite as quickly as I thought they would be.
Despite holding their own for several turns, their lack of ability to reliably remove the trident realm units meant the tide had turned by the fifth turn. The fishfolk wore down the rats and jumped on the remaining tokens. Although it was a loss for the rats it was a really enjoyable game and gave me a very different perspective on an army that I’ve not really played very much against and had always considered my best approach against would be to avoid playing it wherever possible.
Game 3 vs Forces of Nature
In this scenario there are two dominate circles on the board at either end of the table. You score points for having the greatest unit strength in the circles. You receive 1 point per circle you own at the end of turns 3, 4 and 5. After that it’s a race to the centre point with the army holding it winning another point in the final turn.
The nature army I was facing went on to win the best army and was suitably impressive. Unfortunately, not many photos were taken. The army consisted of a horde of centaurs, two hordes of forest shamblers, a greater water elemental, a horde of water elementals, a horde of air elementals, a hydra, a beast of nature, a tree herder and a couple of druids.


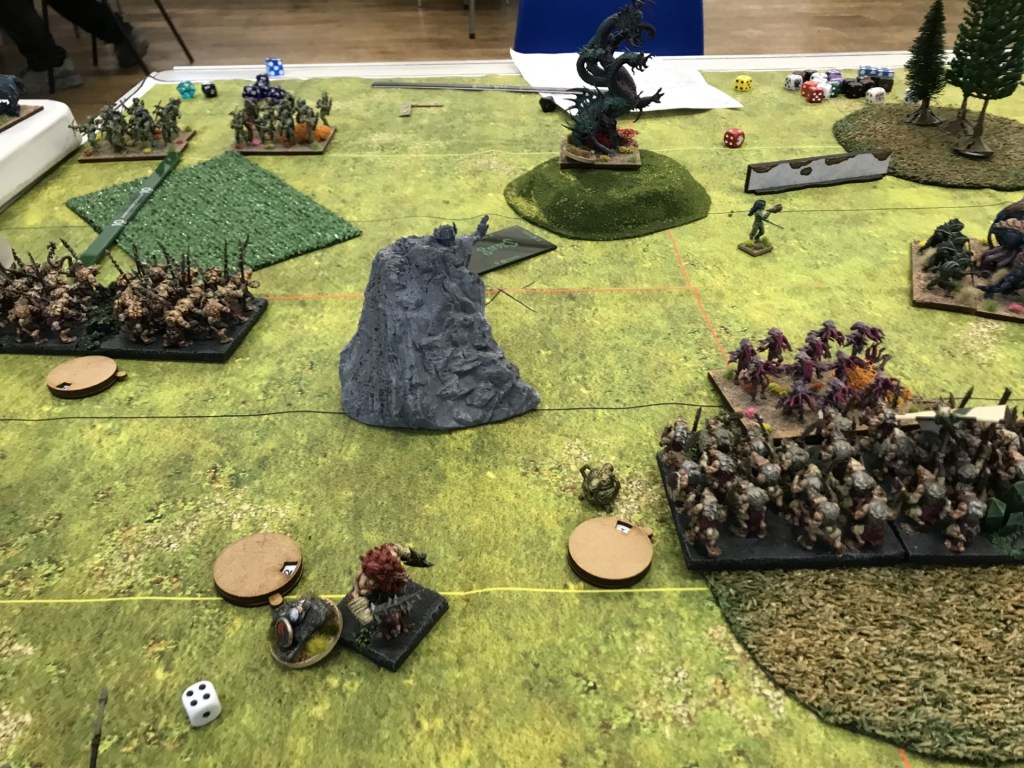
I’ve played the scenario a couple of times and have always aimed to win one of the circles for three turns and then race to the centre. This time around, having an army with a decent unit strength I thought I would have a go at trying to score at least one point in both circles. Unfortunately, my opponent had other ideas. Whilst I spread my army fairly evenly across my deployment zone, the forces of nature castled up on the left-hand side of the battlefield and waited. This meant my first couple of turns were spent racing my army across the right side of the table all the while hoping that the forces of nature wouldn’t chew through the units on the left.
Fortunately, I had the right units to hold the forest dwellers at bay on the left. Scud blocked up the air elementals whilst the spear horde used their plague pots to blunt the centaur horde and keep them from causing problems.
The units I sent to remove the tree shambler hordes faired less well with an unfortunate double 1 slowing down proceedings. All this meant that by the end of turn 5 both armies had scored 3 points apiece. The race to the centre was on.
By then though the rats had established an important advantage. Because the forest dwellers had castled on the left side of the board as the rats had swept over the right side of the board, they had swarmed over the water elementals protecting the centre of the table. This meant the rats were able to secure the centre and push into the left side creating a wall of vermin that the forces of nature simply didn’t have the forces left to break though. This led to a victory to the rats.
Final thoughts
First and foremost a massive thanks to my opponents. I had three really enjoyable games that each provided really interesting challenges.
Going into this event I had been quite keen to try out a number of the changes resulting from CoK 24. I can honestly say they didn’t disappoint. The swarm crier and the night terror made excellent additions to the army. The flexibility they offer in terms of being able to relocate across the battlefield is brilliant. It’s been a while since I’ve taken the night terror and all the good times we had in second edition are flooding back. As far as I’m qualified to say things like this, I do think he’s a touch overcosted at 135 points, but I feel at 45 points the swarm crier more than makes up for it.
Although you can now choose any spells you want for the warlock I ended up with exactly the sort of warlock I would have taken pre-CoK 24. This was only enabled however by the points of the event, dropping this list to the more commonly played 2,300 I would lose the lightening bolt and item on the warlock in favour of a 3 dice banechant so I can immediately see the benefits for this.
Finally, phalanx. From a tournament point of view, I think phalanx has found about the right points value in the rat list. Across the armies I played there weren’t loads of mounted units, fliers, or thunderous charge, but there was sufficient that the phalanx units had a purpose.
Overall, I couldn’t be happier with how this list performed. I do think there are a couple of changes to be made ahead of my next event (not least because it’s a 1995 point event), and a little more shooting needs to be considered just in case of more trident realms.
